DOP Highlight Resolver
DOP Highlight Resolver is a Photoshop CS3/4/5 script that helps to improve the highlights in many digital images.
Installation
The DOP Highlight Resolver V1.0 comes as a Javascript file for Photoshop CS3/CS4 (we only support CS3/CS4).
- Full version is named: DOP_HighlightResolver_V1.jsx
- Demo version is named: DOP_HighlightResolver_V1_Demo.jsx
- Helper script: DOP_MergedLayers.jsx (see below)
Installing the script
The script needs to be copied to the Photoshop CS3/CS4 folder and here to Presets/Scripts (or to the equivalent locations for other languages). After restarting CS3/CS4 you should find the script under File->Scripts. If you do not find it there you did not put the script into the proper location.
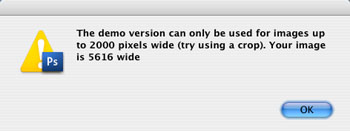
Note: The free demo version can only handle images up to 2000 pixels wide. The commercial version does not have this restriction. You will get this warning message if you use larger images with the demo version:
Using the DOP Plus Highlight Resolver
Using the script
Using the script is simple. Best you have the top layer selected while working with the Highlight Resolver tool. Run the script from File->Scripts
- DOP_HighlightResolver_V1 (or the Demo version)
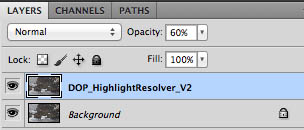
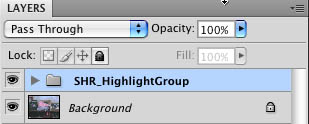
The Highlight Resolver does not have a user interface in the script. All control is performed in CS3/CS4 using the created layers:
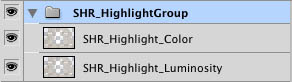
The script creates a Photoshop Layer Group “SHR_HighlightGroup” with two layers:
- SHR_Highlight_Luminosity (Blending mode set to Luminosity: don’t change this blending mode)
- SHR_Highlight_Color (Blending mode set to Color: don’t change this blending mode)
Both layers are set to opacity of 50%. This way the effect can be made stronger and weaker.
1. The opacity of the SHR_Highlight_Luminosity layer controls the tonal strength of the Highlight correction (darkening).
2. The opacity of the SHR_Highlight_Color layer controls the color/saturation of the effected highlights.
The purpose of this tool is to create subtle yet very important changes in the highlights.
Helper script: DOP_MergedLayers.jsx
If you have found your preferred settings you may want to merge the Layer Group to save disk space. Because using “Merge Group” in CS3/CS4 can show a different result than what you are seeing using the Layer Group we provide a helper script that creates a new layer with the merged result.
- Make sure the Layer Group is the top layer
- Run the DOP_MergedLayers script and it creates a new merged layer with the same effect as the original Layer Group.
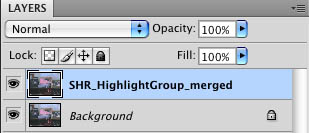
You still can lower the effect by tuning down the opacity of this layer.
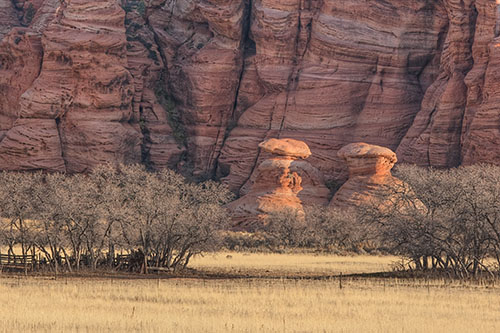
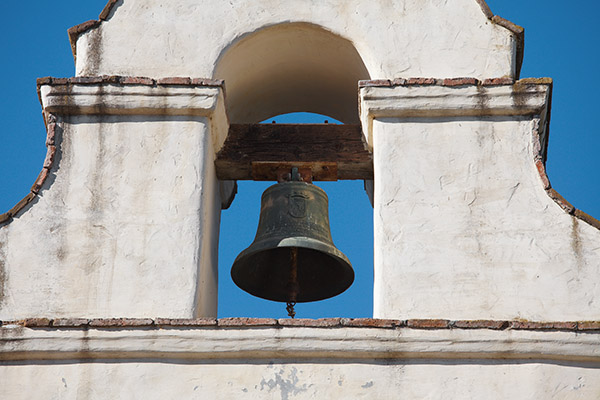
Sample #1
This was actually the original image that got us looking for a solution.

We find these bright transitions quite disturbing and often hard to fix. From this sample one might think it is only a problem in pictures shot with high contrast light. A sample later will show that this is not always the case.
In the past the only tool that helped us to get into the right direction was Lightzone’s Relight. Now we use the Highlight Resolver to improve the highlights.
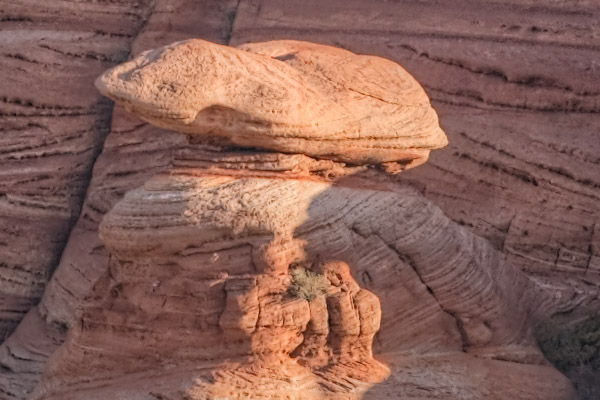
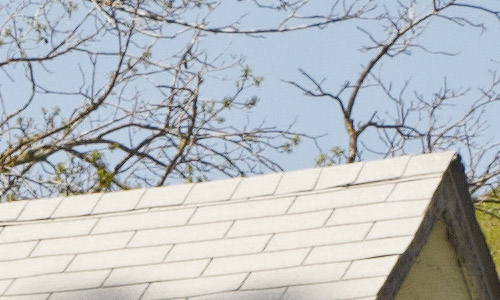
Original tonality
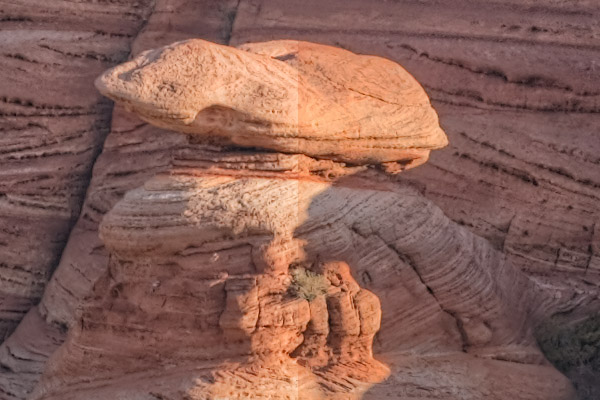
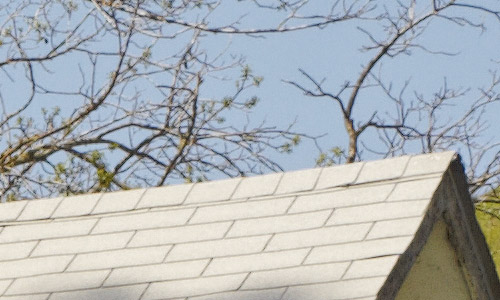
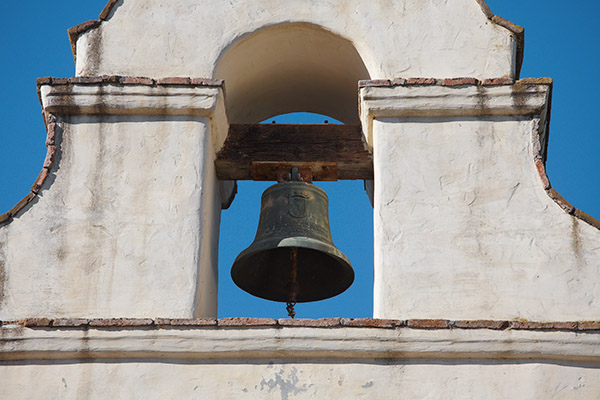
After DOP Highlight Resolver at default settings
The following crops show how both the Luminosity and Color layer’s opacities influence the result. The % numbers are the used opacities for these layers.
50% Luminosity / 0% Color 50% Luminosity / 100% Color
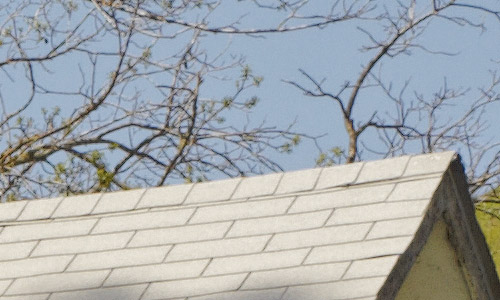
100% Luminosity / 0% Color 100% Luminosity / 100% Color
Only in the context of the entire image you can find out the proper settings and how they blend into the tonality of the entire image.
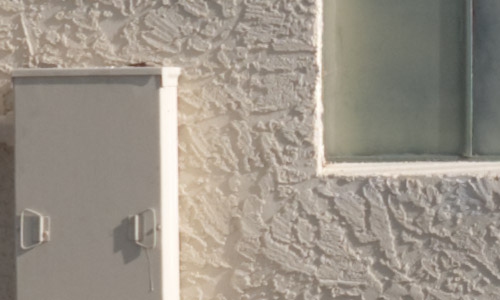
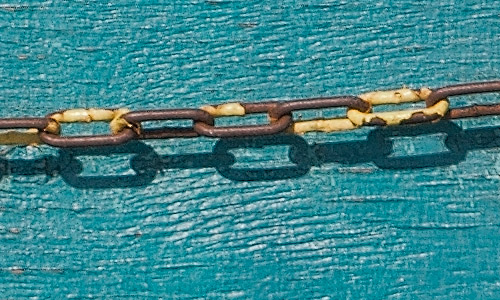
Sample #2
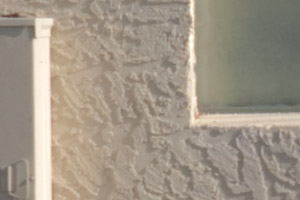
This sample shows how surfaces can get smoother and subtle colors
Original
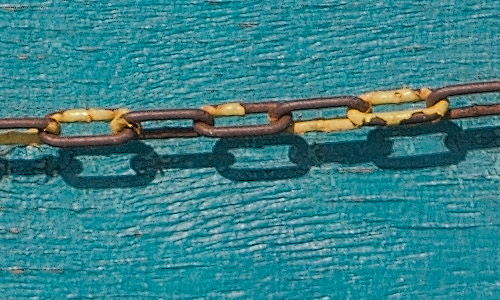
After default DOP Highlight Resolver treatment
As mentioned before these changes are subtle (especially at this small size) but make a major difference for fine art prints.
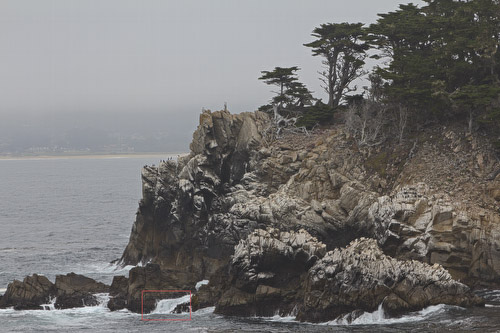
Sample #3
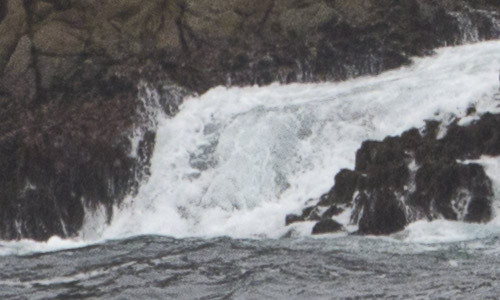
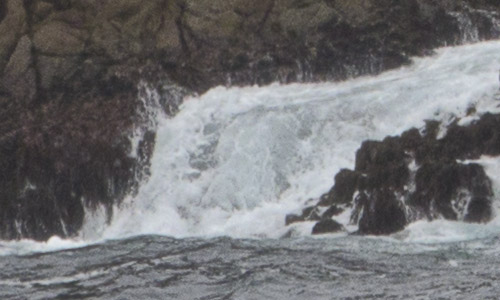
The following shot shows the surf at the Pacific taken at long exposure.
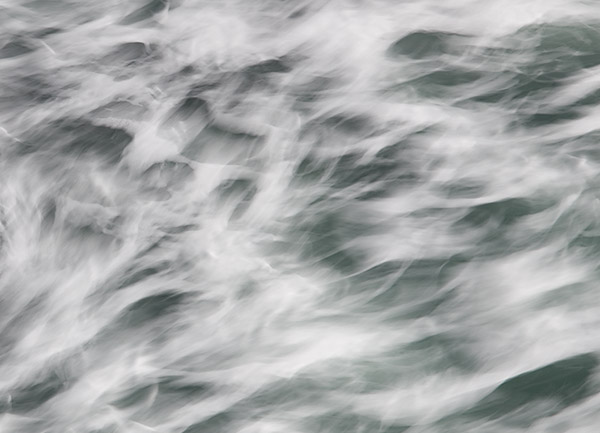
Original
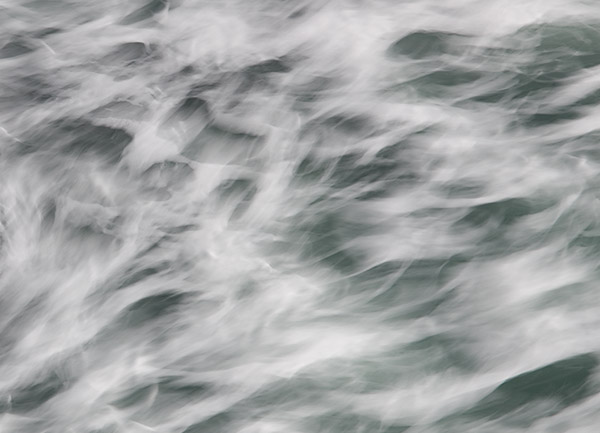
Smoother (creamy) thanks to the Highlight Resolver treatment
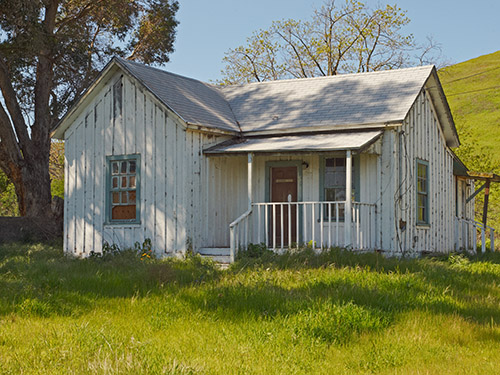
Sample #4
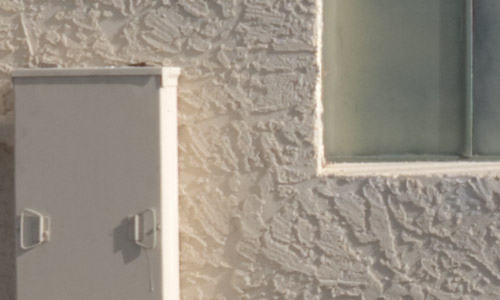
This shot was taken in the complete shade. Still some highlights show too aggressive to our eyes.
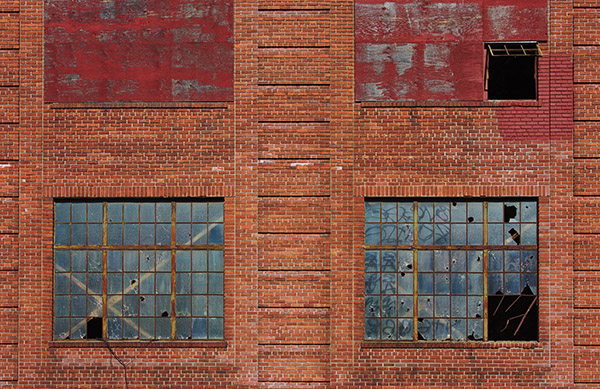
Full image
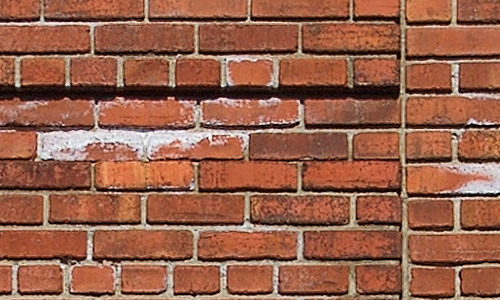
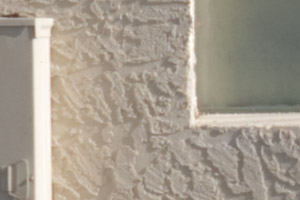
Original
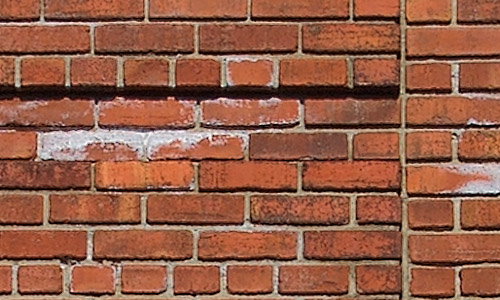
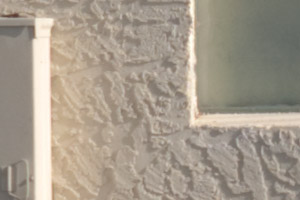
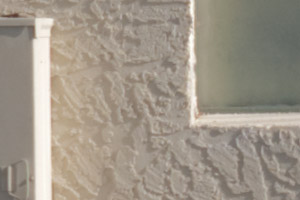
After Highlight Resolver
Again the small pictures make it hard to see the important yet subtle differences. Here again our eyes get less distracted by some bright elements.
Sample #5 (Glare)
For some time we worked on a new tool to minimize glare on reflective surfaces. Now we think most often the Highlight Resolver will do the job. Below you see a small crop from a 24MP image. The glare is quite a bit distracting.
Original
Less glare with Highlight Resolver at 100% opacities
Sample #6 (Birds)
Bird photos can be very critical in the highlights.
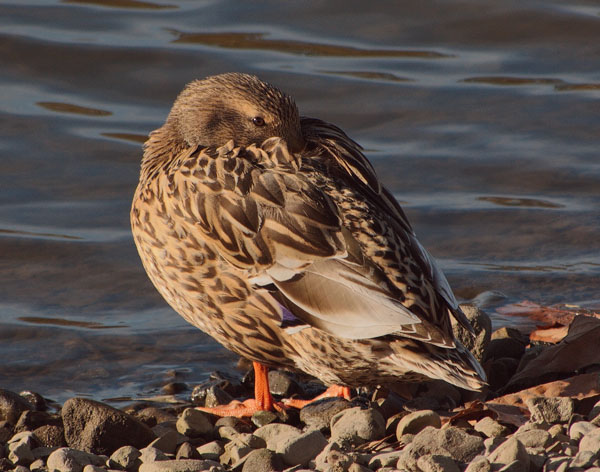
Original
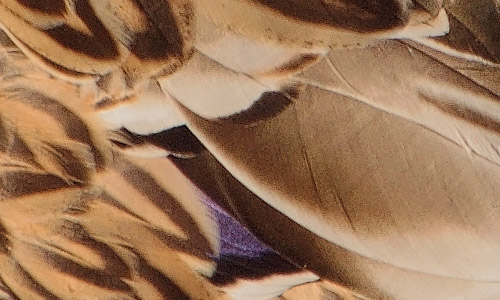
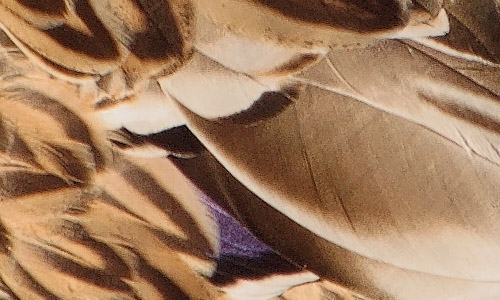
treated with DOP Highlight Resolver
|