|
Perspective corrections using Photoshop
by Uwe Steinmueller
|
| |
| I learned the initial concept from Ian Lyons @ the ComputerDarkroom. Now
it is just routine to perform these operations. |
| |
| Part 1: Simple Perspective correction |
| |
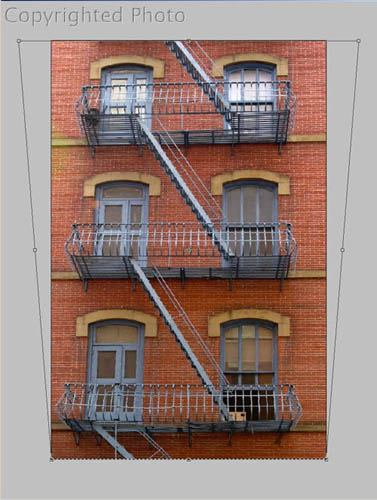
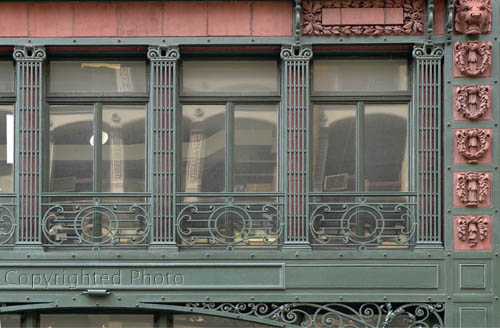
On the left is the original and on the right the corrected
version
|
| |
| This correction is very easy in Photoshop. First prepare your
image as you would usually (I even sharpen before but this might be less
than optimal). The next screen shot illustrates what to do in Photoshop |
| |
|
|
| |
|
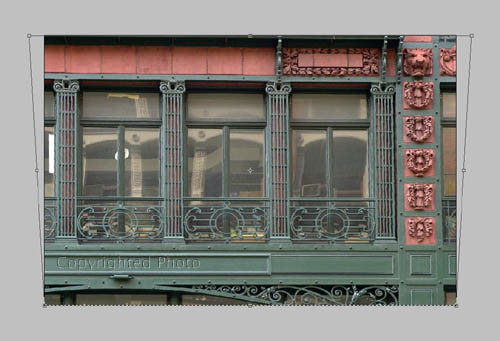
The steps:
- The Photo has to be in 8bit mode.
- Resize the photo that you have plenty of gray space surrounding it
- Select all (CTRL+'A')
- Menu: Edit->Transform->Perspective
- Drag the upper left handle and move it to the left until the image
looks good for you (this photo was intentionally a bit under corrected)
- Photoshop renders a preview pretty fast. Don't be afraid of the quality
the final rendering will do much better
- Once the photo is ok hit "Enter" and Photoshop does the
final rendering
- Deselect the image (CTRL + 'D')
- Ready!
|
| |
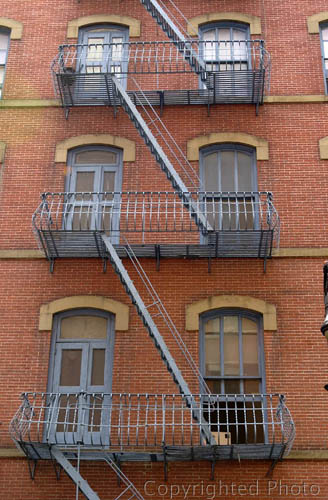
| Part 2: Refined Perspective correction |
| |
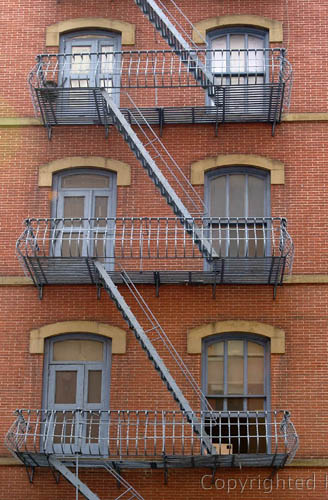
Before and after
|
| Again prepare your image as you would usually and perform
steps 1-6 as above. You get the following result (don't hit "Enter"
yet). |
|
|
| |
|
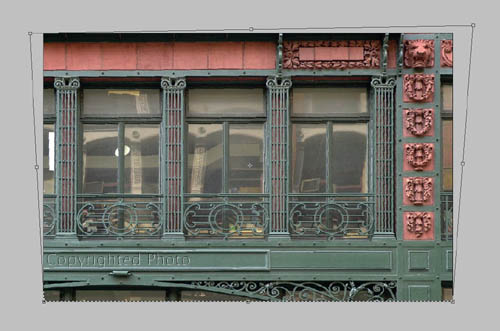
But this time it needs extra correction on the right side of the photo.
- Menu: Edit->Transform->Skew
- Drag the the upper right handle to the right to get the right part
better in parallel
- Drag the upper right handle now up that you get the top better aligned
|
| |
|
|
| |
|
After step 9 we your screen looks like the above screen shot
- Hit "Enter" and Photoshop does the final rendering
- Deselect
- Crop the photo
|
| |
| This simple procedure helps you to enhance many of your architectural
shots. Hope you found this basic introduction helpful. |
| |
| Samples |
|
|
|
|
| |
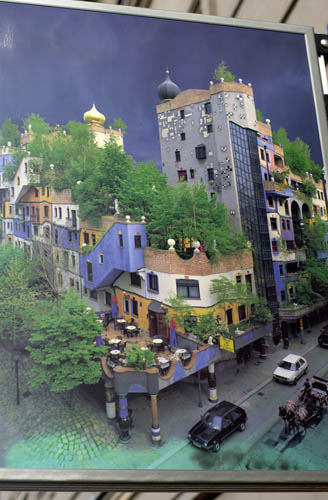
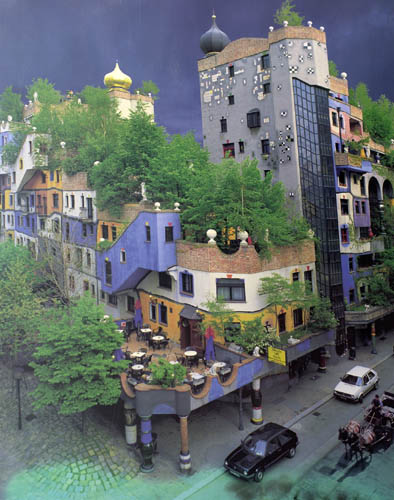
| The above photograph is taken from an outdoor poster at the
Hundertwasser house in Vienna. The final result (on the right) was created
using the technique described in this article (kew and crop). |
| |
| |
| |
|
|