| Digital Outback Photo - Photography using Digital SLRs |
|
 |
|  |

|
 |
Photoshop Corner #006"Contrast Masking"by Uwe Steinmueller |
|
There are many photos where one would like to darken the highlights and get more shadow detail. "Contrast Masking" is a well known technique in the physical darkroom to do just that. Of course in the digital darkroom Photoshop is the tool of choice. I am aware that this has been described many times before. I find this technique so essential that it cannot hurt to describe it once again. We follow here pretty close the instructions outlined by Michael Reichmann. |
 |
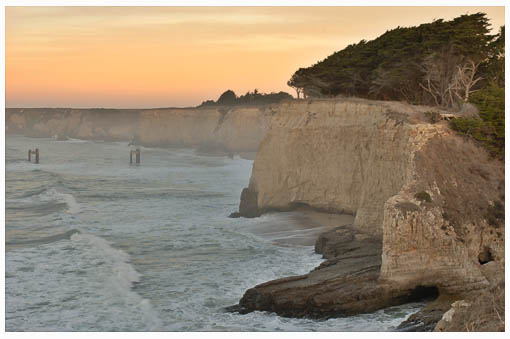
| This was the original file as I got it directly from Nikon Capture 2. Ok it was a hazy day but still the sky has to little color, the trees are too dark and also the cliff plateau. |
|
Here are the first initial steps 1. Select the layers palette and perform "Duplicate Layer" 2. Set the blending mode to "Overlay" 3. Select the newly created duplicate layer and do "Image->Adjust->Desaturate" (this layer is now an grayscale image) 4. Then create a negative from this layer by using "Image->Adjust->Invert". Don't bother that the result looks pretty strange. |
 |
| 5. Now set the "Opacity" to about 80% (you can fine-tune this later). |
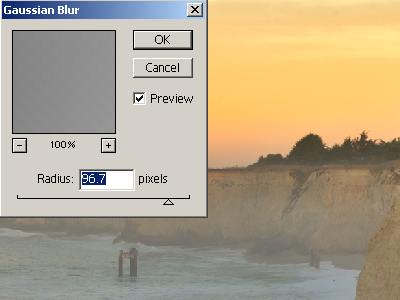 |
| 6. And last not least use "Filter->Blur->Gaussian Blur" to blur thenegative layer. You can then control the effect by choosing a radius between 20-100. |
| Most of the operations are quite fix but the two parameters "Opacity" and "Radius" are crucial to your success and you have to experiment to find the optimum for each photo. In our case we ended with 80% opacity and a radius of about 96. |
 |
| For me "Contrast Masking" is from now on part of my usual tool box. |
| Variation |
| Initially the article was finished here. But then I tried an other photo and came up with some nice improvement. |
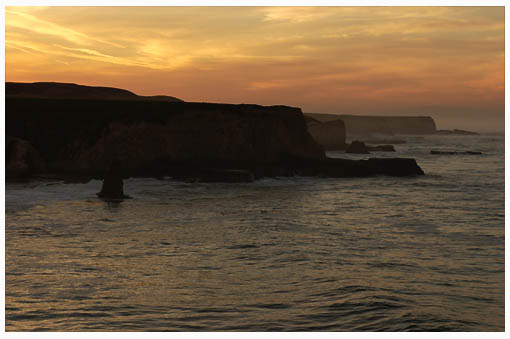 |
| Even with curves this photo seems just too dark. If we apply the above technique we get the following result. |
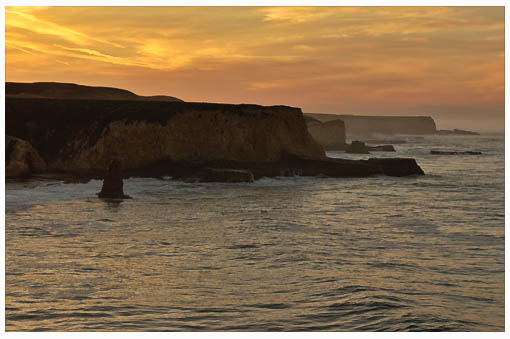 |
| Some improvement but still too dark in the cliff. The solution is an extra curves adjustment layer |
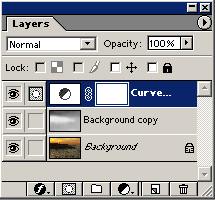
| 7. Add an adjustment layer with "Curves" |
 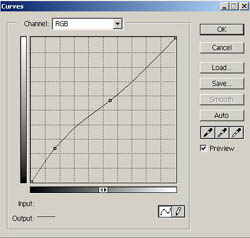 |
| Now we get this final result. |
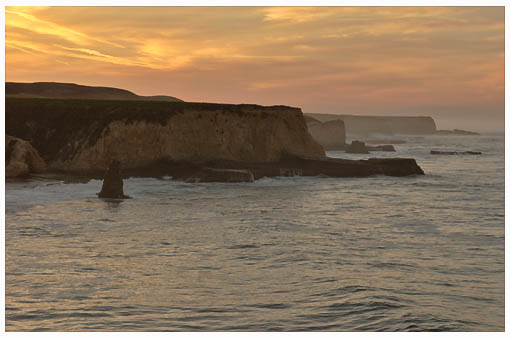 |
| There are probably many other useful variations. But I think this was probably worth sharing with our readers. |
| Here is a news group for discussing the Outback Photo Essays. |
|
|
| For Comments post in our News Group |