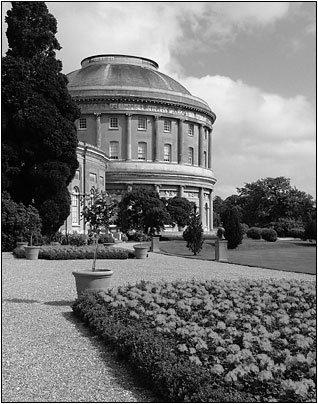
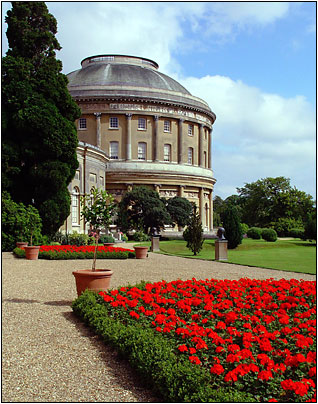
Photographers often utilize filters to enhance their
black & white photography. When converting color images to black & white
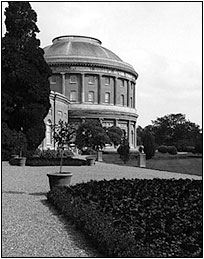
you can simulate filters in Photoshop. Consider the following picture
of the Ickworth
House.
Grayscale is the Photoshop Image > Mode > Grayscale command.
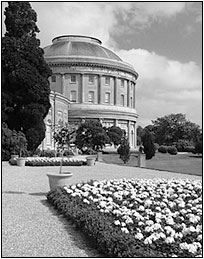
Other effects were done in the Channel Mixer, with Monochrome enabled,
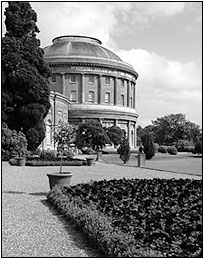
using the following settings. For Dreamy Infrared, first use the Channel
Mixer to convert to Infrared, duplicate the layer (Ctrl-J), apply a
gaussian blur, and specify Overlay for blending mode. For less contrast
vary opacity and experiment with Soft Light and Luminosity.
| Filter |
|
R/G/B |
| none |
|
40/30/30 |
| yellow |
|
60/28/12 |
| orange |
|
78/22/0 |
| red |
|
90/10/0 |
| green |
|
10/70/20 |
| infrared |
|
40/140/-80 |
Note the values for each filter add to 100. You can manually enter
these values in the Channel Mixer dialog box, or download Actions from ePaperPress that
allow you to simulate a filter with a single click. For some insight
in the workings of the Channel Mixer, let's examine each color channel
individually.
The red channel is sensitive to red light, and least sensitive to
blue light. Note the light roses and a dark sky. The green channel
lightens shrubbery and grass, while the blue channel lightens the sky.
You can obtain a similar effect using black & white film and shooting
through colored filters.
If you design your own settings mix at least two channels to avoid
excessive noise. If the results seem a bit wimpy after conversion try
increasing contrast with a Curves adjustment layer and applying an
S-shaped curve. |