For many tasks in Photoshop we use Layer Masks.
Often all or parts of the masks are painted. In these cases it
is crucial to inspect your mask carefully.
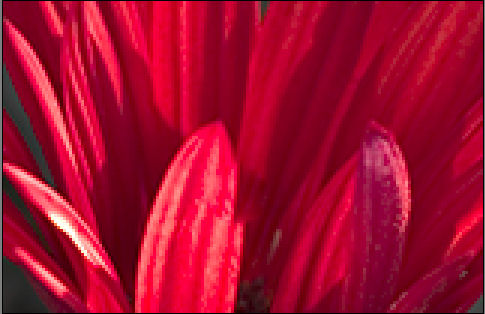
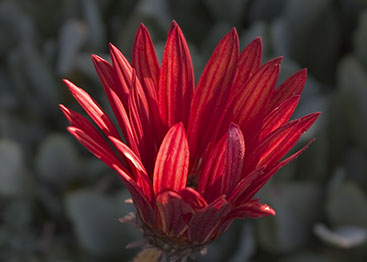
You probably all know photos like this:
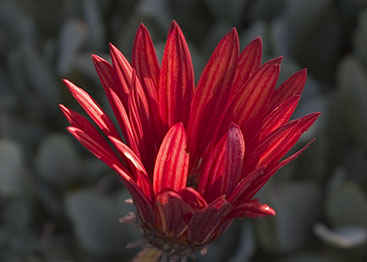
Sample Photo by Ben Willmore
You like the flower but one imperfection
ruins it. Here is a technique to save your work.
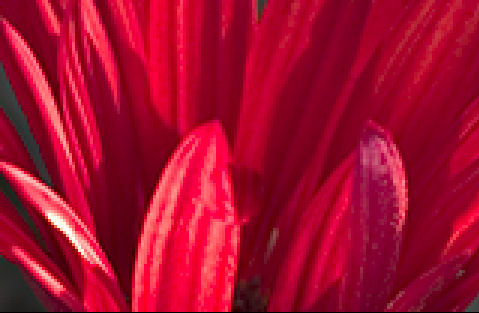
We work at 300%
magnification to be as precise as possible. 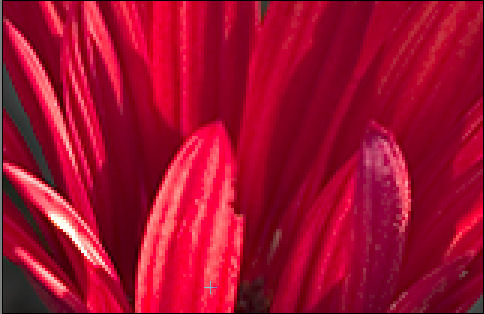
Original
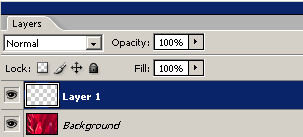
Add an empty (100% transparent)
new layer:
Use the healing brush to clone
parts from below the defect area:
Cloning parts
First issue: The cloned part has
a wrong angle
Solution: Edit->Transform->Rotate
Rotate
Second issue:
Wrong offset
Solution: Move layer with the Move
Tool 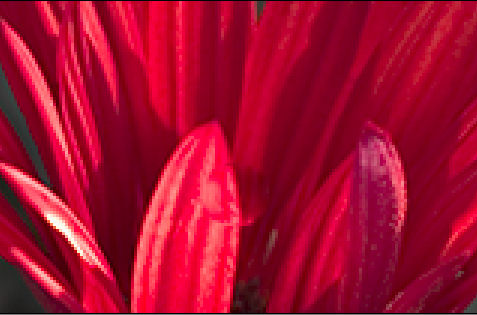
Move layer
Third issue: Transitions
look very bad
But remember we only need to fix
a much smaller region.
Solution: Restrict the correction
to the defect area.
Add a Layer Mask to the
correction layer: 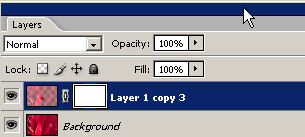
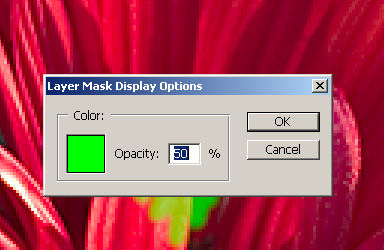
Hit the "\" key to show the mask
in color. The default mask color is "red" which is not very helpful
working with a red flower. Double click on the Layer Mask icon
and change the mask color to green.
Use
a brush (100% opaque) in black to hide the complete correction
area.
Black on an Adjustment Layer means that all changes from the layer are not shown
where the Adjustment Layer is black.
The screen now looks like this: 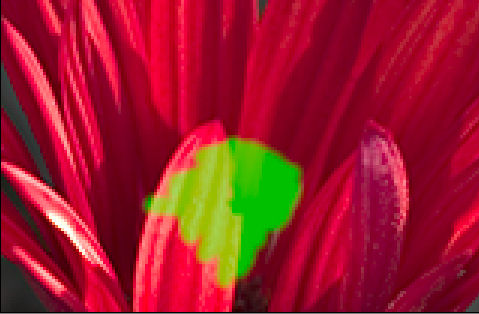
Hide the correction with a black brush
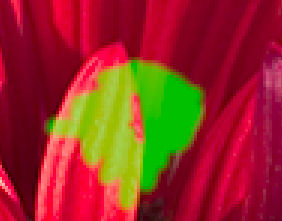
Now the masked area (where it is
back) is shown as green (remember you paint in black). Because
the Opacity
is
50%
we
can clearly see the defect area.
Finally use a fine brush (2-6
pixels wide) in "white" to ensure that only the defect area
is used
from our previous correction. Pure white on an Adjustment Layer
means that all changes from the layer are shown where the Adjustment
Layer is pure white.
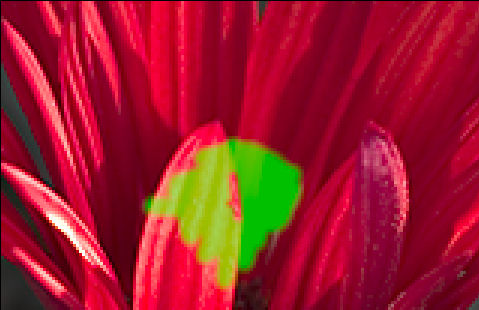
Precise mask
This is all we need:
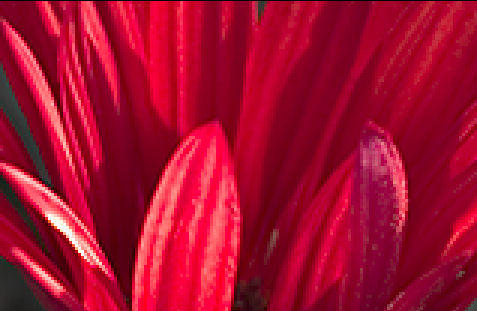
Final correction
Best you try this yourself with
the original image. Interesting, you sometimes think to find
some not so perfect transitions but then realize that they have
been
already
in the
original image.
Final Image at 100% magnification
It is pretty clear that we needed
to visualize our mask while painting in the corrections. Showing
the mask overlay and changing the overlay color to "green" did
the trick.
Please check out Ben Willmore's books and training:
|