|
 |
|  |

|
 |
Printing Insights #018How to Move your Studio
|
Part 2 |
Editor: We are very pleased that Alain Briot shares his experience about moving his studio from one location to a different one. Alain's articles are always a good reading and then he pays attention to so many details. Alain writes this diary while the real move is the focus of his life. Again the most current entry will be on top. |
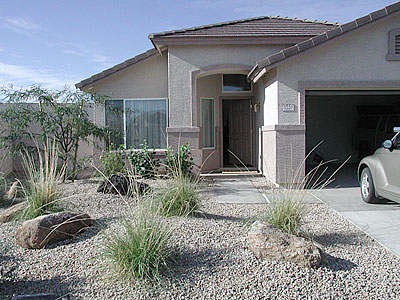
| 01/13/2003 Setting up shop |
| I have been extremely busy since my last entry. First,
I had to "empty the garage" so to speak and move everything
that had been unloaded there into the house. As you all know garages quickly
become temporary (or sometimes permanent) storage areas.
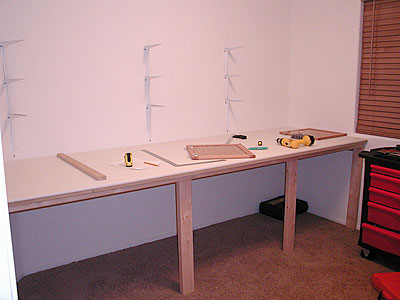
Then I also had to build a new workbench to do all my matting, framing and other jobs. My previous one was approximately 4 foot long. This time I took advantage of the extra space and built a 10 foot long workbench. The photo below shows you the early stages of the building process.
The top of the workbench is composed of a 10 foot by 3 foot piece of
white cutter board material. It is three quarter of an inch thick and
was purchased from a restaurant supply company. This surface is traditionally
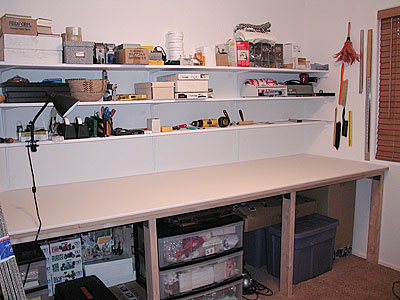
used to make cutting tables in restaurant kitchens and I also do all my matting on this table (mat assembly that is) and all my framing. For framing the table is covered with a large, soft cloth so that the frames do not get scratched. Here is the completed workbench with the 3 shelves above it already filled with tools and supplies:
I am considering using white cloth "curtains" to hide the underneath part of the table. I did this before and it works a lot better than doors which take too much room to open. With a cloth curtain you can simply lift up the cloth to access what is underneath the table. At this point my move is completed and so is this diary. I may or may not add other entries. This was a fun process and the result is a success. Thank you to all for your interest. |
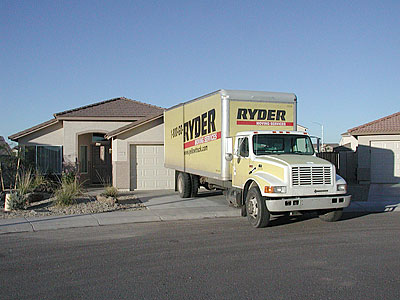
| 01/07/2003 |
| Driving from Chinle to Peoria was a smooth process,
especially since I did not do the driving (my friend did). We arrived
in Peoria in the evening and I preferred to wait until the next morning
to unload the truck.
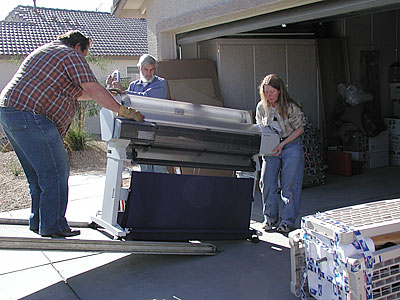
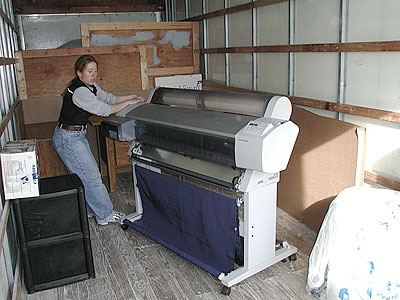
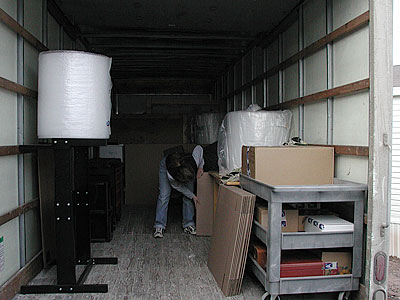
Unloading also went smoothly, essentially since we had a lot of help. In documenting the unloading process I again focused on the 9600. Here is the truck in Peoria, waiting to be unloaded
Here is the 9600 coming off the truck. No problem there. Just make
sure you have someone in front to control the direction and someone
in the back to hold back the printer so it doesn't go flying down the
ramp.
Here is the 9600 being pushed through the garage.
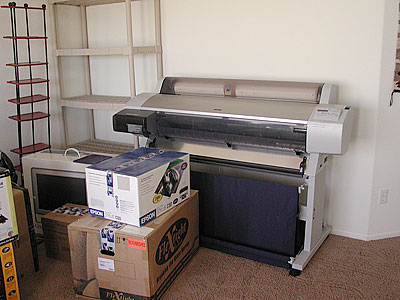
And, finally, here is the 9600 in its new home.
|
| 01/05/2003 Moving the Epson 9600 |
| As you know I have been off line for several days now
as can be expected when moving. Well, I am pleased to announce that the
move is now completed and that everything went great. It took us one and
a half days to load the 24 foot Ryder truck, one day to drive it from
Chinle to Peoria, and half a day to unload it into our garage the following
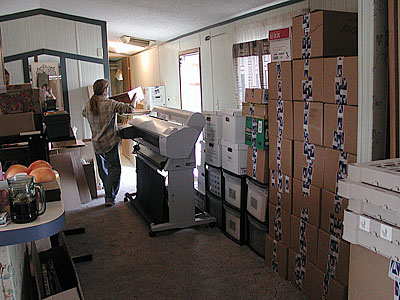
day. We have been unpacking boxes for three days now. The office is setup
since yesterday and I am back on line since this morning. We had help loading, driving and unloading the truck. A good friend
of ours, who was professional trucker for years, offered to drive the
truck to Peoria. This was a big relief since I do not feel I took a number of photographs while loading and unloading and these will be presented in this diary today and the following days. My idea is to sort of reconstruct the move in a chronological manner. Today we will look at how the truck was loaded. Throughout this process you will notice that I paid particular attention to show how the 9600 was moved. I did so because a number of readers have a 9600 or a 7600 and because this printer is the subject of a separate diary (the two diaries are linked in fact since moving the 9600 is part of my 9600 diary). Here is how the 9600 was loaded into the truck. Literally, it was rolled
in. There has been talk of the 9600 stand not being very strong. Well,
I can attest that this is not the case at all. The Also worth noting is that the printer was moved with all the ink cartridges
pulled out but without the ink lines being drained. In other words I
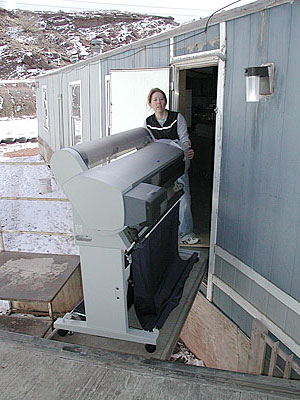
pulled out the cartridges with the printer off, placed Here is the 9600 ready to be loaded on the truck, on its way out of the door.
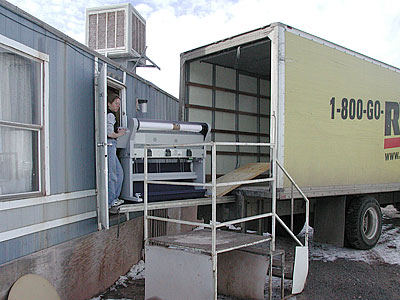
I built a ramp out of plywood sheets and placed it against the truck's loading ramp. Here's the 9600 on the ramp.
Here is the 9600 on the ramp.
9600 on ramp between truck and house. Notice the plywood sheets.
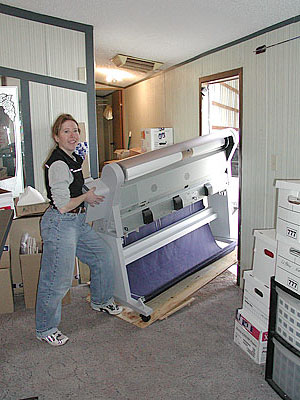
The 9600 is in the truck. Notice that Natalie is able to maneuver the
9600 by herself showing how easy it is to move this printer.
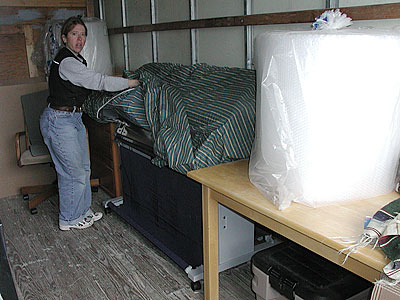
We placed a cover, in this case a bed sheet, on the printer to protect
it from dust and other debris.
Finally we used sheets of cardboard, in this case flat frame shipping
boxes, to further protect the edges of the printer from contact with
other objects and from shocks.
|

| For Comments post in our News Group |