|
 |
|  |

|
 |
Fuji S2 RAW files converted with Qimage |
The Fuji S1 (our review) had a severe limitation that it did not support any RAW format and you probably know we (and many other fine art photographers) believe that you can get the best out of all digital SLRs only if you use RAW files. We hope to have soon a Fuji S2 experience report once Fuji gets us the camera. Also all readers who followed the articles by Paul Caldwell know that he is trying to get as much detail in his photos as possible and he struggle with the Nikon D1x limitations for some. That is why he bought himself a S2. Of course Paul is also interested in the new Fuji S2 RAW file format. Mike Chaney the author of Qimage (Mainly a great printing application) was one of the third party pioneers to create his own Nikon RAW converters. Mike has very deep knowledge in how to process RAW files and included a S2 RAW file converter into his latest version 2.31 of Qimage. Paul finds that currently Qimage is probably the best tool to convert S2 RAW files. Here is his description of his workflow:
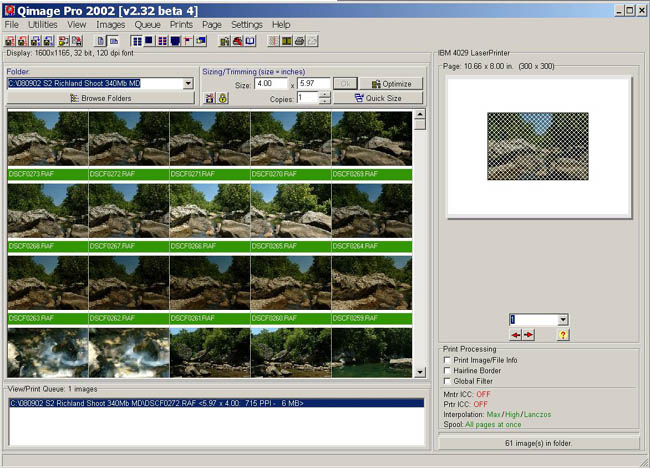
The S2 raw file conversion steps Image #272was taken with the White balance set to Sunny, with no in camera sharpening. With Qimage 2.31 you will open the main program and display the thumbnails page. Double click on the thumbnail of the image and it will now show up down in the queue box in the lower part of the screen.
Now go to the top menu line, select settings, from the drop down box, select “raw format options”. In this box, make the following changes. 1. change the USM settings to 2 for radius and 90 for %
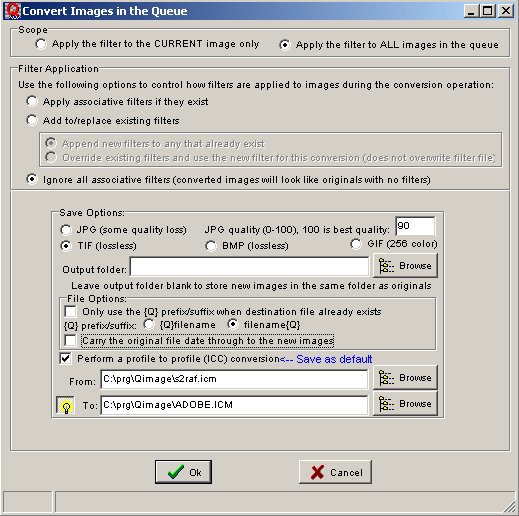
Click OK and then the raw format options box will close. Down in the “View/Print Queue box, image 272 should be selected and will be highlighted. Right click on the name of the image, and this will bring up a drop down box, from this box select “convert images”. This will bring up the Convert Images in the Queue Box. This is where you will tell Qimage all the necessary information to process the raw conversion. You can select either jpg or tiff output, and you will pick the C:\Program Files\Qimage\s2raf.icm for the from option, then pick what you want your output color space too, I selected C:\Program Files\Qimage\sRGB.icm and would recommend it for this conversion. Once you have made your selects, hit OK and Qimage will process the conversion. Qimage will place the converted file in whatever folder you specified in the Convert Images in the Queue Box.
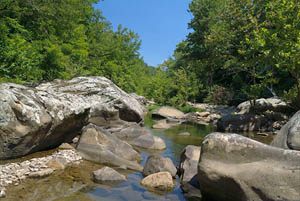
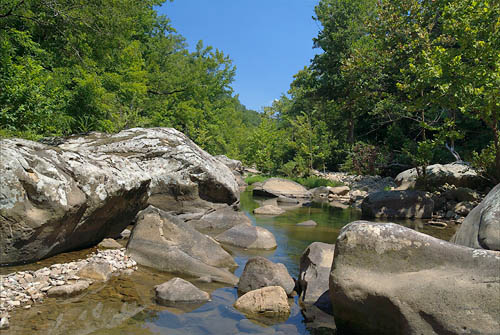
You will need to view the converted image with a program like Photoshop. The converted image will be labeled with a {Q} prefix. I would recommend viewing the image at 100% in Photoshop, and you will possibly need to apply some additional sharpening depending on your liking. I used Nik Sharpener Pro on the #272, using the Anna Profile on the “small box” setting. Nik Sharpener Pro is one of many sharpening tools available. If you don’t have Nik, you can use the USM tool within Photoshop for example or tools like Ultrasharpen Pro, or Fred Miranda’s ESP Pro 16 bit. The last two are actions that work within Photoshop. I also converted the sRGB color space to Adobe sRGB 1998 in Photoshop. The Qimage conversion will be at 300 dpi or 9.5 x 14.2 inches. I resized the 300 to 240 dpi for printing on my Epson 1280, so the final print size is 11.9 x 17.9 and it prints beautifully on A3 sized paper. Here are some 100% pixel crops of an 4276x2868 pixel image:
Note by Uwe Steinmueller: I resized this photo with Fred's SI action to 33x22" @200DPI and printed it on our Epson 7500 printer. The result looked amazing. There was nothing falling off in resolution. Color was good too. There were some minor sharpening halos. Paul will probably also work on this. You can download Qimage 2.4 for a 30 day trial from www.ddisoftware.com |
| Conclusion |
I seems as if the Fuji S2 is the resolution king for all current digital SLRs on the market. But the key is the use of RAW files and last not least Qimage. In some way these are probably only the first steps to fully explore the S2 RAW possibilities. As we know Mike he will even improve on these impressive results the next few weeks or months. |
| Other reviews |


| For Comments post in our News Group |