|
 |
|  |

|
 |
Workflow Technique #016"Smart Cropping in Photoshop"
note by
Uwe Steinmueller
Sponsored by
|
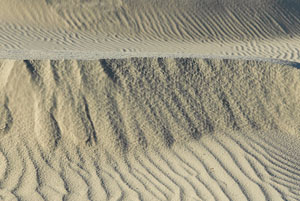
Up until recently I did not pay any attention to the Photoshop "Crop Tool". This photo
let me ask the question:
If you look at this photo (as shot, no crop) it is not very obvious what would be the best possible crop. After the cropping the image I would then spend some time on contrast, shadows, colors, retouching and saturation that would all be done by layers on top of the crop. Also keep in mind that I might do 1-4 proof prints during this process to find out the best way to print the photo. If I later would like a different crop all these changes should not be wasted. Thanks to Katrin Eismann (author of "Photoshop Restoration & Retouching") I found a solution to this problem and think that some of you might like as well to learn about this technique. |
| Using the Crop Tool |
Be aware that this is not a tutorial about the Crop Tool. We cover only all aspects that help us to solve our problem. For our exercise we assume we use a file that has no layers (we will learn why later). |
If you select the Crop Tool you get the following tool palette:
|
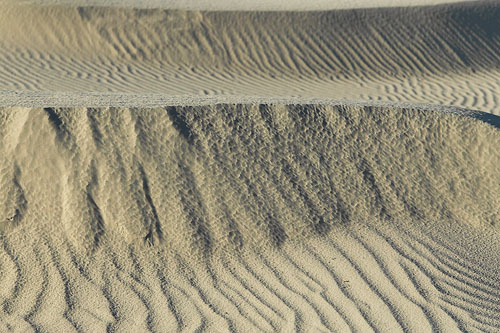
Then you select the area you want to crop:
The not selected area shows darker. You can change and move the selection as you like. The Crop Tool palette changes to:
If we then hit enter the photo gets cropped without being able later to get the full image back once we saved the file. That is is why we change the the background to a layer
Just double click on the "Background" and confirm the new layer dialog
you have now made the Background a layer with the name "Layer 0"
If you now use the Crop Tool again the tool palette has changed
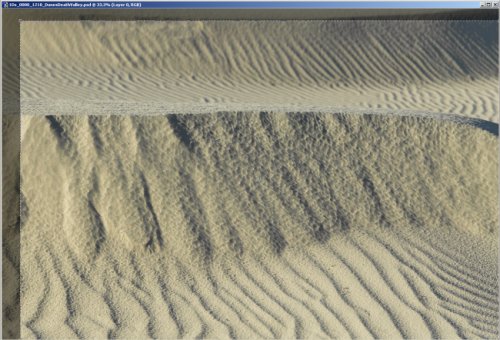
We can now choose between a "Delete" and "Hide" of the area that gets cropped. Delete is what happened before that is why we use "Hide". If we hit "enter" the image looks the same as if the cropped areas would have been deleted.
Where is the original image? With Image->Reveal All we get back to the original full sized image.
So far I was very happy with this solution. But before I often used the Rectangular Marquee tool and restricted the aspect ratio to 3:2. It was not really obvious how to solve this as there is nothing in the tool palette that mentioned aspect ratio. Here is a solution I got from Martin Evening (author of "Photoshop 7 for Photographers"):
Enter width "3 cm" and height "2cm" and leave resolution open. Now the Crop Tool keeps a 3 by 2 aspect ratio. The only odd thing is that it will set the resolution value to some funny value to keep the crop 3cmx2cm. This can easily be fixed in the Image->Size dialog. I will probably crop very often using the aspect ratio 3:2. This is easy too if you save the setting as a preset for the Crop Tool:
These presets can later be easily recalled at anytime. This solution is exactly what I wanted to do and you might find it useful too.
|


| For Comments post in our News Group |