We hear you: yet another sharpening. Yes, we think
we have found something nice that might interest you (of course we
won't promise the silver bullet).
Why Simple Sharpening?
First it is simple and we think is does also a nice
job to avoid many sharpening artifacts (especially halos). Don't let
the name fool you. We think that this will be all the sharpening you
need in many cases.
The Simple
Sharpening plugin sports only 2 controls (simple!):
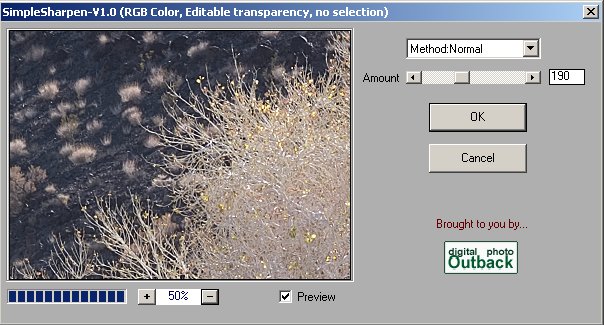
1. Amount
2. Method 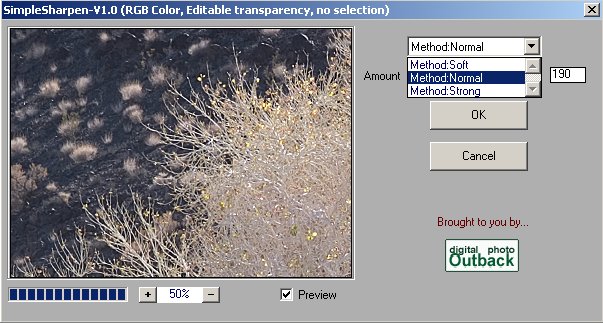
Methods:
The method is about related to what would be otherwise Radius in USM. We actually use Simple Sharpening with a set of actions that add edge
masks to the sharpening. These actions are included in the Simple Sharpening
package.
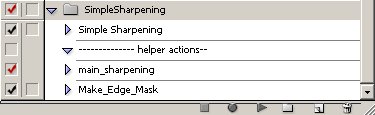
Sharpening Actions
You can also use the actions with the
Demo version of Simple Sharpening:

Just deselect the first filter setting
and select the second one.
Sample Sessions
1. Canon 1Ds
Canon 1Ds with 70-200 f/2.8 IS from tripod
(100% pixels)

Simple Sharpening action with Normal/200
Olympus E-1
Images from the E-1 need some strong
sharpening and here Simple Sharpening does a nice job:
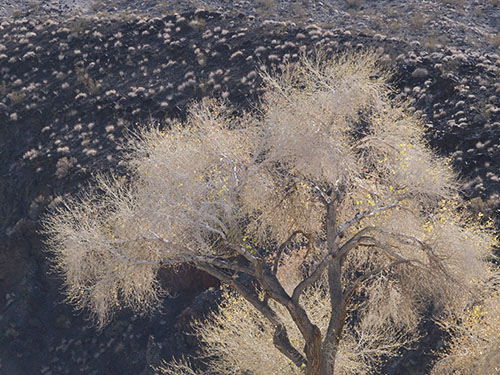
Sample Image
Crop without Sharpening at 100% pixels:
not sharpened
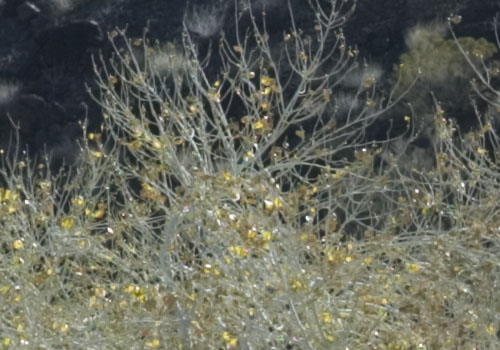
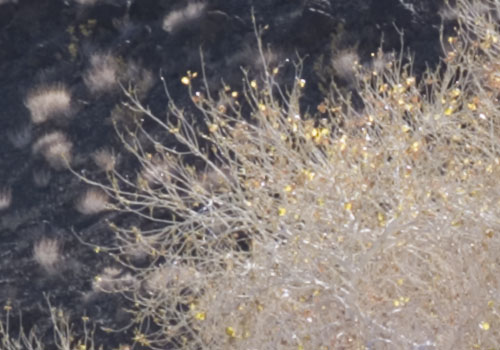
Crop with Amount 190 and method strong
at 100% pixels:

Sharpened
The actions actually create a sharpening layer:
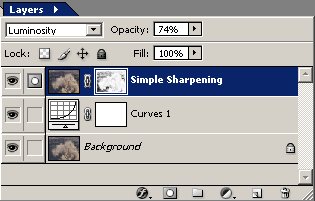
Sharpening layer
Some comments about the sharpening layer:
1. The blending mode is set to Luminosity
to avoid possible color shifts
2. The layer mask controls the sharpening
at edges
3. Opacity is 75%. This means we tend
to slightly over sharpen and then tune the effective sharpening by
opacity.
How to tune the edge mask?
You can even tune the edge mask:
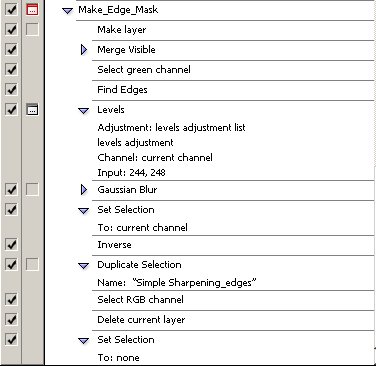
Enable Levels dialog
You enable the Levels dialog in the action
and then the action will stop with the Levels Dialog:
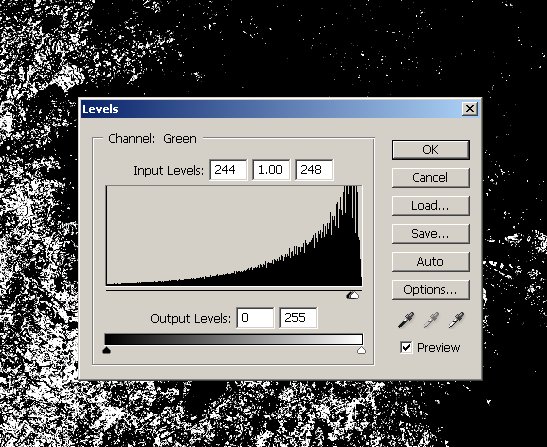
Levels dialog for edge mask
You tune Levels in a way that all what
you see black will be sharpened more in the sharpening layer (black
because we later invert the mask).
Note: We recommend that
you first get the free
demo version to get the
feel whether you like this tool or not. We don't want to waste
your
money. The
demo
version creates a watermark that sometimes is hard to find (be
cautious). Why do I write this? Simply because we want that our
customers like what they buy.
Here you find the documentation and
the readme
file (for some known restrictions)
Where to buy?
Finally if you like the filter you can find order
information here:
ORDER
here (sorry PC only)
Note: This plugin by Kevin Dobson
will be exclusively sold here at Digital Outback Photo. |


