If you think printing good color images is hard and
digitally printing B/W is easier then think twice. We believe that you
can match or exceed the quality of top darkroom color prints with today's
inkjet printers. But getting close to fiber based B/W white prints is
a challenge. Roy Harrington is one of those photographers that took up
the challenge.
Some personal history
We know Roy Harrington for about 2 years as we met as members of the
"Gallery House". Roy is a passionate 4x5 B/W landscape photographer
who produces inkjet B/W prints for some time now. In spring 2003 Roy
bought our Epson 7500 (we wanted to upgrade to the 7600). He started
right away to experiment with different B/W quad tone ink sets. Here
he is not alone. But because Roy also knows programming inside out
he started to write his own quad tone driver for his inks and the 7500.
From this project
evolved his new tool called "Quad Tone RIP". When Roy told us that
he gets as good results from the standard Epson Ultrachrome inks (Epson
2200/7600/9600) as from his own ink mix we got curious as we think
Roy understands digital B/W printing on a very high expert level.
Quad Tone RIP
This is actually a first at Outback Photo: we review a Mac (Linux)
only tool. Roy actually may make a Windows version in the future.
Installation
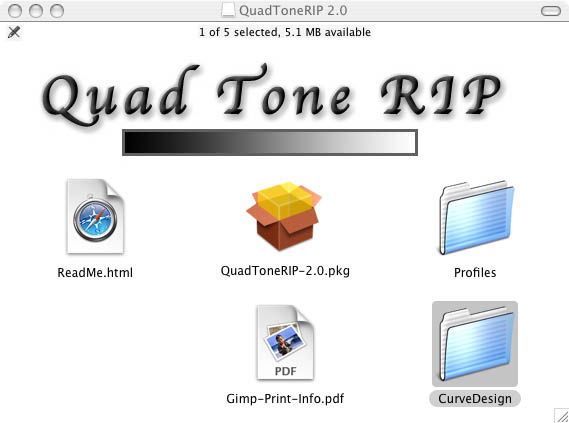
Installer Content
We are no experts on the Mac and got it running in quite a short period
of time (even solved the printing to our 7600 via Ethernet). The installation
documentation is precise and gets you going fast. The Quad
Tone RIP uses the proven GIMP print utilities and hooks up on them.
0. Download the software (this is Shareware and requires a payment
of $50 if you like what you got)
1. Run the installer 2. Install some extra Ghostscript package
3. Setup a GIMP printer for Quad Tone RIP
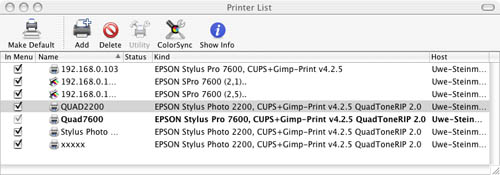
Printer List
Install new printers with the names Quad2200 (Epson 2200) or Quad7600
(Epson 7600). That way installing the profiles is easy.
4. Install the profiles (assumes you followed the naming instructions)
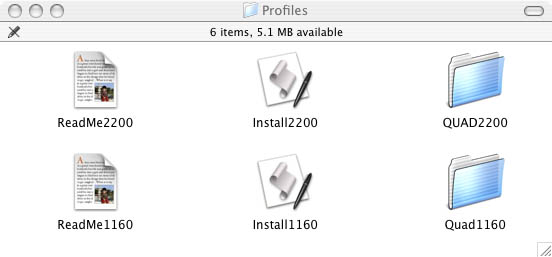
Profiles
You find also profiles for the 7600/9600
and 1280 on the download page. Best to use the profiles supplied on
this download page.
Printing from Photoshop
Now you are ready to print from Photoshop using the Quadxxxx printers.
You start with a gray scale image and use the normal printer dialog:
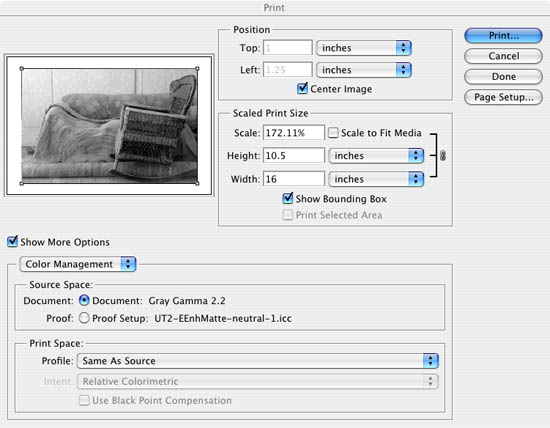
Photoshop Print with Preview
Important is to use: Print Space->Profile:
Same as Source. Then hit print and customize the Quad Tone RIP settings.
Here you can select two paper specific profiles and mix the colors.
We use either 85-15 or 75-25 (first number is the cool part and the
second the warm part in our example) 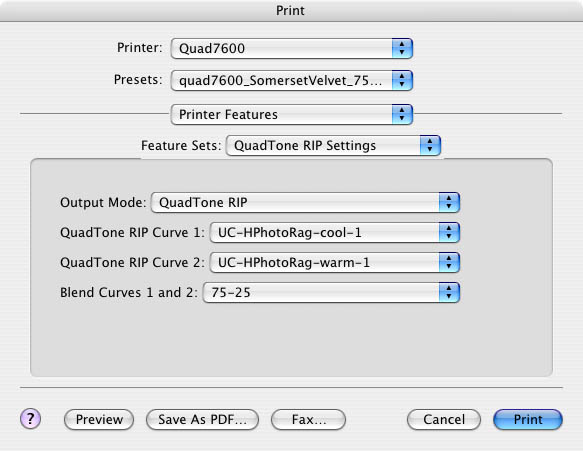
Quad Tone Settings
This is all you need to do for making
a B/W print.
Soft proofing
One main problem with printing black
an white is to get a good impression on your screen first. Roy also
delivers some settings for soft proofing that gets you started:
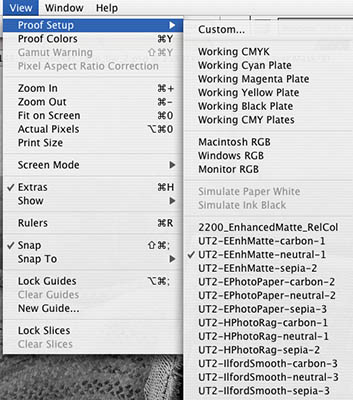
Soft proofing
If you get the right soft proofing
profile you can judge on your screen pretty good how the print will
look
like. This part was pretty easy to learn. But you also can get down
as deep as you want.
Own Curve Design
You can also create your own curves
to control your special inks, papers and printer.
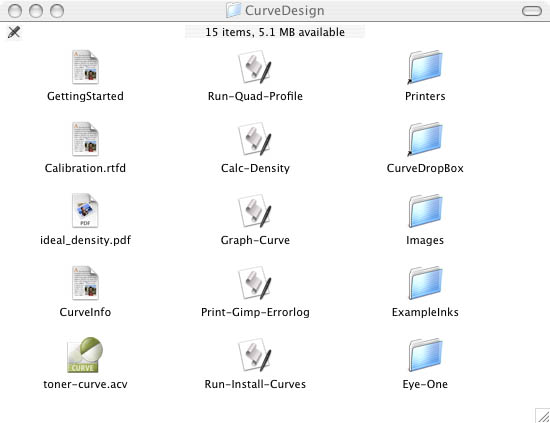
Tools and docs for curve design
We did not try this route but Roy uses
his own tools to create the standard profiles.
How do the prints look like
Excellent! We think you are mainly
limited by your own B/W photos and style you like. Wonderful tool
for all Mac users (we did not test the Linux version) at a bargain
price.
Highly Recommended
Most likely Roy will join us as a
moderator on our new B/W Forum and answer your questions.
Roy Harrington also has a current show
at Gallery
9 and is partner in a Gallery/Studio a few houses away
from Gallery 9. Here you can see the results from the Quad Tone RIP
using an Epson 7500 printer. When we were visiting Roy in the Gallery
9 some customers asked: "Are these fiber based prints?". No, but
they look just great.
QTR GUI (Windows only)
Using QTR on Windows can be a pain
as the current interface is based on batch files only. This means
that it is no real fun to configure the following settings:
- Printer selection
- Profiles and their blending
- Paper size
- Image positioning
But as a great result of Internet collaboration Stephen Billard
jumped in to ease or lives a bit and created a small application
QTRGui:
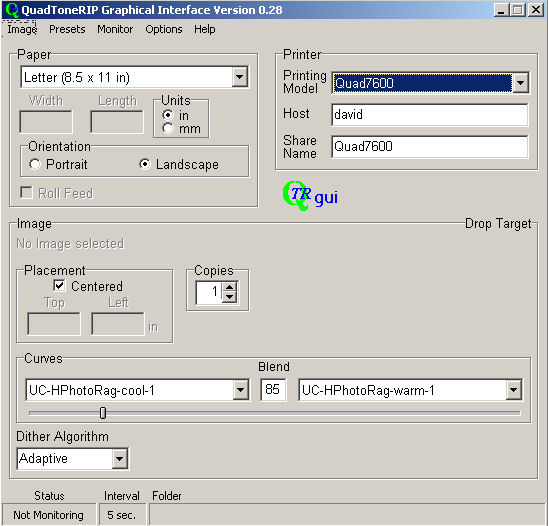
QTRGui main interface
This application is easy to use once
the main QTR is installed properly (follow Roy's instructions very
carefully). QTRGui allows the following selections:
- Paper size
- Printer selection
- Printer model selection (for selecting a set of curves to be
used)
- Image placement (we use mostly centered)
- Curve selection and their blending
- Choice of dithering algorithms used
Once you have setup your page your can use QTRGui in three different
ways (be sure that you resized the image for your paper in Photoshop
correct):
- Load a TIFF and print
- Drop a file name from the Windows Explorer into the area called
"Drop Target"
But the probably most powerful feature is the so called monitored
folder:
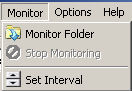
You select a folder and QTRGui will check for new files
in intervals you can select. If there is a new file it will be printed
with the current setting right away. Once the job is done the file
is moved to a sub folder of processed files.
If we use QTR our interface of choice is clearly QTRGui.
Stephen, nice work.
You can download from here.
Q&A
Q: Does the Quad Tone RIP support printers
connected by firewire?
A: No, because the underlying drivers
don't support it right now. Connect your printers via USB.
|