| Digital Outback Photo - Photography using Digital SLRs |
|
 |
|  |

|
 |
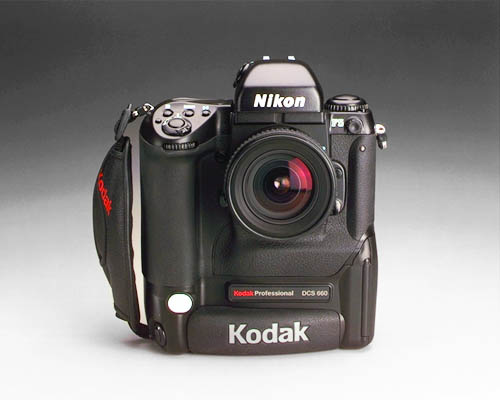
Kodak DCS 660 "The Rock" : Meeting State-of-the-Art |
||||||
|
Last Updated (11/12/2000)
|
||||||
| Review methodology (or lack of :-)) here. | ||||||
| Sample Portfolio contains all photos of this review and some more with 2500 pixel width as I have no way to provide that large photos online. | ||||||
| "DCS 660 @Big Sur/Carmel" report | ||||||
| First Look (10/27/2000) | ||||||
| Why call this camera "The Rock"? Just because I gave the D1 the nickname "The Brick" and the D1 is quite a bit lighter than the DCS 660. But also over time I liked the D1 to be that robust "Brick" and the "Rock" will also only be judged on its photographic merits. | ||||||
|
The Kodak DCS 660 is really a heavyweight. This does not only mean the physical weight it also means that every thing is bigger: especially the file size. I wanted to review the DCS 660 because with its 6 Mega Pixel CCD it defines today what we will have tomorrow. Even my first encounter today signaled that this is a camera I need a lot of time to know what it can do for me. |
||||||
 |
||||||
| It looks as if the above photo is just some not to exciting photo. But if you realize that it is a crop from the following photo (top left corner + JPG 7 in Photoshop) than you might get the picture (the original is 3040x2008 pixels). | ||||||
 |
||||||
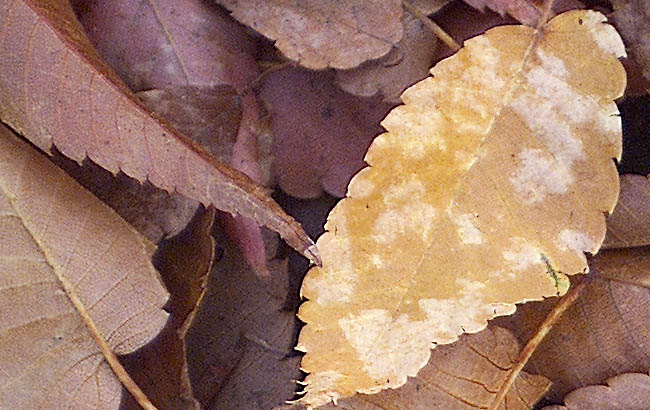
| Also the next photo is a crop of an image. The color balance was very different from the D30 photos I shot at the same time. This photo might show some noise in the sky but overall is presents the scene as I recall it. | ||||||
|
(click on photo to view full sized crop) |
||||||
| Getting into the software (10/28/2000) | ||||||
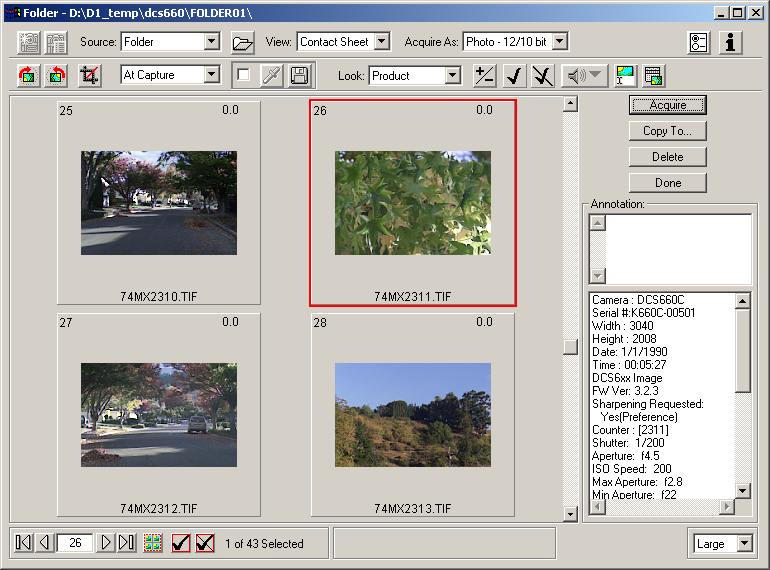
| This morning I got a bit into the aquire software. It uses on Windows2000 a Twain driver to capture directly into Photoshop 5.5. | ||||||
 |
||||||
| First you have to set the preferences ( |
||||||
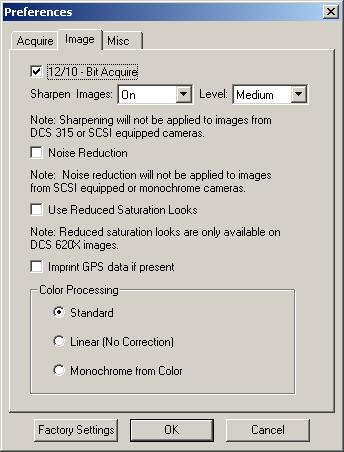 I
use 12 bit acquire, medium sharpening and no noise reduction (I got very,
very blurry photos enabling the noise reduction, see below).
Did not test the effect of the saturation feature yet but the photo does
not seem to be over saturated. Then I use the standard color correction. I
use 12 bit acquire, medium sharpening and no noise reduction (I got very,
very blurry photos enabling the noise reduction, see below).
Did not test the effect of the saturation feature yet but the photo does
not seem to be over saturated. Then I use the standard color correction. |
||||||
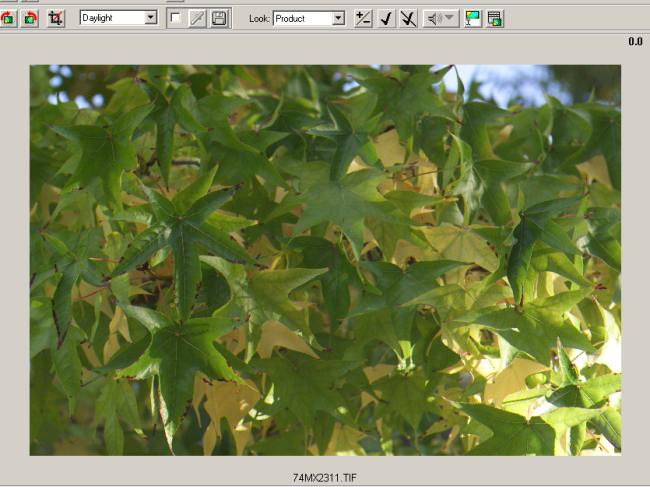
| You might then select a photo and use the preview. | ||||||
 |
||||||
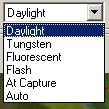 On
the preview you can then either use preset WB (white balance) settings or
select the On
the preview you can then either use preset WB (white balance) settings or
select the |
||||||
| Then select acquire that the photo gets loaded as a 16 bit photo intp Photoshop. You can acquire multiple pictures before you leave the twain browser. Unfortunately you loose the image name of the file during the twain import (this is due to the twain architecture as you could also directly acquire from the camera). | ||||||
| Then in Photoshop I use Quantum Mechanic Pro (for Windows) to despeckle the Luminance (which reduces noise), do do some 16 bit sharpening and level or curves. As my CCD had a bit of dirt I also used the clone tool to retouch the spots (which I do on a regular basis with my D1 photos). | ||||||
 |
||||||
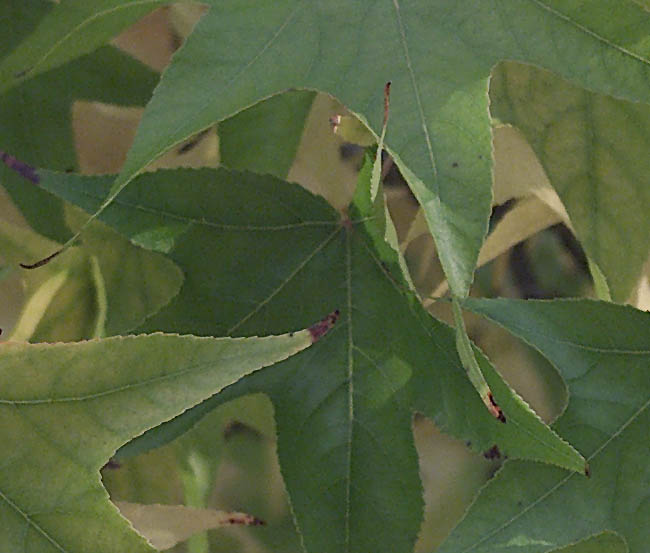
| The above photo is a crop from the following photo (all JPG 7 compressed to save bandwidth). | ||||||
 |
||||||
| I think that is a good start. Get to like the camera but there is a lot to learn to. This is not a camera for someone wanting everything ready and nice out of the box (the D1 is like this too). But if you have experience with scanning you will not have any problem. It also looks as if you really need Quantum Mechanic Pro. I know there are tricks in Photoshop to do the job but they are not that straight forward. | ||||||
| The main difference to other lower resolution cameras hardly shows on the screen it will be on large prints. We will probably do some LightJet print tests soon. | ||||||
| Noise Filtering | ||||||
|
||||||
| The 100x97 pixel crop demonstrates clearly that the Quantum Mechanic Pro filter (despeckle Luminance) is clearly needed as the original it to noisy and the acquire filter makes the image far to blurry. | ||||||
| As we all love comparing photos from different cameras I did some "Comparing Apples and Oranges" too. | ||||||
| Birds, Birds, Birds (10/29/2000) | ||||||
| Only 5 miles away we have a lovely park "Vasona Park, Los Gatos, CA" with a lot lot of birds. | ||||||
|
Photo taken with D30 |
||||||
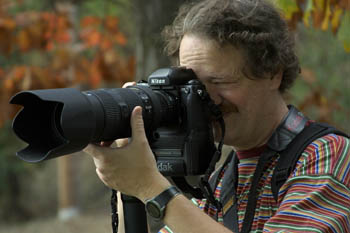
| The above photo shows me with the my usual setup for bird photograhy: DCS 660, Nikon AF-S 80-200 f/2.8 + TC-14E extender and a Slik Monopod. Important to note that the DCS does not need a multiplier on the focal length that is 200mm does not act as a 300mm like with the D1. So in this case I had like a real 280mm f/4.0 (just to be precise: with actual DOF of 2.8 at 4.0). Ok the DCS 660 pulled a bit more on my neck but otherwise it handled very well. First I had some trouble to find the active sensor for the Autofocus which is displayed as "red" on the D1 an black with the DCS 660. But this was more due my lack of time getting through the manual which I got only in PDF form. | ||||||
| I got some advice to use ISO 200 (same as I use with the D1) and to underexpose by -0.3 to avoid blown out highlights. | ||||||
 |
||||||
 |
||||||
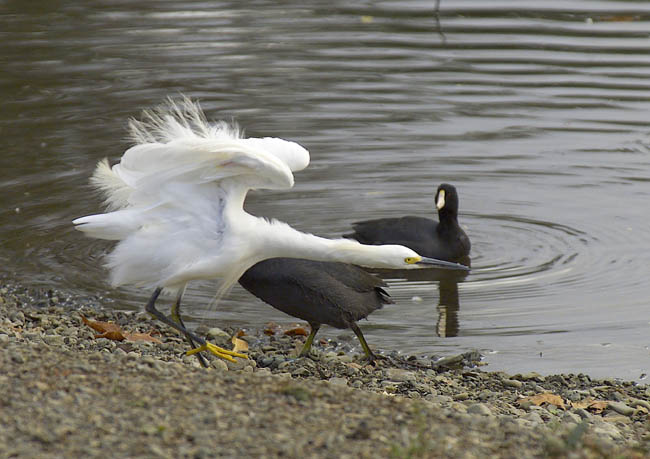
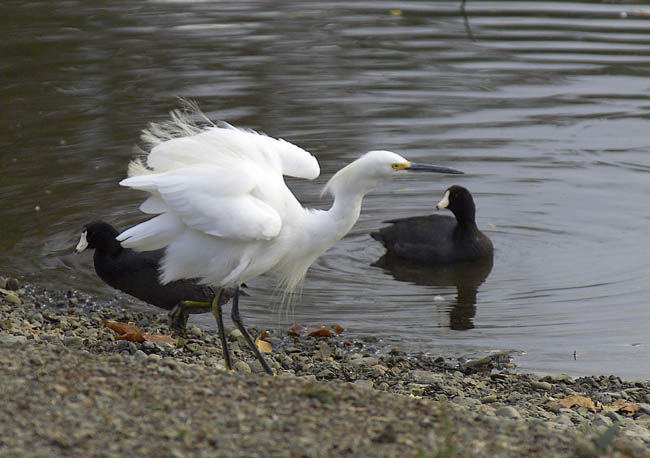
| The above photo shows a "Snowy Egret" in full action. The nice thing about DCS 660 photos is that you can afford to crop them and still have a lot of resolution left. The Egret show a lot of detail in the white feathers which is rare to get. | ||||||
 |
||||||
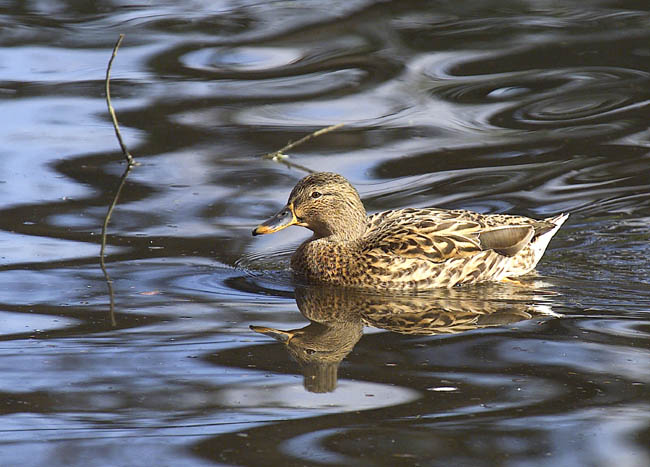
| I have a lot of duck photos done with the D1 but only few showed up like this (crop again) photo. | ||||||
 |
||||||
 |
||||||
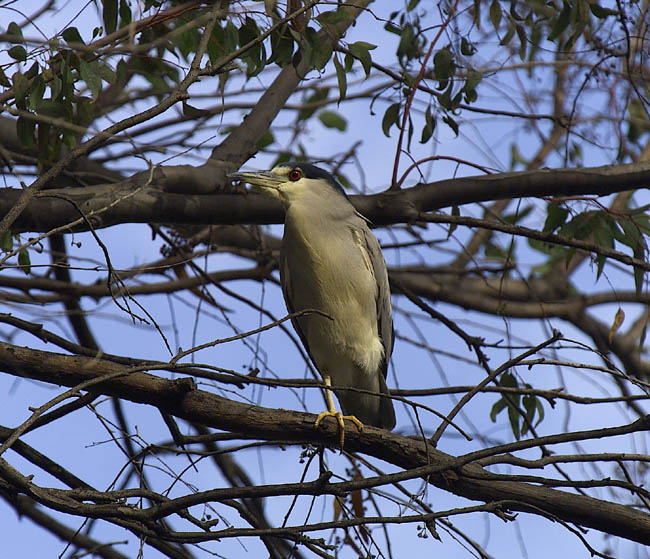
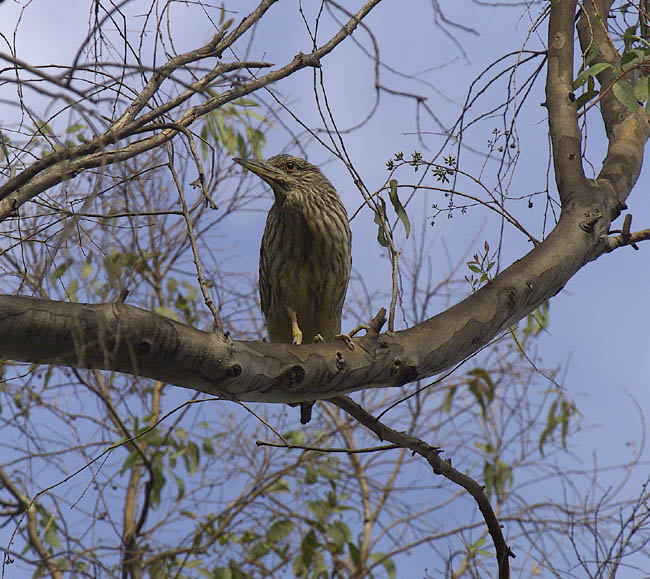
| We were also luck to see some "Night Herons" (six). We are not experts but it looks as if the first is a male and the second a female well hidden from the main paths. Again the DCS 660 allowed us a lot of cropping and still have some nice photo with enough detail. | ||||||
| Big Sur and Carmel (11/02/2000) | ||||||
| Yesterday Bettina and I spent the day getting some impressions at Big Sur and in Carmel. Our findings can be found in our "DCS 660 @Big Sur/Carmel" report. | ||||||
| Using Profiles (11/03/2000) | ||||||
| By some pointer from Kodak today I used some generic profile "Kodak Open Interchange RGB". In Photoshop 5.5 you would just do a "Profile-to-Profile" where in PS 6.0 this is now two steps "Convert-to-Profile" and "Assign Profile". At a first glance it looks as if PS 6.0 got more complicated. This is not the case. We all got used to the strange functionality of "Profile-to-Profile" in PS 5.x. In 5.5 it would convert the color but in the end still assign the current RGB working space to the photo. The only way to get the new profile assigned to the photo was changing the RGB settings (which I very much disliked to do due to the errors which it might introduce to my working process). Now in PS 6.0 it does what it always should have done. Now we have learned the strange logic of 5.5 this seems confusing. Photoshop 6.0 is a major improvement in terms of color management but still far away from intuitive. | ||||||
| We got the impression that now the photos look very natural from their colors. I start to love the camera and see why it is the champion for now. We have posted some new converted photos here. | ||||||
| Also got some very first shots with the new Nikon AF VR Zoom ED 80-400mm f/4.5-5.6D. These photos are that promising that I cannot wait till tomorrow to photograph some birds in the Vasona Park. | ||||||
| Summary | ||||||
| The resolution of this camera is really great and it is also targeted to professionals. I cannot understand why Nikon does not try harder to get the best out of their D1. Kodak understands well that a digital camera is hardware and software or as it is often phrased a system. But for Kodak it will be tough to stay ahead of the competition once Nikon and Canon build their own high end digital cameras (D1 and D30 very much challenge Kodak with their DCS 520/620 series). The DCS 660 is still an other world for now. | ||||||
| For wildlife the camera lacks higher ISO (200 is too noisy and 400 is missing) and it is also very heavy. I would not complain about the weight would I not know the D1 and D30. | ||||||
| The DCS 660 is a great camera and I could just scratch the surface of its quality. I some way I did not want to get addicted to that high resolution and spoil my pleasure with the D1. For now the DCS 660 is clearly a reference for today's digital SLRs. | ||||||
| For Comments post in our News Group |