This workflow is based on own ideas and some input
by
Imagenomic (creator
of the Noiseware plugin). It resulted from the discussion how to limit
the noise removal more to the shadows only.
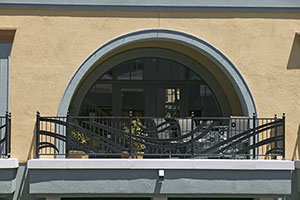
We face a very classic situation that an image has very dark (nearly
opaque) shadows. Here is an example.

1Ds @ ISO 160
Actually it is quite easy to open up
the shadows using the PS CS Shadow/Highlight tool.
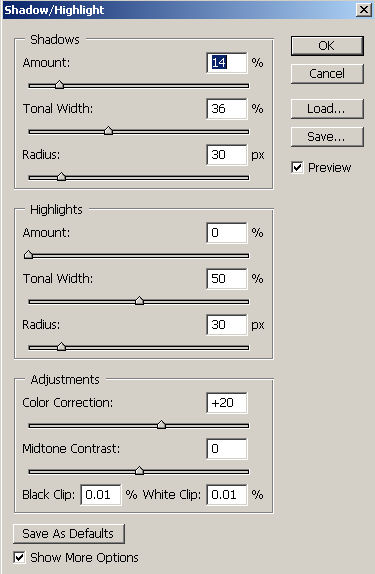
Sample S/H settings

Shadows look now better
But a close inspection reveals the truth
that the noise in digital images resides in the shadows:
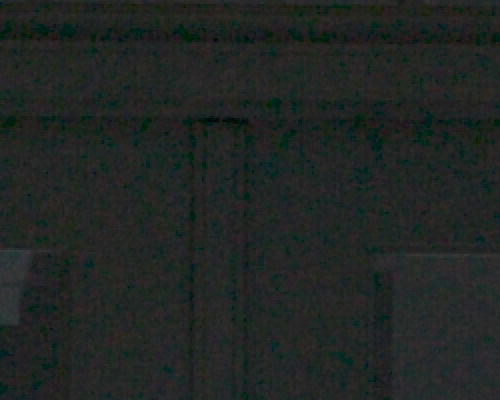
Noise after S/H at 200% magnification
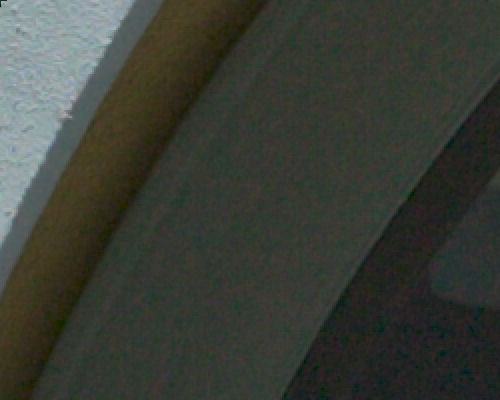
Noise after S/H at 200% magnification
This clearly sends the message that opening
up shadows needs to be followed by some good noise removal.
Digital Fill Flash Workflow (and action)
We use several tools to get a better
result. Here is what we do step-by-step. You can download an action
that performs all the steps in the right order from here.
The DOP tools used are available as demos (can be used up to 1500x1000
pixel images). Also the Noiseware plugin is provided as a tryout version.
Note: This workflow
is meant to be an example only. You need to tweak it for your needs.
1. Create Shadow Mask
We
create a mask for just the shadow part as we want the luminance noise
only to be removed from the shadows. For this we use the DOP
tonality toolkit.
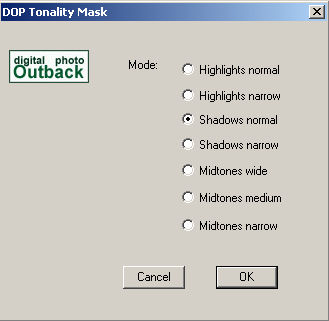
Create a normal shadow mask
This shadow mask is then saved for
later use (for details check the action)
2. Shadow /Highlight
Perform the same Shadow/Highlight step
as shown above.
3. Add Mask
Load back the selection to limit the
noise removal to just the shadow region of the image
4. Run Noiseware to remove luminance
noise
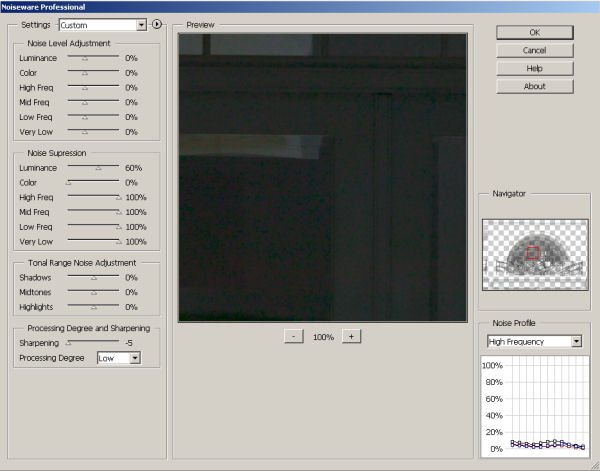
Noiseware removes luminance noise only
This is a central step as the noise
removal does only effect the shadow areas.
5. Deselect the selection
6. Run Noiseware
to remove the color noise 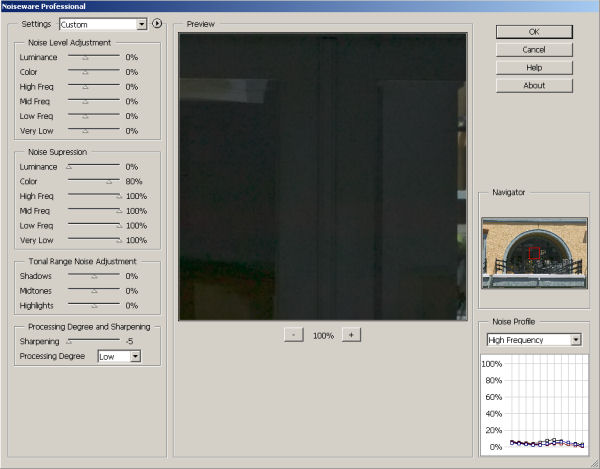
Noiseware to only remove color noise
We remove the color noise from the entire
image.
7. Sharpening with EasyS Sharpening Toolkit
We normally sharpen the final image with
our own EasyS Sharpening Toolkit.
For sharpening we also used the same shadow mask again as we did not
want to sharpen the shadow area that much. Sharpening would just bring
out the artifacts that maybe created by the noise removal process.
Here is the resulting image:

Of course this downsized image does not
show anything about the noise. We revisit the same crops from above:

at 200% magnification

at 200% magnification
We have no intention to remove all of
the noise as this often leads to some sort of plastic look with most
finer details lost.
We hope this workflow inspires you to
roll your own Digital Fill Light workflow.
Note: Digital Fill Flash
is never a replacement for the real Fill
Flash if you can use it. |