Key to any good HDR merge is the best possible alignment of the images. Photographers often use very sturdy tripods to shoot nearly perfect aligned images. In this case the HDR software has little work to do to perfect the alignment.
On the other side we shoot a lot of bracketed shots handheld and alignment gets more complicated. In our experience there is also not much of a problem when you use cameras that can shoot 7-10 fps sequences. We often use the Canon 5D Mark II or Canon 550D and they can only shoot at about 3fps. In this case we often experience that some HDR applications sometimes cannot do a perfect alignment. Remember you may tilt, shift and rotate your camera between shots.
In our experience Photoshop CS5 most often performs the best alignment. So why not create the full HDR image in CS5 too? Unfortunately not all HDR files look equal (e.g. saturation) and we may want to perform the HDR creation in other applications.
This leaves the following question: How to align images in CS5 and then merge to HDR in an application of your choice later.
This article explains how to do it. I makes the workflow a bit more tedious but is clearly worth it.
Step 1: Settings in Lightroom (or Camera Raw)
We perform some basic and important corrections in Lightroom 3 (identical for all images in our bracketing sequence).
- Highlight recovery if needed
- Lens Correction (we want mainly all CA removed)
- Noise reduction if needed
- White balance
- Keep point tonecurve linear
- Black Point to 0
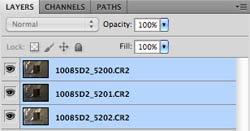
Step 2: Open images as Layer into Photoshop
Select all images of the sequence in Lightroom and call Edit in -> Open as Layers in Photoshop.

This opens all these images as a Layer Stack into Photoshop CS5
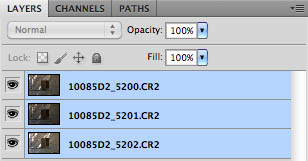
Select all layers.
Step 3: Auto Align
Run Edit->Auto Align Layers
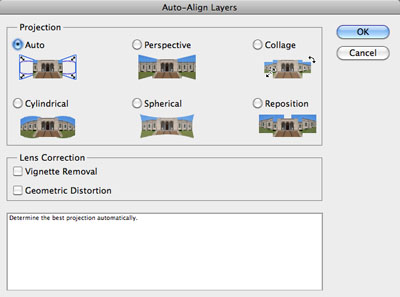
Use the Auto option and uncheck all other options.
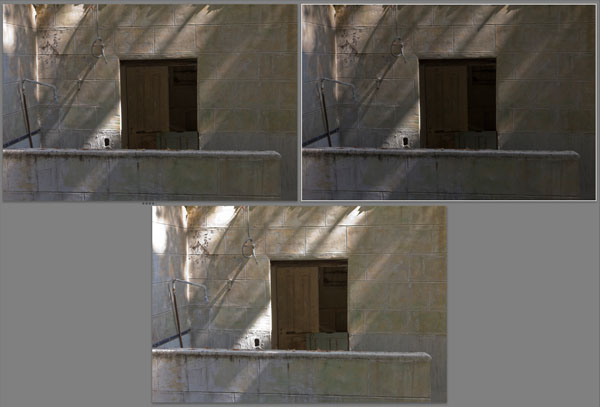
Step 4: Crop
Some of the layers (images) will have transparent borders and also can show rotations. This would confuse most processes for Merge to HDR. The images need to be cropped.
Note: We are working on a solution that helps to perform the crop automatically.
For now just crop manually and make sure that none of the layers shows any transparency.
Step 5: Export Layers into files
Fortunately Photoshop provides a script Export Layers To Files:
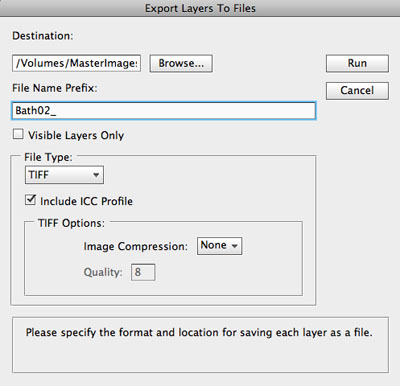
- Destination: We use a temporary folder that we synchronize with Lightroom
- File Name Prefix: We add a unique prefix so that we get the exported files in a clear sorting order
- File Type
- TIFF for lossless processing
- Include ICC Profile for proper color management
- I leave the TIFF options at their default. The bit depth depends on the original files. We use 16 bit.
Step 6: Merge to HDR in different HDR applications (Lightroom plugins)
There is one small problem with our Export. All files will show the same exposure information (ISO, f-stop and shutter speed). This means the HDR generation process cannot make any good use of it (to the extent that you cannot even use CS4 to merge).
Merge to HDR in CS5
Use Edit in -> Merge to HDR in Photoshop
Photoshop will find out that all these EXIF info are the same and ask for your help:
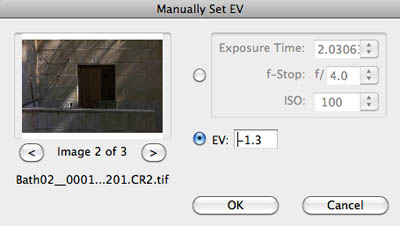
A bit more tedious than with other HDR apps.
Merge to HDR in Photomatix
First you disable alignment
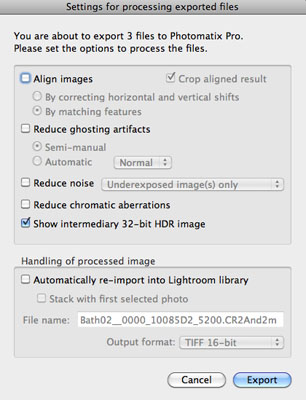
Also Photomatix brings up a dialog to get your help:
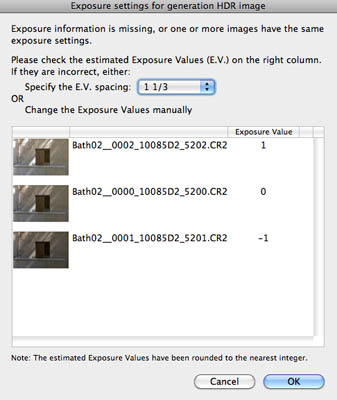
This dialog is way more easy to use because a simple EV spacing will do.
Merge to HDR in HDR Expose
First disable alignment (uncheck the check box at the bottom):
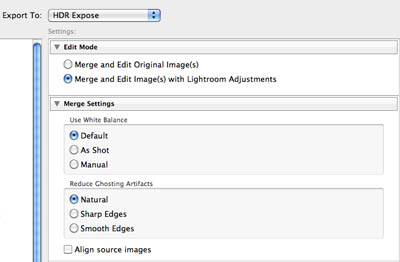
HDR Expose figures the exposure differences out by itself.
Conclusion
In our experience the alignment in CS5 is hard to beat. Using the outlined workflow you can combine to CS5 alignment with the HDR process of your choice.
As mentioned we are working to find a solution for the cropping. |