It is widely accepted that proper monitor profiling and good ICC printer profiles are essential for a good printing experience. Over the last years devices for monitor profiling (e.g. X-Rite EyeOne Display 2) have come down to prices below $250. The moment you want to create your own printer ICC profiles it can get very expensive. There are some solutions on the market that cost about $500 (we have no experience using them) but the advanced X-Rite EyeOne Photo package is more in the $1,500 range. If you take into account that today the profiles by most paper manufactures (for a wide range of printers) have been improved a lot it is for some photographers hard to justify this level of expenses. But it also happens more often than not that you get a new paper and profiles for your own printer are not (yet) available. This means that all photographers who are serious about quality prints want to be able to create their own printer profiles. This is where X-Rite's new ColorMunki may pay the bill.
ColorMunki is an about $500 device (a spectrophotometer) that can create monitor and printer profiles (and some more but this is not part of this review).
X-Rite ColorMunki
We briefly tested the ColorMunki to profile one of our monitors (normally we use EyeOne Display 2) but we want to focus this review on printer profiling with the ColorMunki.
The process of using ColorMunki for printer profiling is quite different from other devices we used. Normally you use 300-3,000 color patches to create your profiles. The initial profiles with the ColorMunki only use 100. If you are just into numbers then this may sound discouraging. Best we show how ColorMunki works and explain why it can create quite good profiles with fewer patches.
Printer Profiling
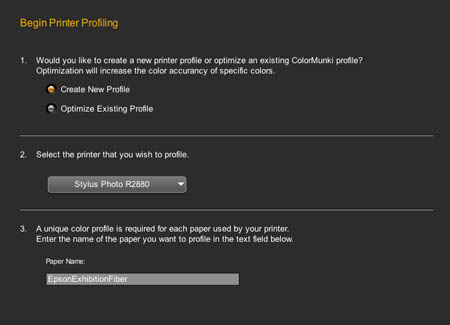
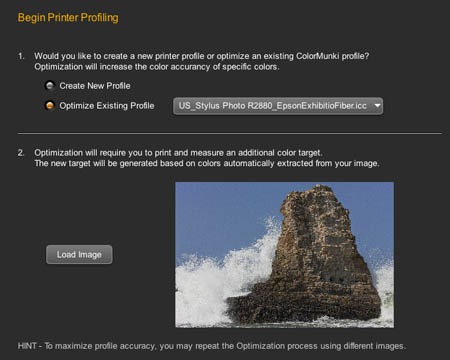
Begin Printer Profiling
Printer profiling has two modes:
- Create new profile
- Optimize existing profiles
We of course create first a new profile.
Print first set of patches
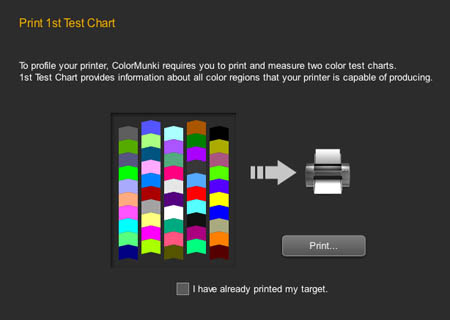
1st test chart
The first 50 patches cover in rough steps the whole color gamut. Don't worry, the second pass will get into some finer color differences.
Print you first test chart. Make sure that you use the paper settings in the printer driver that fit your paper and that you use exactly these same settings for all future test charts and real photos. Even more important is to turn printer color management off(!). Best you define a named preset in your printer driver for consistent settings over time.
Note: We never use printer color management anyway because we cannot really understand what is going on behind our back. We mostly control printer profiles via Photoshop, Qimage or Lightroom.
ColorMunki reminds the user that the print should at least dry for 10 minutes so that the colors can stabilize.
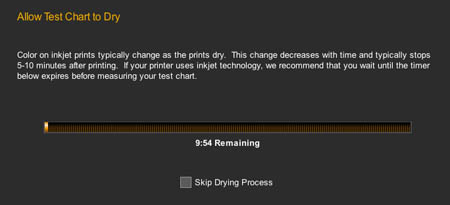
Allow Test Chart to Dry
Measuring the first target
Before you can measure the charts all spectrophotometers need to be calibrated using a white reference. The ColorMunki has a builtin white reference (means you cannot forget or lose it). Just follow the instructions.
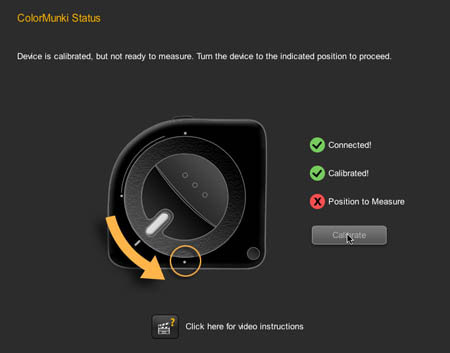
ColorMunki calibration
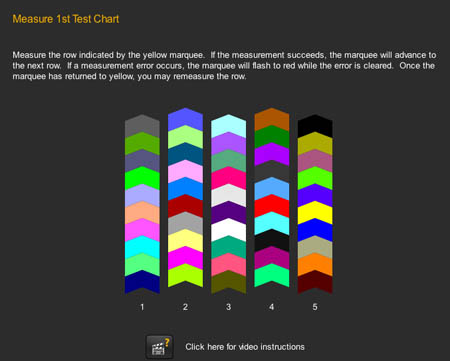
Measuring the first test chart
Measuring with ColorMunki is easy:
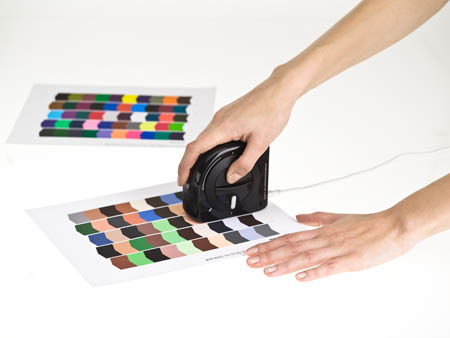
Reading charts
Sometimes we have to read a row again (the software will notify the user is this is needed).
Print 2nd set of patches
Before we get to the second set of patches we need to understand the difference to other processes using many more patches. Normally you use many more patches because you have not even a basic idea about the printer you want to profile. ColorMunki knows quite a lot more after you read the 1st set of patches. Think of having a rough profile for your printer. The second set of patches uses colors that are very critical for our eyes. This is now a first sort of optimization step.
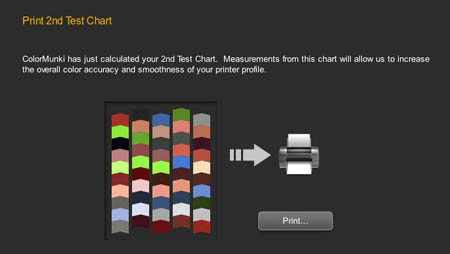
2nd test chart
For the 2nd chart we follow the same steps as for the 1st chart:
- Printing (remember to use the same printer driver settings)
- Drying
- Measuring
Creating ICC Profiles
After the 2nd chart is read ColorMunki creates a (first) usable profile:

Saving your ICC profile
This ICC profile can be exactly used as any other profile you ever create, buy, get with the printer or download from 3rd parties.
In our experience the first profile is a solid profile. But ColorMunki also offers a way to improve these profiles.
Optimizing printer profiles with ColorMunki
This is really a very interesting process. It is like training your profiles to improve on certain color ranges. Here is how it works:
Optimize a printer profile
First you tell the software which profile you want to improve. Then you select a photo that has the colors you are especially concerned about. In our image blue sky and all the shades of the rock. The ColorMunki software creates a new set of patches that cover the color tones in your picture:
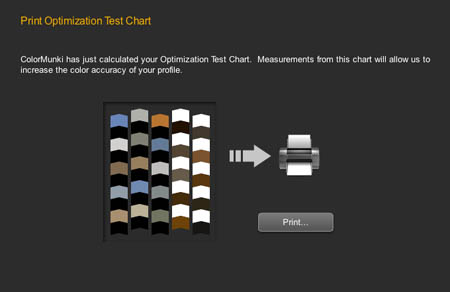
Optimization chart
As you can see the patches are mainly:
- blues
- browns like in the rocks
- dark and bright neutrals
Again the same steps as for the 1st chart:
- Printing (remember to use the same printer driver settings)
- Drying
- Measuring
You can then save the profile either with a new name or the same one. Actually the same name is ok because all you did is to improve the previous profile.
Note: It is important to understand that you still get a general profile and not a profile that is specific to your sample image. ColorMunki needs your image only to get a hint which color ranges you want to improve.
You can repeat this step with as many images as you like.
Conclusion
We find ColorMunki offers an interesting and simple to use printer profiling solution. ColorMunki uses a Spectrophotometer and still is below $500. The optimization feature can be very helpful to improve critical colors in your prints. It is now much more reasonable to roll your own printer profiles.
|


