We recently announced our first one day "Scene to Frame" workshop. This article shows some of the aspects we want to cover during this workshop.
Recognizing a scene does not make it always easy to get the frame (composition you like). Lets have a look at one scene (part of this one day workshop) and explore possibilities to get the frames we want.
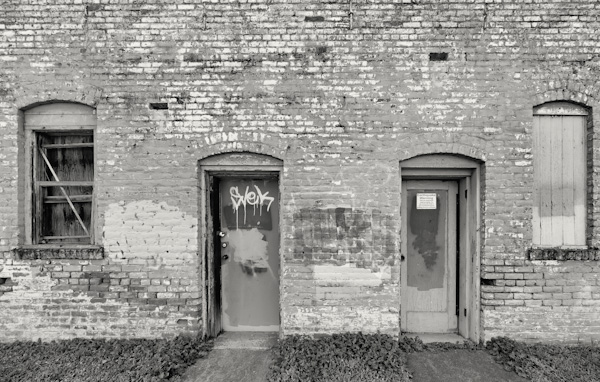
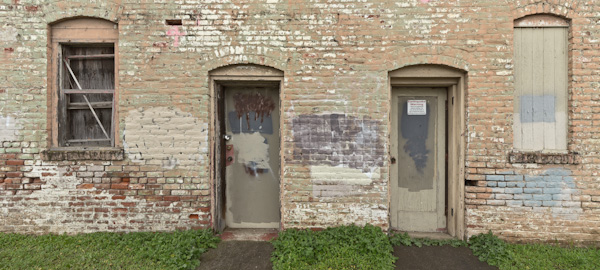
The Scene
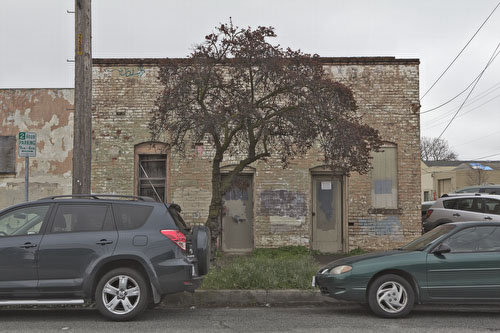
The scene at a normal workday (building in Gilroy)
First there are nearly always cars in front of the building. This means a photo that would include the tree into the composition is hardly possible (but we will take this picture if we get lucky).
We could not resist and did some simple retouching to show the possible frame.
Note: Making this retouching perfect is not our goal and maybe even likely beyond our retouching skill level.
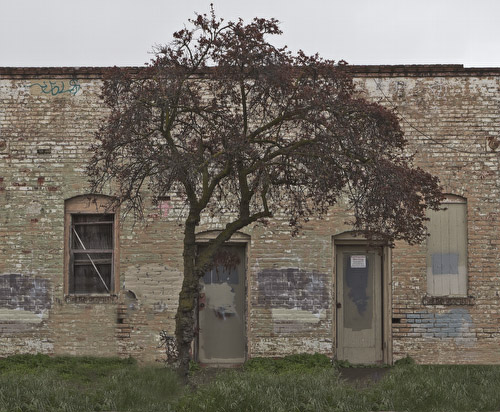
Simple retouch
We don't like the sky and would crop like this:
But as stated the cars did not allow to shoot it this way.
Getting the Frames
If we do not include the tree into the composition we have to get very close to the building because otherwise the tree is in the way of most better compositions.
Most of the following photos were taken with the new Canon 600D (Rebel T3i, features a similar sensor to the 7D, 60D and 550D) and the 24-105mm f/4 zoom. The Rebel has a multiplier of 1.6x. This means the lens has the FF equivalent field of view (FOV) of 38.3-169.1.
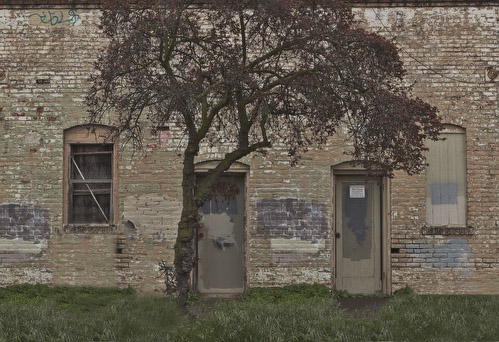
At 24mm (38.3 equivalent) we can shoot this frame:
At 24mm with 600D
There is no chance to get a direct shot like this one and include the windows using the 600D and the 24-105mm zoom:
Panasonic GH2 at 7mm (14mm FOV equivalent)
Fortunately there is a way to get the same angle of view with the 600D and the 24-105mm zoom using stitching.
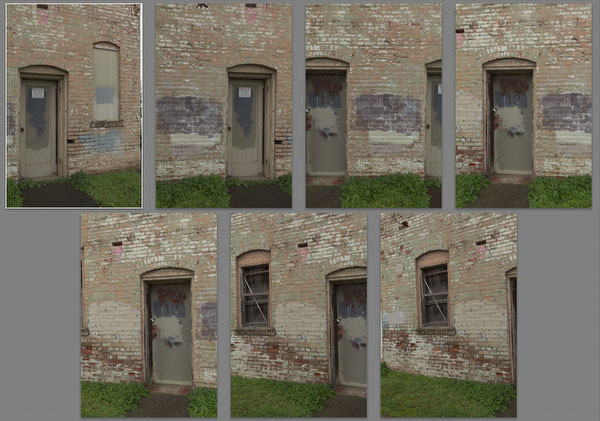
Handheld Photos
We shot 7 handheld vertical photos at 24mm:
and stitched the images in Autopano Pro (we are also just checking the newest Autopano Giga) and Photoshop CS5.
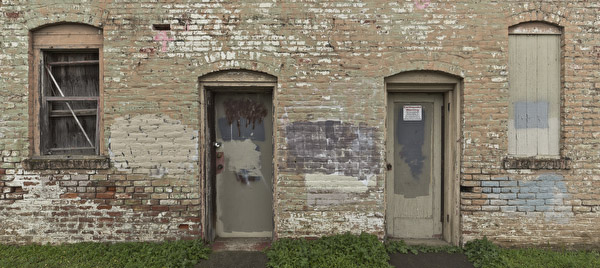
Autopano Pro Version
Photoshop CS5 Version
What is the difference to our single 7mm GH2 photo?
- Stitching is always a problem with moving elements (not here though)
- The final stitched image has much higher resolution (we actually down sampled in Autopano Pro)
- There is no lens for the 600D with an FOV equivalent to 14mm
Why can higher resolution be so important?
- You can print larger
- Also these photos often need a lot of perspective corrections and more resolution also helps here
Tripod Photos
Handheld is of course not ideal for stitching. We showed handheld because this is a solution you can apply ad hoc if you don't have a tripod with you. It actually works but is not as much controlled.
For vertical photos on a tripod we need an L-Bracket. We used the Acratech Universal "L" Bracket (here at B&H).
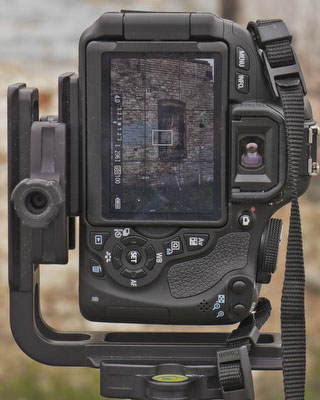
Shooting vertically gives a larger vertical angle. We also could use multiple rows and we plan to check this out soon.
It is also best practice to level your camera. Here we use the Acratech Leveling Base (here at B&H)
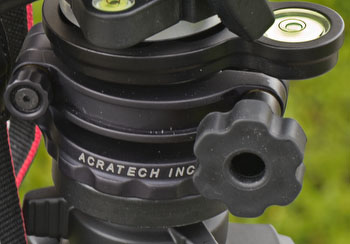
Acratech Leveling base
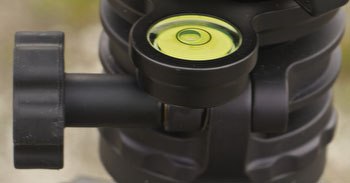
Nice large bubble level
Here are our 5 shots (we look for a good overlap of the photos):
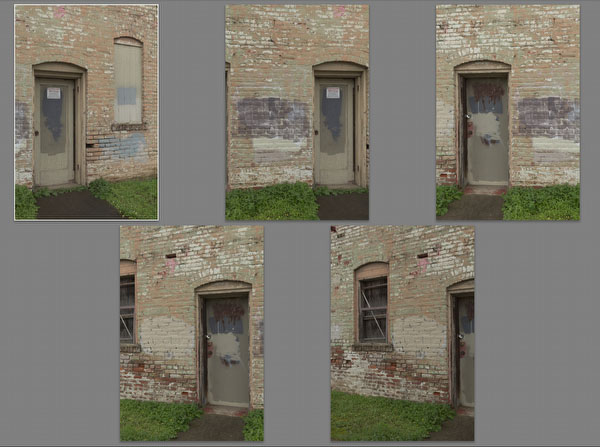
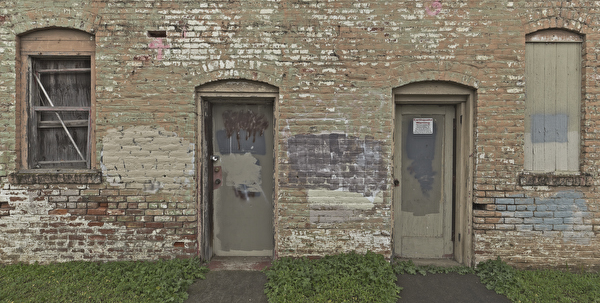
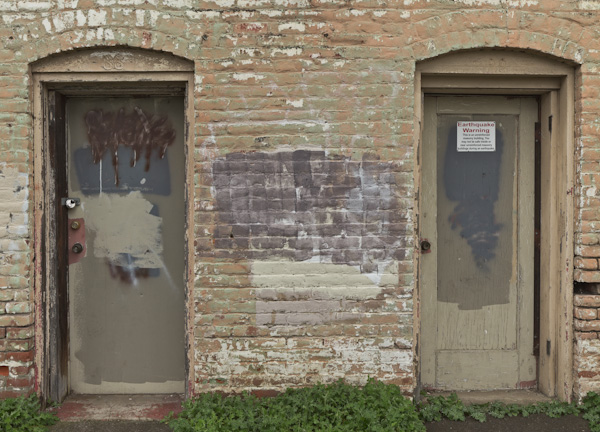
Here is the result:
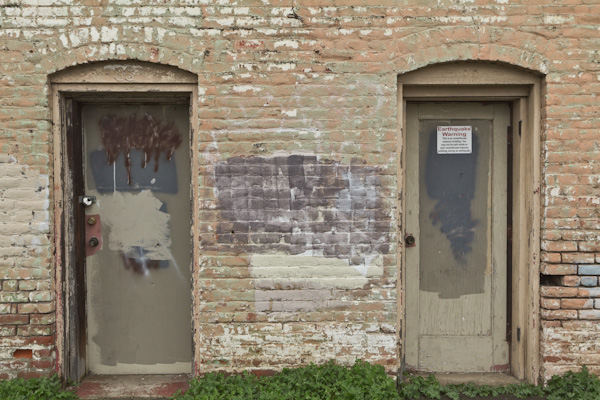
Finally we also stitch the image with just the two doors to get more resolution. This time stitched in Photoshop CS5.
Conclusion
We did not use stitching to create panoramic images but to improve resolution and/or our field of view. We find that stitching is a helpful tool in our arsenal.
Join us at our workshops to practice your skills:
From Scene to Frame Workshop
|


