3/11/2009 DxO 5.3.3 available
5.3.3 supports now the Canon 5D Mark II and the Nikon D3x.
DxO 5.2
Selecting a RAW converter is often a very personal decision. There are mainly these factors that we want from a modern RAW converter:
- Workflow
- Editing features
- Image quality
- The "Look" of the final images (this is of course the most subjective part)
DxO started out to deal with defects of lenses:
- Distortions
- CA (Chromatic aberrations)
- Sharpness
- Vignetting
They realized soon that the process had to start from the RAW file and good RAW conversion is not trivial. Up until now we never really got hooked by the pre 5.0 versions of DxO Optics Pro. Some of this maybe related to the fact that the many choices and slow processing of DxO did not get us on the right track.
Recently at one of our workshops a photographer used DxO and we could understand why. The images had a certain "Look" that we liked. This made us checkout more closely the latest version of 5.2.
Workflow
The workflow is not really the strength of DxO. We like the workflow in Lightroom (actually Capture One was the first RAW converted that got away from the classic open/close paradigm). DxO is still quite slow for our taste (Mac Quad PPC).
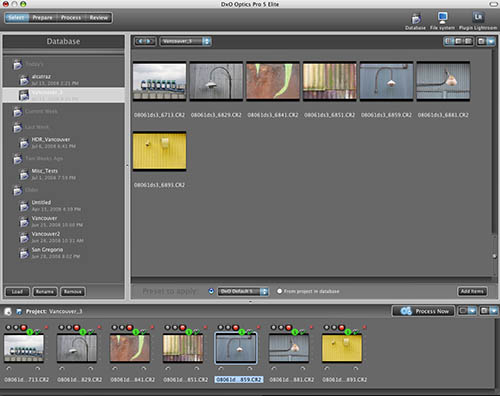
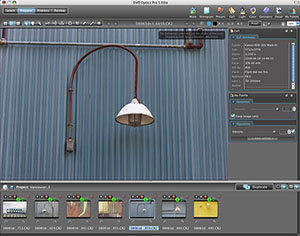
DxO Select mode
DxO organizes the work into projects and that is ok for us. If the preview speed would be faster than there would be no problem at all. We find it too slow for fast browsing. Our solution is to use Lightroom for browsing and then drag/drop images from Lightroom into the DxO project filmstrip. This works very well and we have only to deal in DxO with our keeper images.
Editing features
DxO provides many tools to edit your images. We deal with these many features by using our own preset and only modify a few settings based on the image content.
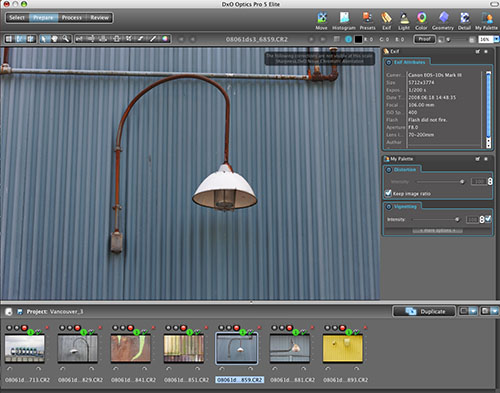
Prepare mode
We show most of the settings palettes but will only talk about the features we care about most.
Light
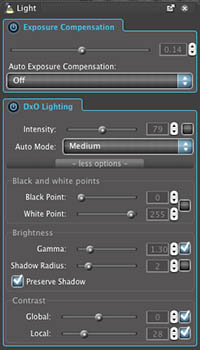
Some of the Light tools
We find especially important:
- Exposure Compensation
- DxO Lighting
Exposure Compensation is a classic tool but we also think that DxO does a nice job to recover some highlights. DxO Lighting seems to do a good job to create what we call the DxO "Look" (we talk about this later in more detail).
We set:
- Exposure Compensation: as needed
- Intensity: as needed (70 default)
- Auto mode: Medium
- Black Point: 0 (we tune later in CS3)
- White Point: 255
- Shadow Radius: 2-3
- Others: default or automatic
Color

Color Tools
We normally don't do much here. You can also do useful film emulations right here. We like the DxO colors as they are by default (have nice saturation).
Geometry
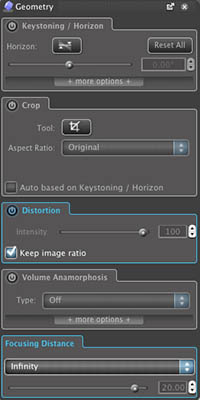
Geometry Tools
With supported lenses DxO removes the lens distortions automatically. Nice not to worry about this. We keep normally all settings at their default.
Detail
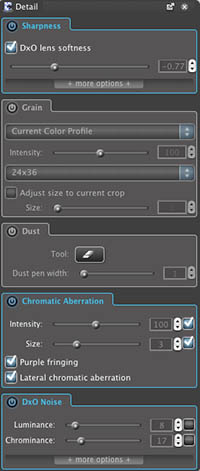
Detail Tools
We turn DxO lens softness off to minimize halos.
Chromatic Aberration (CA) is also reduced automatically with supported lenses. In a few cases we had to manually tune the settings for optimal results. In most cases the automatic settings are just fine.
DxO Noise we use only very low settings because the Luminance setting can kill fine detail and the Chrominance setting tends to smudge colors at higher settings.
Process
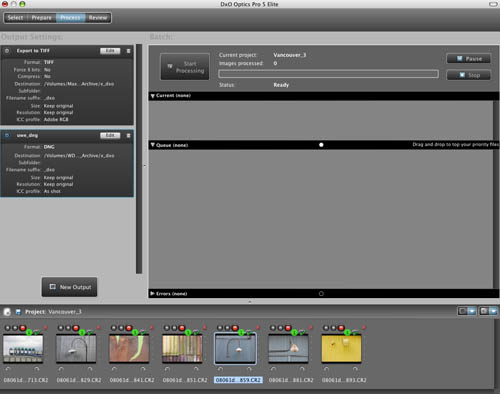
Process Pane
Once your image settings a final you process the prepared images. DxO offers one unique feature: Save the results as linear DNG. This way we can tweak the image in Camera Raw (ACR) when we open the file in CS3. We use this option all the time.
Image Quality
We find the image quality very nice (see "Look" below). Having the lens distortion and CA removed automatically is clearly a plus. Otherwise we use PTLens to remove lens distortions and Lightroom/ACR to reduce CA.
The "Look"
This is for us the strongest point of DxO. Hard to describe but we just like the resulting images. This includes:
- Colors (well saturated but not over the top)
- Good local contrast (this is likely the key)
- Natural sharpness
We like the "Look" so much that we got hooked. We may get with major tweaking in Lightroom close to this look but with DxO we get it by default.
Here are a few samples (as much a small samples can show a "Look"):
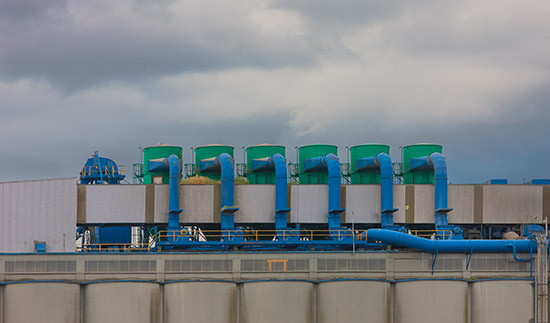
Vancouver Silos (Canon 1Ds Mark III)
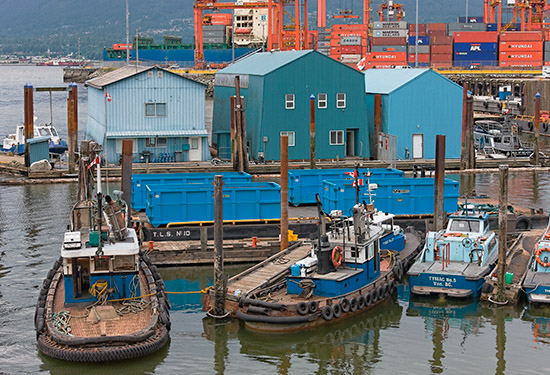
Vancouver Fishing Port (Canon 1Ds Mark III)
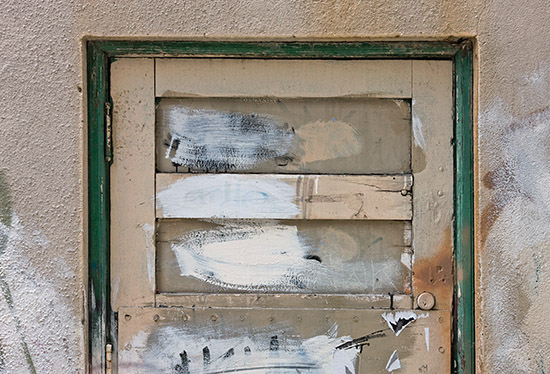
Vancouver Lane Door (Canon 1Ds Mark III)
Note: These samples are also post-processed in CS3. We do this with all converted images. The main "Look" is the result of DxO.
What we miss
- Support for Olympus E-3
- Some lens/camera combinations not supported also for Nikon/Canon
- Faster preview updates
Conclusion
We like DxO a lot for its unique expressive look. We don't want to miss it as an alternative RAW converter (to Lightroom/ACR).
Recommended
Note on "Recommended": For the "Look" DxO clearly deserves a "Highly Recommended". We just find that the preview update speed spoils the fun a bit. As said we don't want to miss DxO Optics Pro for our own personal workflow. We hope that tells you enough how we feel about the product. |