DOP Color Intensifier
V1.0
Images are often too bright and lack expressive colors. This cannot be fixed by just:
- Plain darken the image
- Increase saturation
Our goal is to create images with strong and expressive colors.
A classic method to do this is to use a simple Curves adjustment layer with Soft Light blending mode:
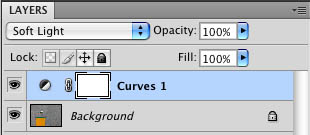
At first is seems to work very well until you realize the following issues:
- Blocked dark shadows
- Hot highlights
DOP Color Intensifier helps to solve these issues while building upon this technique. We also added some improved way to darken/brighten the image.
Installation
The DOP Color Intensifier comes as a Javascript file for Photoshop CS3/CS4 (we only support CS3/CS4).
- Full version is named: DOP_ColorIntensifier.jsx
- Demo version is named: DOP_ColorIntensifier_Demo.jsx
Installing the script
The script needs to be copied to the Photoshop CS3/CS4 folder and here to Presets/Scripts (or to the equivalent locations for other languages). After restarting CS3/CS4 you should find the script under File->Scripts. If you do not find it there you did not put the script into the proper location.
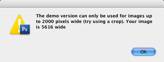
Note: The free demo version can only handle images up to 2000 pixels wide. The commercial version does not have this restriction. You will get this warning message if you use larger images with the demo version:
Using the DOP Color Intensifier
Using the script
Using the script is simple. Best you have the top layer selected while working with the script. Open the script from File->Scripts
- Full version is named: DOP_ColorIntensifier.jsx
The script does not have any UI. Instead it creates a layer group which leads to a workflow described in our sample below.
Workflow Sample
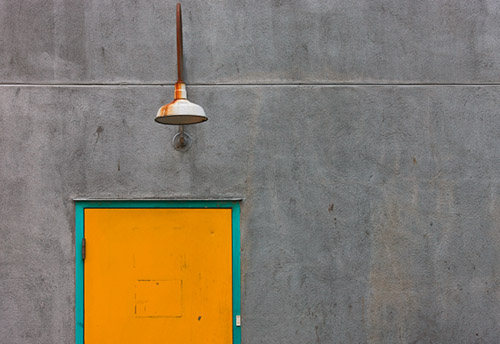
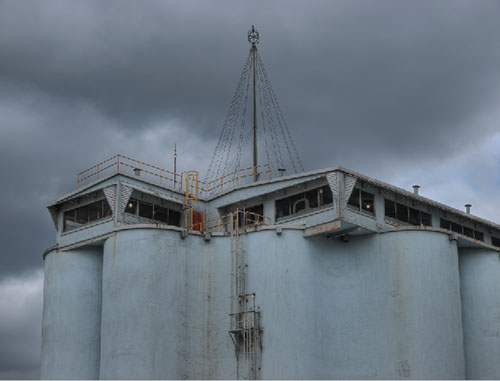
Here is our start image. Best you download the demo version of DOP Color Intensifier and try it yourself with your own images.
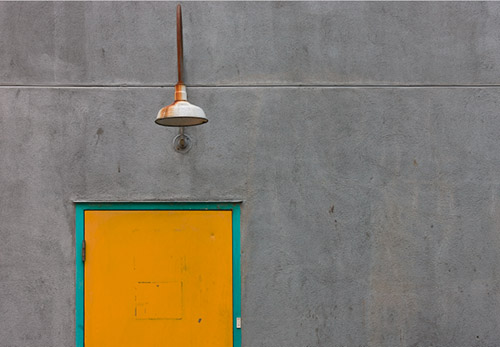
Start image
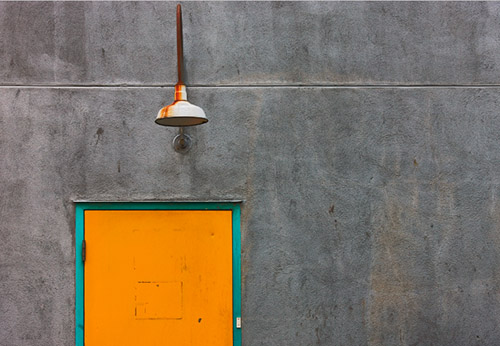
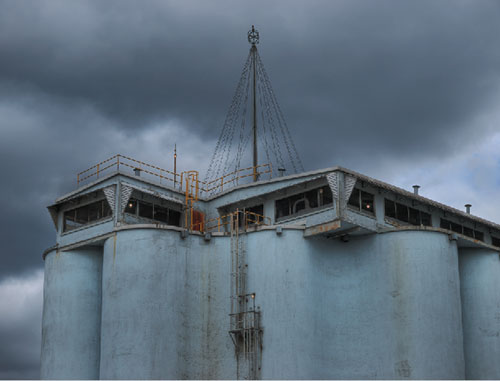
Just run the script and you get this image result:
As you can see the colors are intensified and also there is more texture visible.
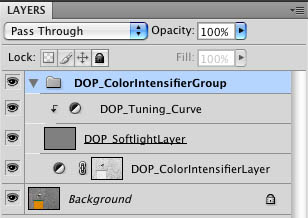
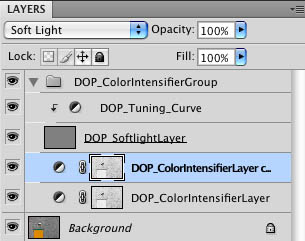
DOP Color Intensifier created this layer group:
- DOP_ColorIntensifierLayer: Right now this layer is doing all the work
- DOP_SoftlightLayer: Leave it as this layer gets controlled by the DOP_Tuning_Curve
- DOP_Tuning_Curve: At default it does nothing (see below how to use it)
Workflow
After you run DOP Color Intensifier you check the image and decide:
- OK: you are done
- Effect too strong: lower the opacity of the DOP_ColorIntensifierLayer
- Effect not strong enough: Duplicate this layer
In our sample we wanted the effect to be stronger and duplicated the DOP_ColorIntensifierLayer. Just drag the layer on top of the New Layer Icon  in the layers palette. Here is what we get in the layers palette. Here is what we get

and here are the layers:
Inspect the image again and if it is now too strong lower the opacity of the newly created layer.
Using the DOP_Tuning_Curve
The DOP_Tuning_Curve controls the behavior of the DOP_SoftlightLayer. Here are sample curves:
 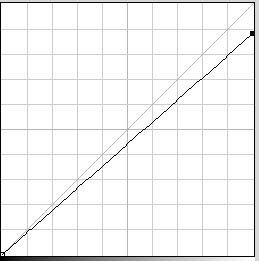
If you move the top right point to the left the images gets lighter and if you move it down it gets darker. Here is the result of using the second (darker) Curve:
Sample #2
Before
After
The after image adds more drama. This of course always a matter of your personal style. By changing opacity you can get many different versions between the before and after state.
Note: Smaller images look darker than in larger prints or views.
Conclusion
We think the DOP_ColorIntensifier is a nice tool to get more expressive colors. Best you download the demo and use your own images and eyes.
We always develop these scripts for us first and then later make it available as a product. Build on our experience. |


