In many cases you want to perform a correction
on some part of your image but need a soft transition. Here is
an example:
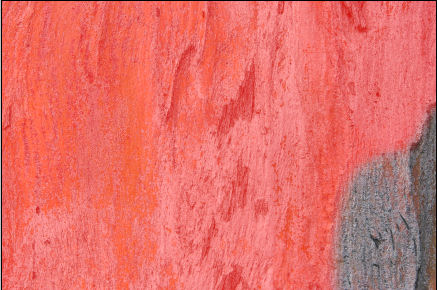
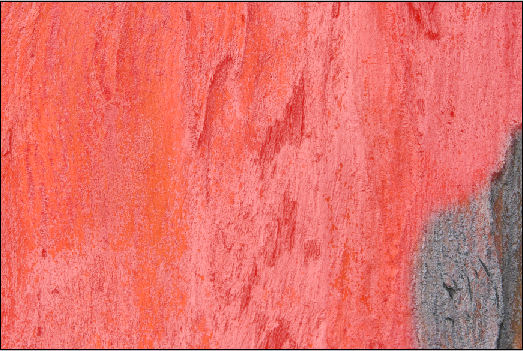
Out of focus area
The above images suffers from a common problem.
Parts of the image (marked area) are out of focus due to the
low depth of field of a close-up shot. In principle you cannot
really
fix
out of
focus images but you can improve it a lot if the area is not
too much blurred.
Here are the principle steps we do:
- Select the out of focus area
- Duplicate the layer
- Feather the selection (this is what we will talk about in
more detail in this article)
- Create a layer mask from this selection
- Sharpen the out of focus area slightly too strong (we use
EasyS Sharpening Toolkit)
- Adjust opacity of the layer so that the sharpness of the
out of focus area blends well with the rest of your image
- We
then sharpen the whole image as normal
Note: The real
issue is hard to view in such a small image but we are talking
about principles here and you
should apply the technique to your own images.
The following technique
is based on a tip on Ben's excellent DVD "Advanced
Masking". Feathering
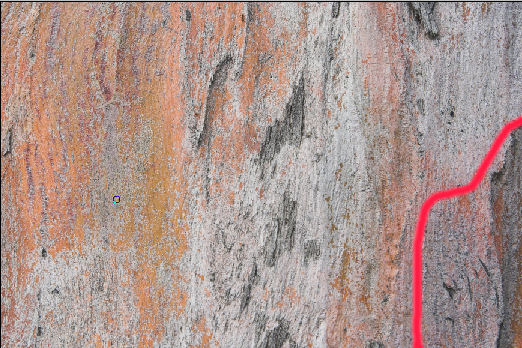
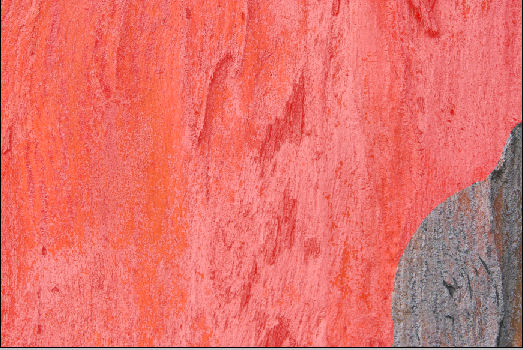
You start with a selection:
Simple Lasso selection
Now the normal step is to use the PS feather
tool:
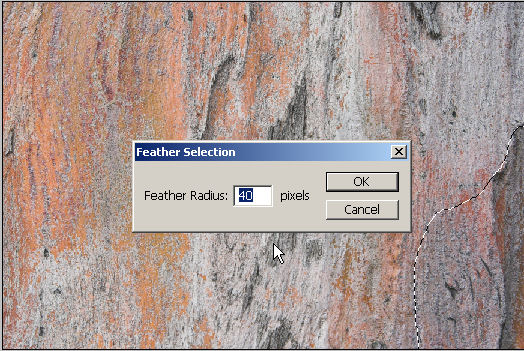
Feather the selection
The problems with feather are:
- There is no visual clue which setting to use (you work blind
by numbers)
- The selection does not show any hint of the feathered region
Here a first tip by Ben helps. Just press the button 'Q' and
enter the Quick Mask mode of Photoshop:
This way you get a much better impression of the
feathered area. But the iterations using the feather tool can be
a bit tedious.
Smart Feathering
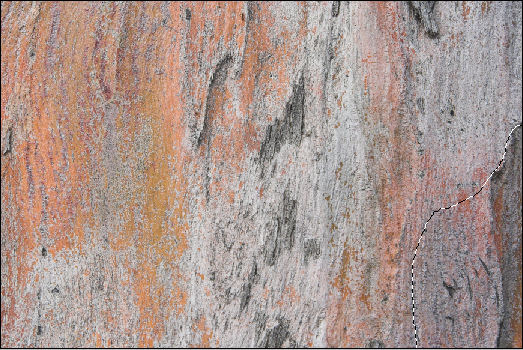
Here is an alternative way to create a feathered
selection. Again create your selection as before:
Lasso selection
Enter the Quick Mask mode (no feather used so far).
Quick Mask shows hard transition
You can now feather the Quick Mask using Filter->Blur->Gaussian
Blur to feather the mask:
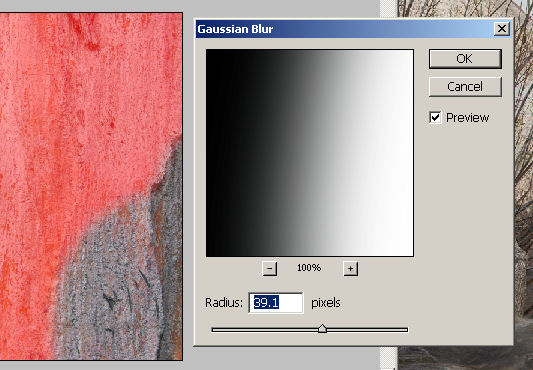
Feather mask using Gaussian Blur
Once you found a soft transition you like hit "ok" and
leave the Quick Mask mode by hitting 'Q' again.
Note: Not always
is the red color of the Quick Mask ideal. You can change this
color by clicking on the Quick Mask tool in the Photoshop tools
palette  (right
icon) and selecting a better suiting color: (right
icon) and selecting a better suiting color:
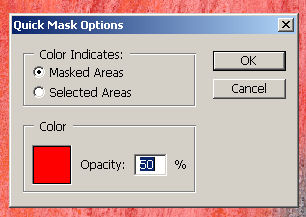
Quick Mask Options
Under
the hood of Quick Masks
What the Quick Mask does is to create a so called
alpha channel:
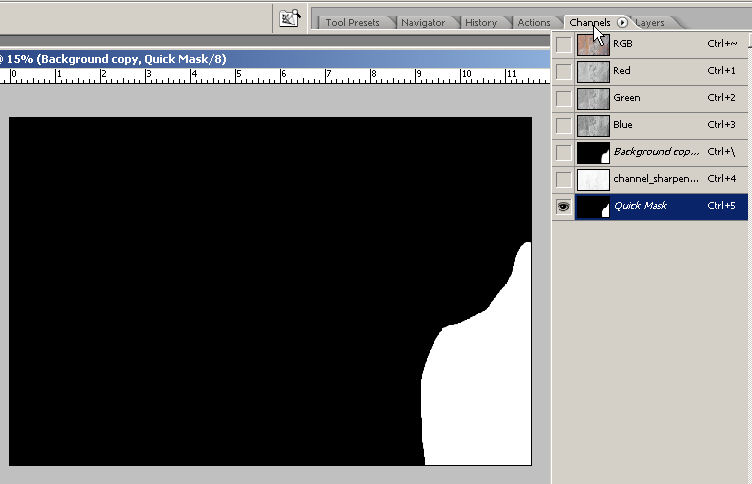
You simply select this channel only by deselecting
the RGB channel. This means you can change the Quick Mask with
all operation that can modify a channel (in essence a gray scale
image).
As you can see, Ben's simple technique allows you
to work smarter with Photoshop.
Please check out Ben Willmore's books and training:
|