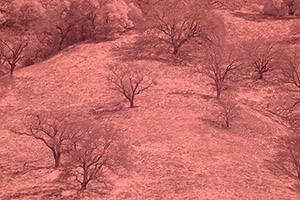
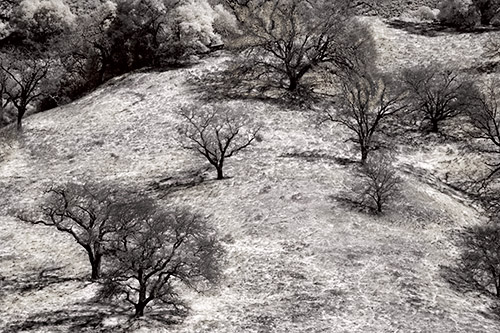
#01 Per Stavnesli
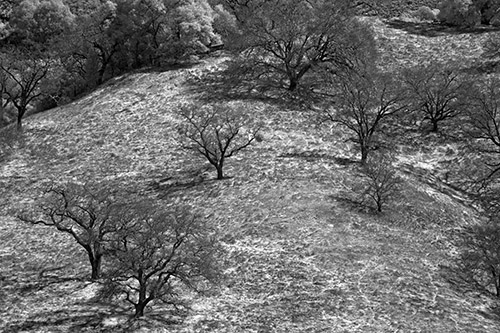
1. Convert to BW with "Virtual photographer" (Windows
only)
2. Strong S-curve applied with Curvemaster in wgcmyk (maximum black.
Windows only).
3. Shadow / highlight filter in photoshop(shadow only)
4. Photo Kit (punch blacks and whites)
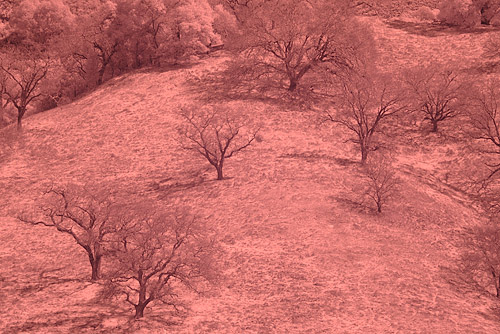
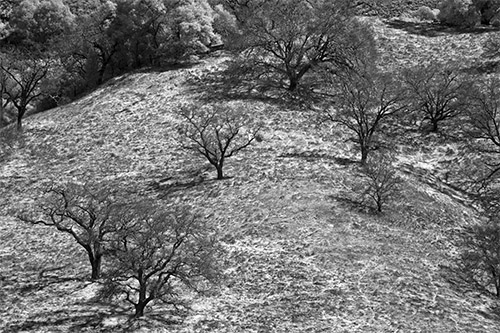
#02 Sven Klein
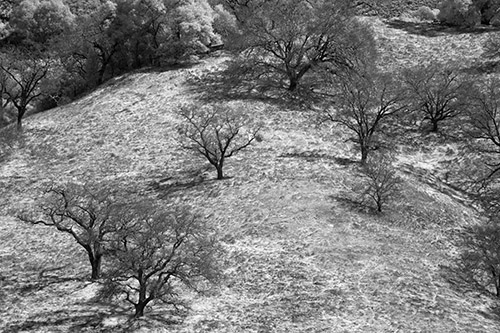
- Image Mode 16 bit
- Levels
- S-Curve, Blend Mode: Luminosity
- Curves (linear), Blend Mode: Hard Light, Opacity: 30%, Blend if Underlying
Layer
45/78, 255
- Gradient Map
- Channel Mixer: +90, +36, 0, -2 Monochrome
- Flatten Image
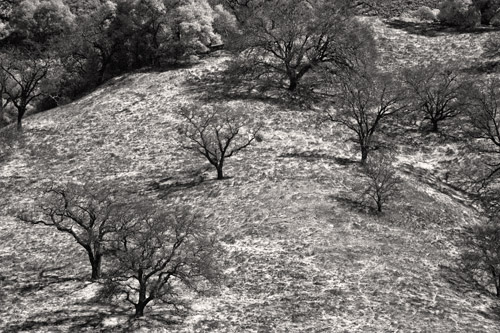
#03 Stan Bonis
1) Hue/Saturation Adjustment Layer Hue=0 Sat=0
2) Levels Adjustment Layer> Adjust each Channel R,G,B for white
and black point
3) Fill Layer>Color>Solid Color R=0,G=0,B=0
4) Layer>Overlay>50% Gray> Dodge and Burn white and black
adjacent areas to give impression of sharpening
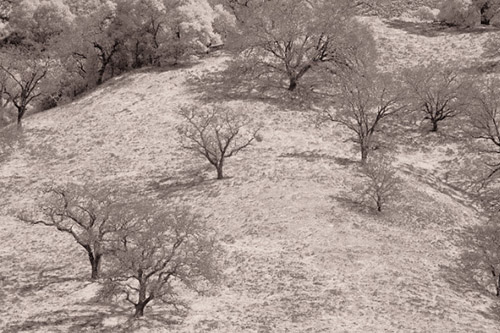
#04 Khristopher Roberts
1. Image converted to LAB
2. a and b channels filled with 50% black to remove color
3. Levels Applied to Lightness Channel: 31 1.00 184
4. Shadow/Highlight Applied to Lightness Channel: Shadow: 0% Highlight:
20%
5. Curves Applied to Lightness Channel: In: 28, Out: 24; In:70, Out:
80;
6. Image Converted to RGB
#05 Karel Sobota
- Image mode 16 bits
- Levels & Shadow/Highlights per channel:
Red: 54/1/245 - Shadows 0 Highlights 55/53/99
Green: 20/1/149 - Shadows 0 Highlights 60/47/77
Blue: 25/1.89/142 - Shadows 0 Highlights 44/41/66
- Filter Alien Skin
Exposure
Black & White Film Kodak TMAX 3200
*No* sharpening
- Slight S curve adjustments
- Filter Photo Filter Sepia 20%
#06 Fabio Riccardi
Processed in LightZone (here is the LZN file)
#07 C. Casana 
- New Hue/Saturation layer: saturation -100 (top layer)
- New
Selective color layer: neutrals: yellow +10; black +10; black:
black +5 (next layer)
- New Hue/Saturation layer: reds hue +20; yellows
hue +20; magentas hue -50 (next layer)
- Curves adj layer: S curve
(next layer) Curve adj layer mid tones up a tad.
- Levels adj B & W
points
#08 Michael Hoffman

Mode: 16 BIT
Channel Mixer: MONO R=60% B= 0% G=50%
Levels: AUTO
Gradient Map: Black to White Mode: Grayscale
|