Out of the blue I got a version of Noise
Ninja from
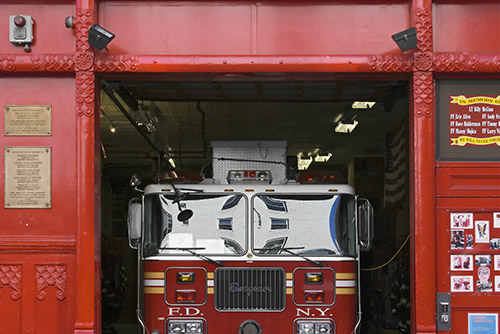
it's author Jim Christian. The fire station was just the right image
to test Noise Ninja's abilities.
But first let me list some issues that we hope get solved in the near
future:
- Stand alone application (we only accept this if the benefit clearly
outweighs the hassle: it does) - a PS plugin is planned
- Windows only: Mac version is planned
- Does not keep profiles attached to the images: Planned to fix
You probably guess right that I will only start with the critical
remarks if the rest is more than just interesting.
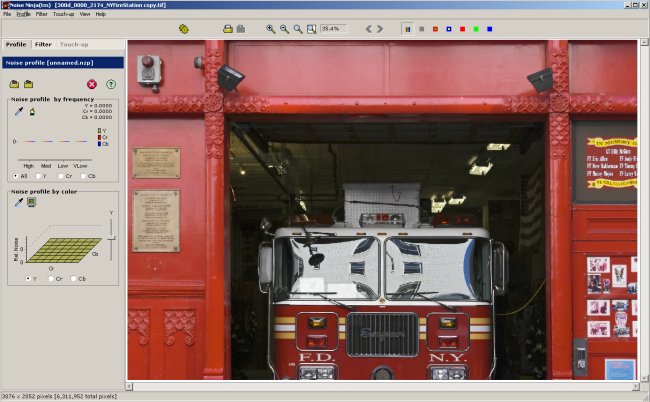
How does Noise Ninja work?
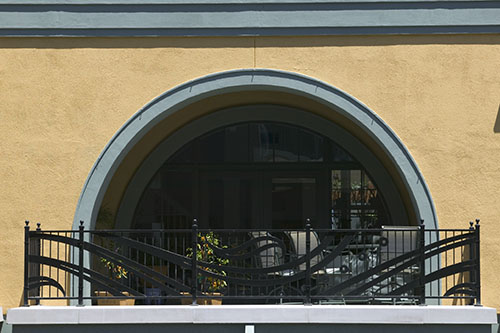
Here is a crop from the original:
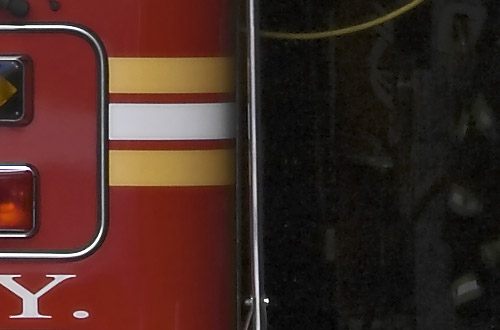
unfiltered (100% pixels)
This kind of noise is hard to show at
only 100% so you better open it in PS and look at 200-400%.
Here are the steps to follow in Noise
Ninja:
1. Open file (no LZW compressed files
supported yet)
2. Load profile 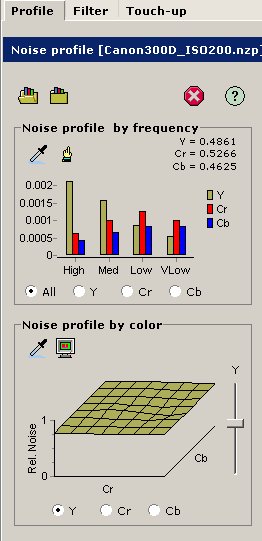
Profile Tab
We did not even go into the details to
understand the different settings as we just grabbed one of the profiles
that come with Noise Ninja:
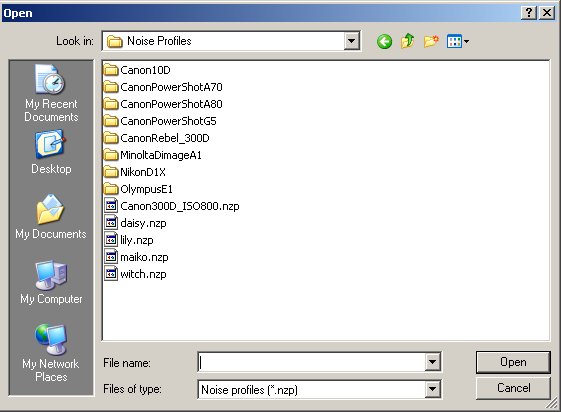
Current Profile Selection (multiple ISO per camera)
The profiles provided with Noise Ninja
are free. More profiles are planned to be added. Users are encouraged
to share their own profiles. There is even a clear more methodical
way to create own profiles (won't touch this here). In this case we
used a 400 ISO profile for the 10D (very close to the 300D) for our
picture.
3. Select Filter tab
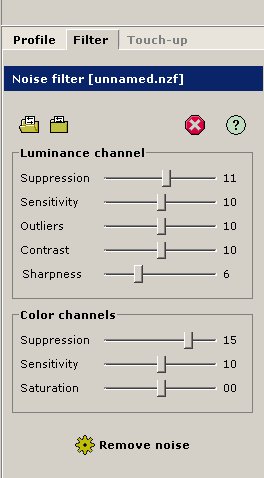
Filter Tab
We did not change anything here and just
hit the "Remove Noise Button". But you also can tweak the
sliders and preview the filter effect in a selectable crop on the screen:
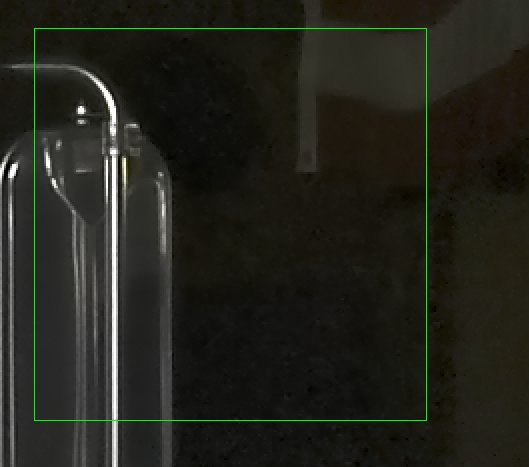
The green area shows the filter effect (here at 200% pixels)
Now Noise Ninja performs the
filtering. We did not measure the speed but it seems much faster
than Neatimage.
You have now both the filtered and the
original image in the buffer and can switch between these versions
to review the result.
4. Touch-up (Optional)
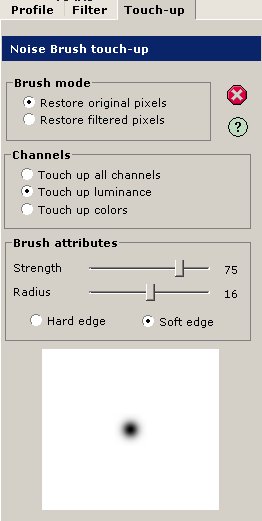
Touch-up
Here you can use some painting technique
to perform a selective noise removal. We would use techniques in PS
to get the same results by making the filtered image a new layer and
adding a layer mask.
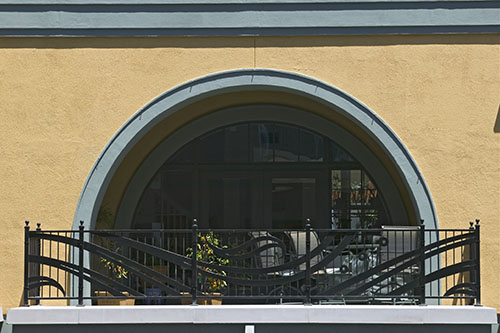
Here is the resulting image (crop):
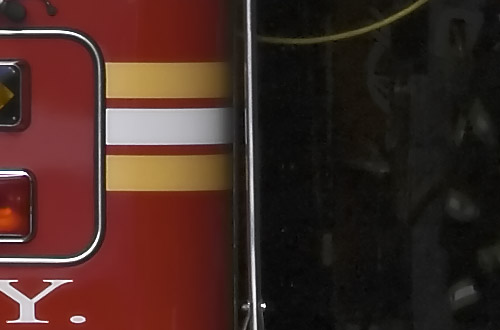
filtered (100% pixels)
We were impressed because it keeps a
lot of details while smoothening the image. |