It seems that the digital photographers get more
concerned over noise while these days the digital cameras
become better and better.
Lower noise allows us photographers to make more
out of available light. On the other side you even get severe noise
with a Canon 1Ds at ISO 100 once you brighten up the shadows.
Helicon Filter Pro (beta 1.61) 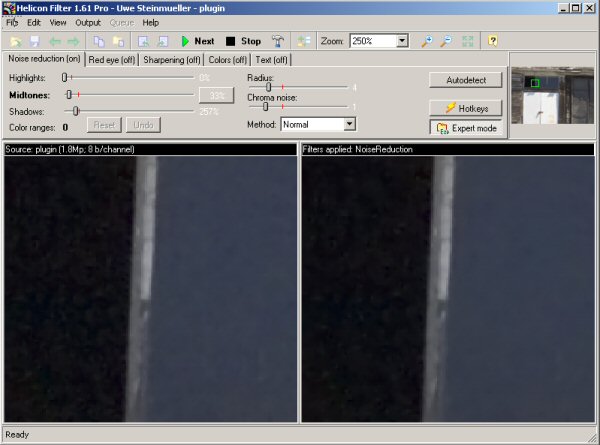
The
best known noise removal tools today are Neat Image and Noise
Ninja. A couple of months ago we got a first version of
the Helicon Filter and followed the betas since then. Besides the very
good results
we like the following features:
- Large preview to judge the noise removal effect
- Easy to use
- Hardly any plastic look and only minor softening of the image
- Control of shadow, midtone and highlight noise removal
- Photoshop plugin
This preview is based on a beta version that you can try yourself.
Usage
The use is straight forward. We create a new layer with all the content
of the layers combined (get our e-book
DOP2000 to better understand
a layer based workflow). Then we run the Helicon plugin which actually
launches the Helicon Filter Pro application.
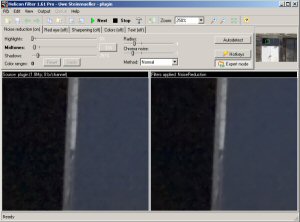
As said the preview is very big and provides a good way to analyze
the settings. The Helicon Filter provides also a nice navigation tool:
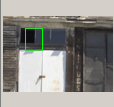
Navigation Tool
Noise Removal settings
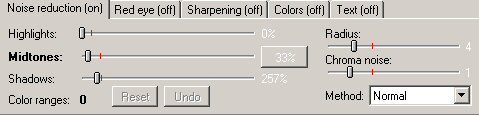
Noise Reduction settings
We only use the "Noise Reduction" tab.
All the other tools maybe nice but are not essential for our task at
hand. Sharpening can be useful but we sharpen later in PS anyway.
- Highlights, Midtones and Shadows: control the noise removal in
these different tonal ranges
- Radius: Lower values preserve more details and
remove less noise
- Chroma Noise: controls the color noise removal
- Method: Often "fast" maybe good enough. With strong
noise try the other methods
- Color Ranges: Very unique feature and also new
in the latest betas (see below)
Color Ranges
The idea comes from common situations. Often you want the noise more
removed in certain colors (like blue sky). Here Color Ranges help:
Right Click: Increase noise reduction by 50% for
the color you clicked on
Shift+Right Click: Decrease noise reduction by 50%
for the color you clicked on
Very powerful option.
Once you like your settings you click the "next" button and run the
Helicon Filter. Then you can accept the result and you return to Photoshop.
Example

300% magnification from an ISO 1250 shot of the Canon 1D Mark II
After Helicon Filter treatment
Don't overdo the noise reduction and
also remember that noise often does not show that bad in prints as
you would expect from the screen.
Why don't we show many before/after samples?
You can make every noise removal tool look good with the right samples.
Only you can judge a tool whether it works for you. Noise removal is
complex:
- The final test is the print (especially the size of the print matters)
- Not all noise has the same characteristics and noise filters treat
them all different
- Some noise in the image may even make the image look less digital
(plastic clean) in prints
- Noise is a subjective matter (We never trust statistical data about
noise)
What we do is find tools that we would use for our work and hope that
you try them on your pictures. We like the Helicon Filter Pro a lot
(especially with the new plugin).
Highly Recommended
|