Shortly after attending the 3rd Annual Photography
and Fine Art Printing Summit with Uwe Steinmueller and Alain Briot
in November 2005, I purchased an Epson 4800 printer. I had been lusting
after the 4800 (and 4000 before it) for some time, but I kept delaying
a purchase because I did not feel that my post-processing and printing
skills were good enough to make the prints I saw in my imagination.
The Summit provided me with the skills and confidence I was lacking,
and now the 4800 has an honored space in my office/darkroom.
It did
not take me long to discover that making larger prints has its own
set of challenges. For example, I was suddenly upsizing my photos
to double the size of their original dimensions (e.g. from 8x10 to
16x20), which actually is quadrupling the number of pixels. When you
create that
many new pixels, some undesirable changes can show up in the file.
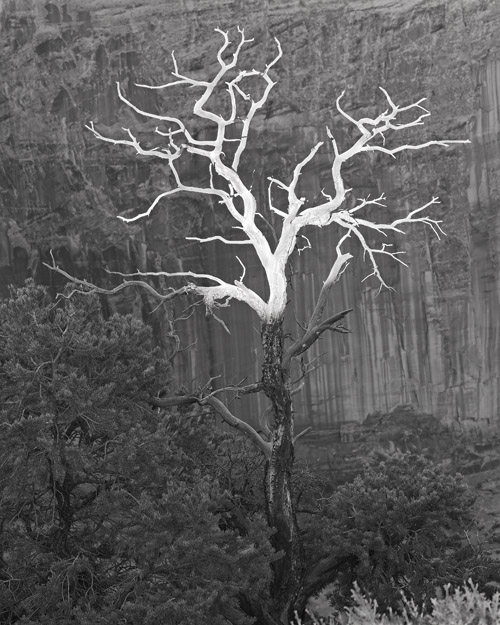
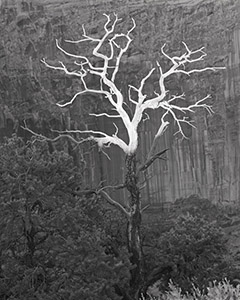
The photo above was taken at Canyon de Chelly in Arizona
with a Canon 1Ds. Before I owned the 4800, I had made numerous prints
of this
photo. Although the 1Ds can exhibit noise in shadow areas (even
at ISO 100),
I was not seeing noise in my prints. The photo looked great when
I upsized by 50%.
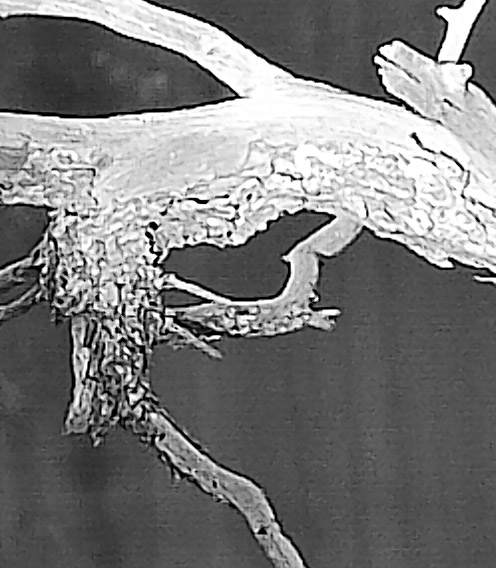
After some cropping, this file was originally
a bit over 9 megapixels. I upsized the file by 100% (double the original
height and width),
so the resulting file was around 36 megapixels. When examining
the upsized
file at 100% on my monitor, I noticed a lot of artifacts had
appeared, particularly in the canyon wall in the background. Below
is a 100%
crop of the upsized file.
My experience had been that many things you
see at 100% on your monitor are not an issue in the actual print.
So, I printed
the photo with
high hopes. In this case, past was not prelude, and I was
disappointed with
the print. The artifacts in the canyon wall were in fact
visible -- they looked like noise patterns. In addition, the overall
photo did
not look
right any more. It seemed artificial and plastic. In other
words, too digital.
I tried different combinations and methods
of upsizing and sharpening, but the results were basically the same.
A day
or so later, I
was looking through my notes from the Summit, and I came
across a comment
that
Uwe made about adding analog noise to photos to mask the
digital noise. I
had never tried this before, but this particular photo
seemed like the perfect candidate to try an experiment.
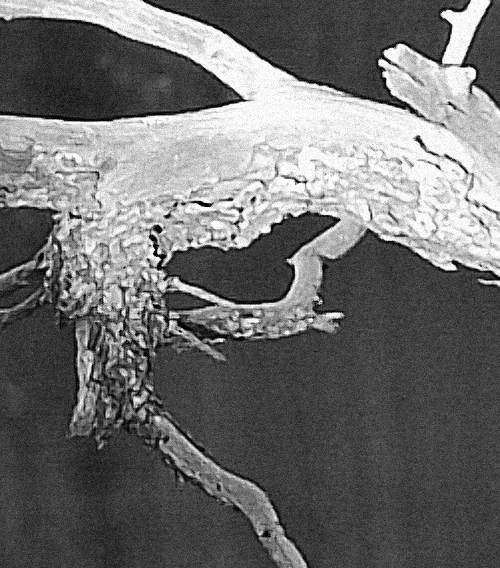
Above is the same 100% crop, but with some
Gaussian noise added to the photo. In Photoshop, I simply went to
Filter > Noise > Add
Noise, selected Gaussian distribution, and set the amount at 5%.
Although this
jpeg crop may not look so good on your screen, the
resulting print from my tiff file was a major improvement. The added
Gaussian
noise did indeed
mask the digital noise patterns. It also eliminated
the plastic look of the prior print, without sacrificing fine details.
I
now have a print that I am proud to display on my wall.
Tips
on how to create simple Noise/Grain (based on reader's feedback)
Method #1 (Quick grain)
1. Add new layer.
2. Select Overlay mode and fill with 50%grey (all this done from the "
add new layer" menu box.
3. Add 3% (or to taste) Gaussian / Monochromatic noise
4. Gaussian Blur .2 to .4%.
We will publish soon an article that creates a bit
more sophisticated noise/grain.
Method #2 (use real grain as basis)
Read this article here.
Note by the editor (Uwe Steinmueller)
It is kind of the same that is done in audio to add dither (audio
noise) to recordings to improve actually sound quality (at least to
our ears).
This is one of the many techniques we will teach during the 2006 Summit.
We will also work with you 1 on 1 and help you with your own images
and with how to use this technique, and many others, in your own work. Click
here to read a detailed description of the 2006 Digital
Fine Art Summit. Joseph Holmes will join the Summit 2006 as a guest
instructor means you can ask this world class printing expert directly.
About the Fourth Annual Photography & Fine Art
Printing Summit
The 4th Photography & Fine Art Printing Summit will take place
November 10th to 13th, 2006, in Page, Arizona. Seats are limited. In
addition to studying color management and color spaces, we will also
do field photography in stunning locations such as Antelope Canyon,
Lake Powell and Horseshoe Bend, as well as study Raw conversion, Photoshop
processing, image optimization, printing. We will also conduct print
reviews of your work created during the Summit. Find out all the details
of this unique learning and photographing opportunity on the 2006 Summit
page. |