07/14/2011 PhotoAcute Version 2.94 released
"
1. Fixed: focus stacking for images with odd width
2. Better handling of bayer patterns
3. Fixed: auto cropping function for camera profiling
4. New profiles:
"
You get the update from here and can buy the software at 10% off from the link at the bottom of this page.
10/13/2007 Six Shot Super-Resolution with Canon 40D
As mentioned before we cannot use automatic bracketing with the Canon 40D for more than 3 shots. For super-resolution it is better to have more than just 3 shots. That is why we shot two 3 exposure brackets in a row. We used a monopod to keep the lens as stabil as possible.
Camera bracketing setup was -1 1/3, 0, +1 1/3 EV (two times).
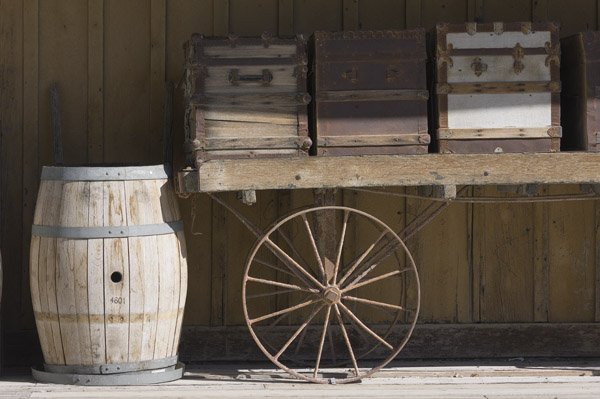
We photographed again our standard test scene the Los Gatos Italian Ristorante:
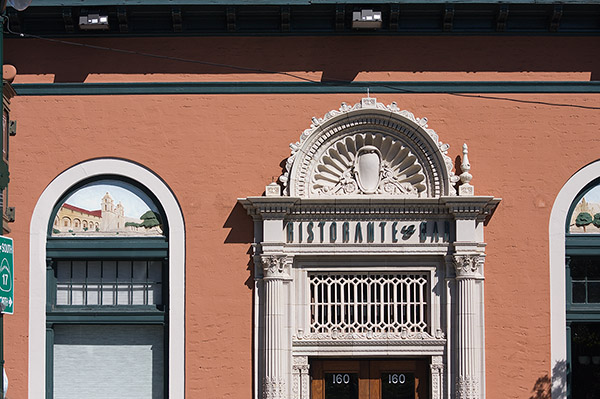
Ristorante from 6 40D shots in PhotoAcute
Workflow:
- Combine images directly from RAW (DNG converter needed) in PhotoAcute 2.70
- Open file in ACR 4.2 at 17MP
- Run Photomatix Tonemapping plugin in Luminosity mode and lower opacity
- EasyS Plus Sharpening toolkit
10/12/2007 Version 2.70 released
The version we used for our our review is now released as Version 2.70. We are now very pleased with the results.
Note: If you use a Canon 40D (not directly supported yet) best you use the Canon 1D Mark III profile in PhotoAcute.
10/10/2007 Five Shot Super-Resolution
We tested the 5 shot super-resolution with our Canon 1D Mark III (too bad the 40D does not allow 5 shot automatic brackets, you can try two 3 shot bracket instead, don't move much between brackets).
Camera bracketing setup was -1 1/3, -2/3, 0, +2/3, +1 1/3 EV.
Note: We are still using the Version 2.60 prerelease version which we expect out soon to the public.
We photographed our standard test scene the Los Gatos Italian Ristorante:
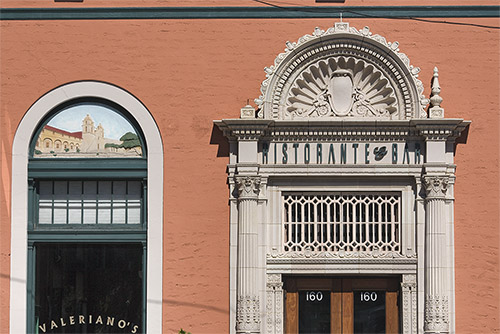
Ristorante from 5 shots in PhotoAcute
Workflow:
- Combine images directly from RAW (DNG converter needed) in PhotoAcute 2.60 prerelease
- Open file in ACR 4.2 at 17MP
- Run Photomatix Tonemapping plugin in Luminosity mode and lower opacity
- Some Curves corrections in shadows and highlights
- EasyS Plus Sharpening toolkit
- Photoshop Shadow/Highlight to brighten the shadows
- Some straighten and cropping
Here is a full sized JPEG (about 4MB).
Note: Remember that the service we provide for larger files is financed
by selling our ebooks and PS
tools. Also direct donations are welcome.
10/3/2007 Some improvements
We just received today a new update of the 2.60 preview. It now allows to minimize the over-sharpening with new preferences.
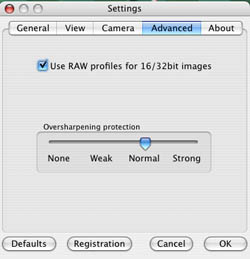
Oversharpen Protection
Our major issues seems to be solved. We are now using PhotoAcute for portfolio images (mainly in 17MP mode for the Canon 40D and 1D Mark III). We plan to present our full new workflow soon (it is of course part of our "Capture More Light" workshop in San Francisco).
10/2/2007 First Review
There is the permanent urge to capture more resolution. Megapixels are not really the same but increasing them is the usual way to reach this goal. What if our 10MP camera could capture more resolution?
This is not really new because many do this all the time by using one of the many stitching technologies. Unfortunately these techniques lack a way to correctly preview the image and can be quite tedious. Then there is a different approach that is called Super-Resolution.
The Science
The science is actually pretty sound and more info can be found here.
The Engineering
Making nice theories work in the reality is hard and nearly always has to fight with limits and tradeoffs. Let's mention just a few:
- Computing resources )mainly speed)
- New algorithms are needed
- Sensor limits
- Debayering issues (better to start from RAW with the most information still in place)
- Sensor issues (e.g. fringing)
- Issues with lenses (distortions, Chromatic Aberrations)
- Image alignment (a complex topic on its own)
PhotoAcute
As far as we know PhotoAcute is the first commercial product that approaches Super-Resolution. They approach Super-Resolution by combining multiple photos. Using precise yet shifted alignment they arrange multiple shots in a grid and create a higher resolution shot.
We follow PhotoAcute for over more than 6 months now and have seen it evolve to a product that is now "ready for prime time". We use for this review version 2.60 (which is actually a preview and out in the near future) on our PPC Quad Mac.
The use of Photo Acute is actually pretty easy. Although there is a lot of room to improve the workflow. But these developers have first to master the complex technology before they have the time to improve the workflow.
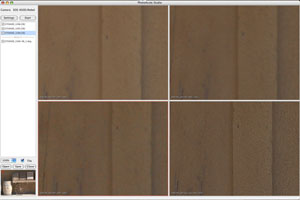
PhotoAcute main UI with 3 source images and one generated file
PhotoAcute makes very intelligent use of Adobe DNG. First they use it to debayer the RAW files. That is why you need to install the free Adobe DNG converter and let PhotoAcute know where it resides:
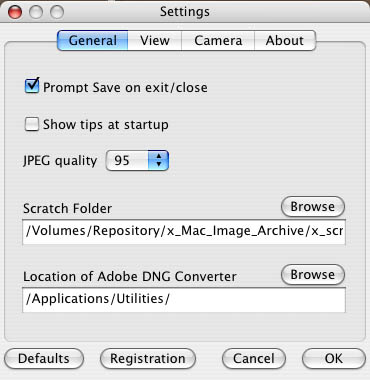
Set the location of the Adobe DNG converter
PhotoAcute leaves colors and other things untouched (we see this later).
Once you have loaded some RAW files you let PhotoAcute know about the camera and lens used:

Camera settings
Right now PhotoAcute knows quite a few cameras and lenses but is behind for newer cameras or lenses. We just try to get with our lenses and cameras as close as possible to the model we use. In our case we used the Canon 40D which has the same sensor dimensions/pixels as the Canon 400D. In theory PhotoAcute can correct many lens artifacts if they would know them all. Here is some more work to do. Fortunately this does not prevent PhotoAcute to work today.
After loading the RAW files and setting the camera/lens parameters you can create the combined image:
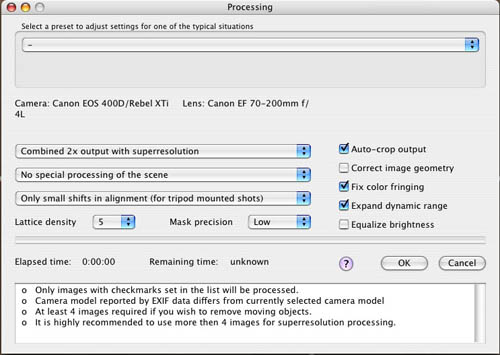
Processing Window
We use since over 3 months a technique that we call "High Speed HDR" (covered in our new workshop - see below at the end of this article). Here we capture 3 shots at high speed (mostly -1 1/3, 0. +1 1/3 EV). This way we have many bracketed images to test. Fortunately PhotoAcute also does some exposure blending (not true HDR) for different exposed images.
Notes:
- We have only 3 images that does not quite qualify for best Super-Resolution results but it works still quite well. We tried brackets with 5 shots and had some issues with these images (more tests needed).
- We don't use PhotoAcute if the scene contains moving objects. They have some techniques that may work but require more than 3 shots.
- "Fix Color Fringing" is an important option. The version 2.6 we test does a good job here. Previous versions had a lot of issues with CA (chromatic aberrations).
- Processing is quite slow (but much improved to earlier versions) and may need about 2-3 minutes.
Saving the Results
The results are saved again as DNG files. This requires a RAW converter that can open DNG (e.g. Adobe Camera Raw, Lightroom or LightZone). This way you can control the white balance and tonality at this point. PhotoAcute does not change the colors at all. Don't be confused that you need quite a bit negative exposure because these files hold more dynamic range than normal RAW files (no magic here, they got the tonality from 3 exposures).
In ACR (Camera Raw) you can also decide at which size level to open the DNG file.
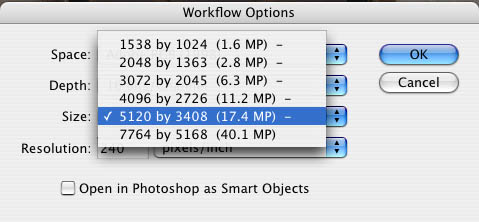
ACT Size options
We use most of the time the intermediate level 17.4MP.
Here are some comparisons between single shot RAW and the PhotoAcute result.
Final image
Workflow:
- Combine in PhotoAcute
- Save as DNG
- Open with ACR
- Some treatment to minimize halos (we cover that in the workshop, see below)
- Some more sharpening (we use of course EasyS Plus)
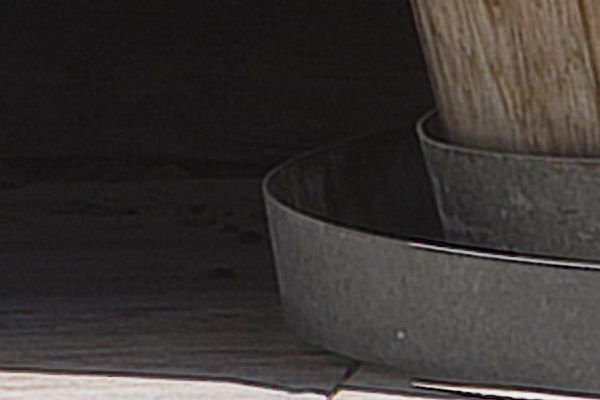
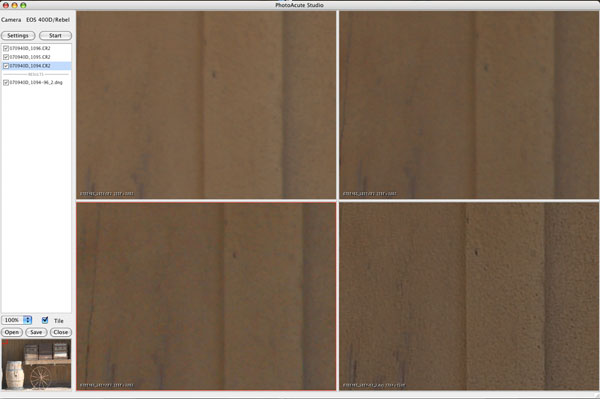
Shadows (100% crop)
Note: This is a crop from an 17MP file.
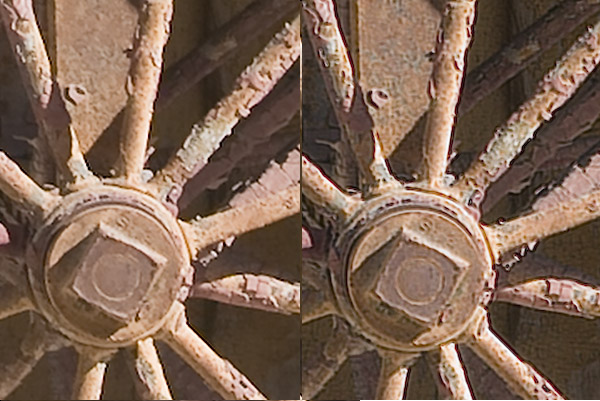
Left single file, right combined in PhotoAcute
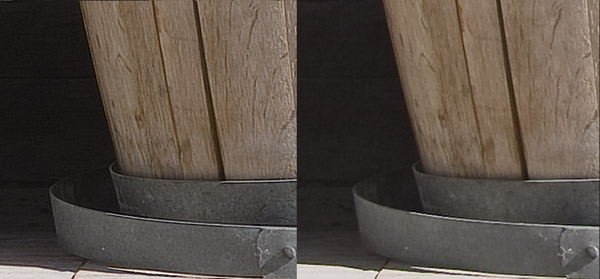
Right single file, left combined in PhotoAcute
Note: Some sharpening and tonal changes could improve the single file result but still not as good as the PhotoAcute result.
Known Artifacts as of version Preview 2.60 (fixed by now)
Issue is now closed: There are some halos that are a bit too strong and we know the developers are working on that. We have some techniques to minimize them.
Note: The new preview version we have fixed this.
Conclusion
Super-Resolution with PhotoAcute is no fiction. There will be enormous developments in this area. Right now PhotoAcute is leading in terms of technology. We will use and follow there technology for the next versions.
|