DOP EasyD Detail Resolver is a new tool based on the basic ideas of our popular DOP Detail Extractor. Still the goal is slightly different. While the Detail Extractor is designed to pull out finest details even at the cost of loosing some sort of smoothness the new EasyD DetailResolver is designed to help to create smooth yet sharp images (we often call this natural sharp). All objects in our world look sharp but still smooth.
Note: EasyD stands for Easy Detail
Installation
The DOP EasyD DetailResolver V1.0 comes as a Javascript file for Photoshop CS3 (we only support CS3).
- DOP_EasyD_DetailResolver_V1.jsx
- Demo version is named: DOP_EasyD_DetailtResolver_V1Demo.jsx
Installing the script
The script needs to be copied to the Photoshop CS3 folder and here to Presets/Scripts (or to the equivalent locations for other languages). After restarting CS3 you should find the script under File->Scripts. If you do not find it there you did not put the script into the proper location.
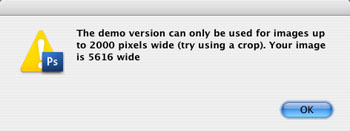
Note: The free demo version can only handle images up to 2000 pixels wide. The commercial version does not have this restriction. You will get this warning message if you use larger images with the demo version:
Using the DOP EasyD DetailResolver
Using the script is simple. Best you have the top layer selected while working with the EasyD tool. Open the script from File->Scripts
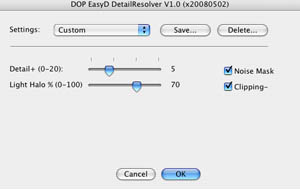
The DOP EasyD DetailResolver provides 2 sliders and 2 optional option.
What are these parameters?
- Detail +: Adds some extra low radius sharpening to the image
- LightHalo %: Details get visible by creating a stronger local micro-contrast in the image. This means that some parts of the image get darker and some get brighter. Sometimes the image looks better if the brighter parts would be less pronounced. This slider allows controlling the bright component from 0 to 100%.
- Noise Mask: If the image has large smooth areas the Noise Mask feature should be activated. This way the noise in these areas gets less pronounced.
- Clipping-: If checked the image gets mapped into the range 8-247. This means there are no clipped extreme highlights and shadows (we have this option often on).
If the effect is too strong you can do two things:
- Lower the opacity of this layer
- Run the filter again at lower values.
After you run EasyD DetailResolver V1.0 it will create a new layer.
The layer name shows all the settings used:
Example:
DOP_EasyD_D5_H70_m1_c1
D+10: Extra Detail 5
H70: 70% bright component
M1: Noise mask applied
c1: Clipping- checked
Presets
You will find that images from a camera model and of a certain style require all the same settings. That is why we support named presets.
You can save named presets of any settings you like:
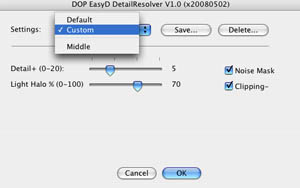
You can save, recall and delete presets.
Workflow Tips
- It is wise to sharpen very little before you use the EasyD. All halos you have created before will get amplified.
- If the enhanced image shows too much noise remove the noise from the shadows before running EasyD.
Sample
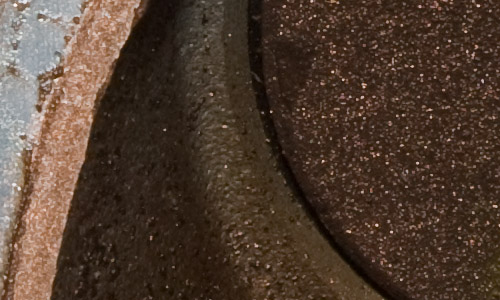
Before (from a Canon 1Ds Mark III at 100% pixels)
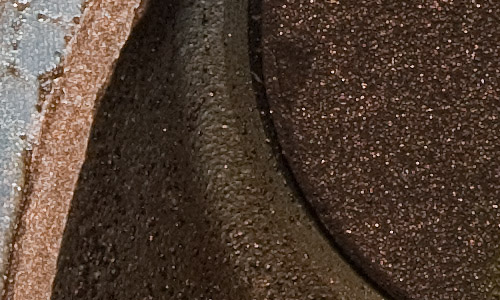
After
Have a look at the shadow areas. This is the main strength of EasyD.
|


