You probably know the term "You can do that
in Photshop".
Yes, you can do many things in Photoshop. This does not mean it may
be easy
or even intuitive. There is quite some need for applications that make
photographers workflow easier and more intuitive.
iCorrect Editlab Pro 4.5
With the new version of iCorrect Editlab Pro 4.5 it was time to revisit
this Photoshop plugin (does also exist as a standalone application).
Read the original review by our friend Jim Collum.
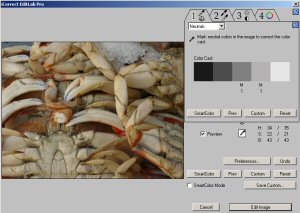
iCorrect Editlab Pro is all about correcting an image with some easy
steps. Often "easy" does not really match with a lot of "control".
iCorrect Editlab has a very good balance here.
The workflow provided by iCorrect Editlab is most useful if you work
with JPGs and not raw as the raw converters include most of the tools
of iCorrect Editlab. Right now was a good time for us to have a new
look into this tool as we use our new Leica Digilux 2 in JPG only (hard
to believe
- even for us :-) - we are not using raw with the Digilux 2 and are
still happy: read
why here).
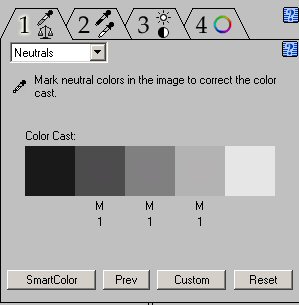
The central steps for any image correction are:
- Correct the white balance
- Black and white point selection
- Contrast, brightness and global saturation
- Selective color corrections
These are exactly the steps supported by iCorrect Editlab (IEL).
Note: Many plugins support only a tiny preview and
this is of little help for judging colors and contrast. IEL allows
you to have a full screen preview and this is essential for us. White Balance
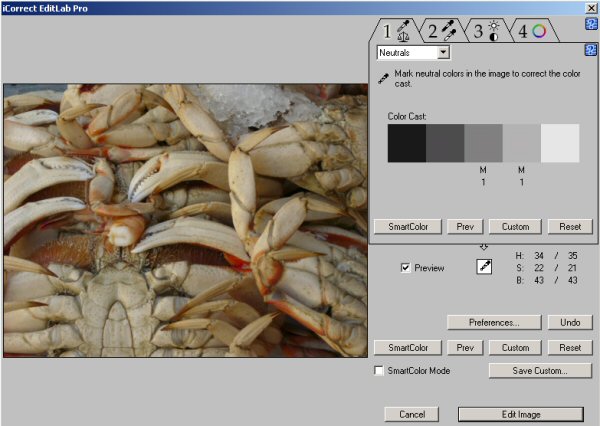
Click WB tool
If we work with raw files we correct
white balance in the raw converters (ACR, C1 or B4). But if you start
with a JPG then iCorrect Editlab was our tool of choice for a very
long time now. Yes, you "can do it in PS" but not nearly as easy and
good as with iCorrect Editlab. For it to work you have to have
some neutral point in your image. If this is the case then just click
on it (can even average multiple points) and you are done with WB.
In case you don't have a gray reference
you also can use color sliders to correct the white balance:
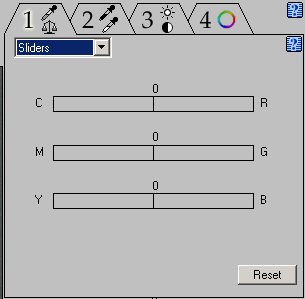
WB sliders
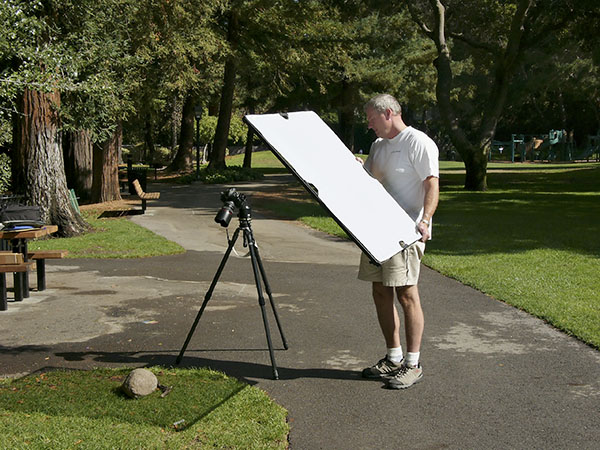
We avoid using the color sliders as getting
color right is a hassle this way. Better is to photograph a gray reference
and
then later apply these setting to the other images (could be implemented
more user friendly but it works).
WB correction is excellent!
White and Black point settings
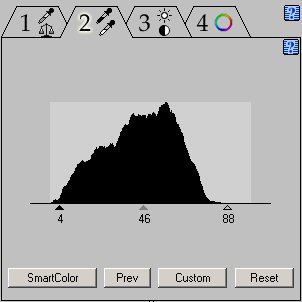
White and black point settings
Setting the white and black point works
like levels in Photoshop and there is not really anything new. Give
the automatic "SmartColor" as shot as it may deliver just what you
need and is also a good starting point for fine tuning.
Contrast, Brightness and global Saturation
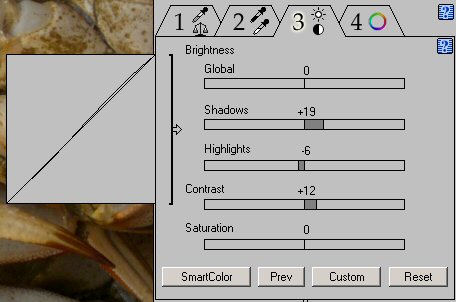
Brightness, Contrast and Saturation
Here the version 4.5 shows a big improvement
over previous versions as it added the essential Shadows/Highlight
brightness sliders. In principal it creates a curve to change the
image tonality but is easier and more intuitive (at least for us).
Note: To show the differences we use
the  symbol
to indicate that a mouse over will show the previous or original image
(move the mouse cursor slowly in and out of the image). symbol
to indicate that a mouse over will show the previous or original image
(move the mouse cursor slowly in and out of the image).
For our crab photo we used the above
settings:

After Correction (before click on image)
Were these changes quite subtle the next
ones are not. We used the following settings in IEL:

After Correction (before
click on image)
This time we opened up the shadows quite
a bit. The downside of this is that you amplify the noise in the shadows.
We used the Helicon
Filter Pro to reduce the noise.

Noise Removal at 300% magnification (before
click on image)
We like the Brightness, Contrast and Saturation tool
a lot!
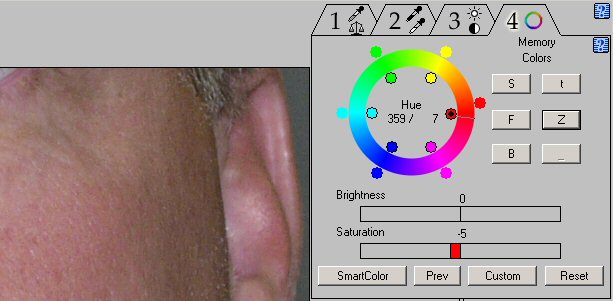
Selective Color Correction
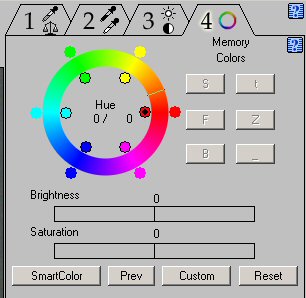
Color Corrections
The selective color correction is very
powerful and well to understand. But the real power is provided by
the so called "Memory colors" (default are skin, sky and foliage).
Here is an example of a correction
for skin tones (we are not really masters for skin tones but
you probably get the picture):
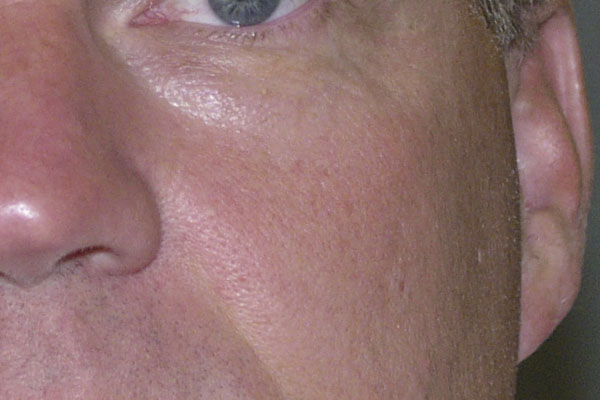
Skin tone after correction (before
click on image)
Here is what we did. We selected a
part of the skin with the eye dropper and then applied the Memory
color "S=skin". 
Default skin correction (over the top)
This correction is way over the top. But with a few tweaks we
get a very nice result:
Tweaked skin colors
But now the best part: You can create
your own "Memory Color" from these settings and the next time the
skin tone correction is only one click away.
Conclusion
iCorrect Editlab Pro 4.5 is overall
an excellent tool (and even includes more features: like color profile
editing). It shows how to make image correction more productive and
photographer friendly.
We are affilates with PictoColor.
 |
You get 10% off on all Picto Color products over $49.00 if you use the coupon code PCOUTBACK. |
|