Preface
At our last summit November 2006 in Page Arizona I was multiple times
confronted with the desire of the students to perform all image corrections
in their RAW converter of choice. They were right that often more simple
editing can lead to better results than over-cooked corrections. But
in any of these cases I could demonstrate with their own images that
selective editing (we used LightZone) can help to improve
an image a lot.
All master photographers we know use Photoshop layers to perform selective
corrections to their images. A friend of mine even stated that he feels
"guilty" if there are only a few layers in the file because
then he thinks he may not have gotten the most out of the photo.
Now with Adobe Photoshop Lightroom 1.0 out in the market (2/19/2007)
many ask why they would need Photoshop and/or LightZone in addition
to Lightroom. The short answer is: Because many images benefit from
selective editing. Lightroom 1.0 and most other RAW converters do
not support layers or selective editing.
Note: Yes, we know Nikon Capture
NX can do this too but right now we find the workflow in NX a bit
too tedious.
This new series of articles will show cases where selective editing
can help to improve photos.
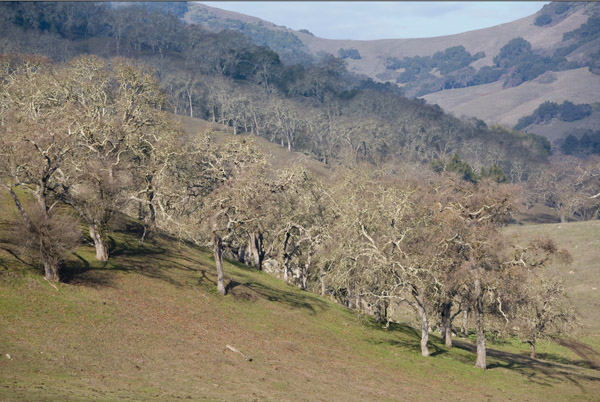
The Photo
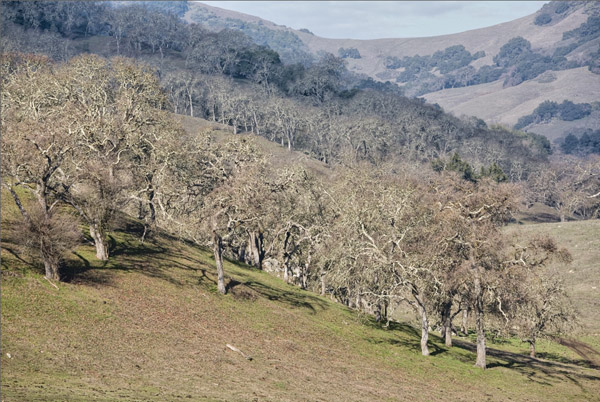
Our original image
Of course all decisions on photos are highly subjective.
I think the slightly hazy area in the background is less than optimal.
This is clearly a case where global corrections won't work. We want
just to correct the problem area. This is what selective editing is
all about.
Principal Workflow in Photoshop
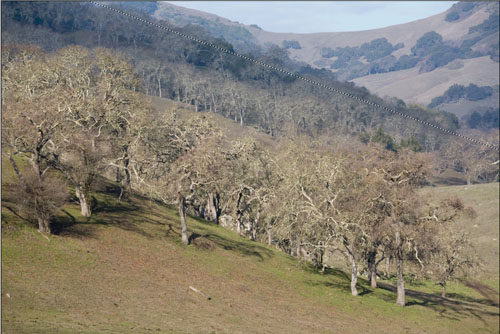
Section using the Polygon Selection tool
First we select roughly the area which
we like to darken a bit. This selection is of course way to harsh and
we need to feather it. Here is a technique by Ben Willmore how to feather
a selection.
Actually we change the selection to Quick Mask mode and soften the selection
with Gaussian Blur:
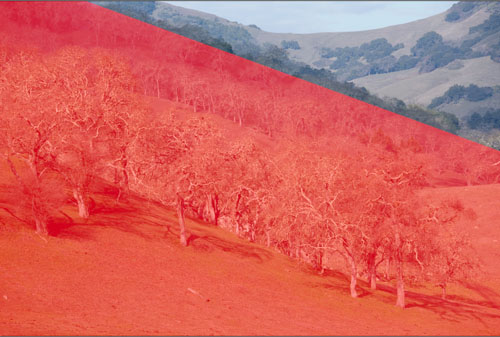
Quick Mask (hit key "Q")
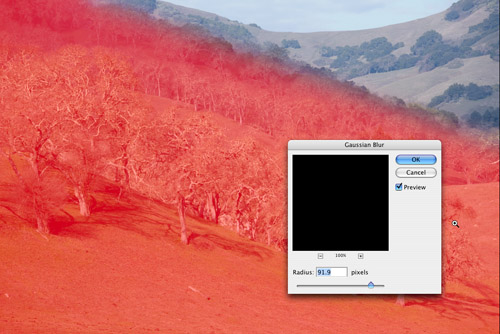
Gaussian Blur
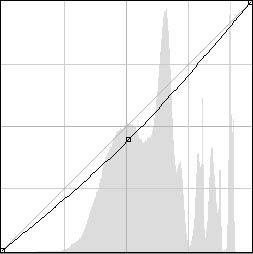
Now we use Curves in an adjustment layer
(which uses this selection, don't forget to switch back from Quick
Mask mode, hit "Q" again).
The final image looks like this:
Final image
This is not about dramatic differences
but they work to improve your results.
Workflow in LightZone
Read our LightZone review here.
Start in LightZone
In LightZone we use a ZoneMapper that
is restricted to a region:
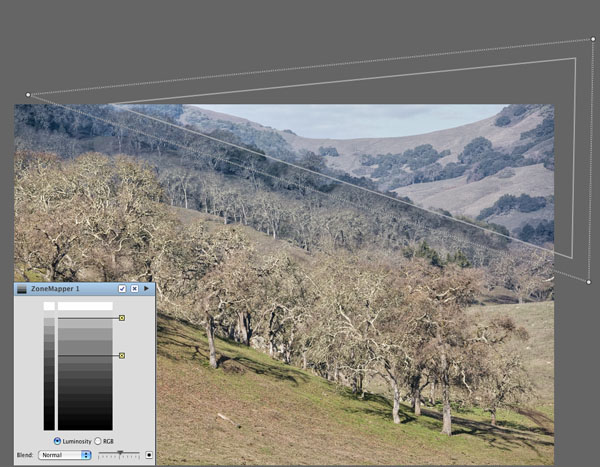
ZoneMapper and Region
The feathering is very easy to adjust
(area between the inner and outer triangle). Also to note is that changing
the selection and feathering range can be done any time later. This
is quite a bit more work in Photoshop.
In LightZone we can also link other tools
to the same region (Linked copy). We used this feature by also using
two other tools for the same region:
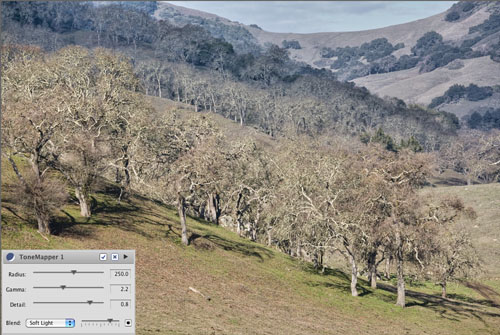
ToneMapper (Region active but hidden)

Slightly warmer White Balance (again Region active but hidden)
Here is again the final image: 
Final image
Conclusion
With Photoshop we learned how to use
selective editing and would never like to miss the power of using layers.
LightZone implements layers and selective editing 100% non-destructive.
This invites
you to experiment with all sorts of selective corrections because all
of them can be tuned or deleted in a non-linear order.
If you have not used layers in the past
you should do it now. It is far easier than you think (especially in
LightZone).
|


