As mentioned before we now shoot 3 or 5 images brackets for each scene. We outlined why in our "Exposure Mix & Match" article. There is of course one downside to this method: a lot more exposures. There are two aspects to deal with:
- Storage capacity and backup
- Image Organization
This article covers the aspect of Image Organization. We use Lightroom as our main Image Organizer. This means we first import the images of a new shoot into Lightroom.
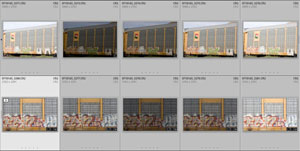
After import we see all these boring frame sequences:

It is boring because we either use a single best exposure or the whole sequence.
Using Lightroom Stacks
Fortunately Lightroom Stacks help to organize this mess. We talk here about:
- Creating stacks
- Working with Stacks
- Drag & Drop Stacks
Creating Stacks
It would be annoying to create the stacks manually. Again Lightroom has the right feature: Auto Stacking by Time. Remember we take all frames (3 or 5) in less than 1 or two seconds. This means the timestamp of these shots are close together.
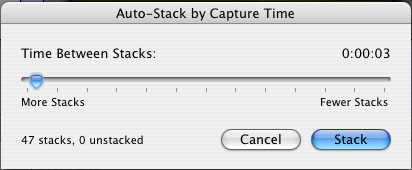
As you can see a time interval of 3 seconds works just fine. This means we stack all images with one single operation. Then we collapse all stacks
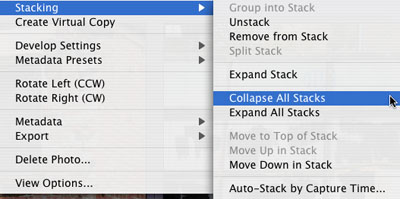
And our browser window looks now much more organized:
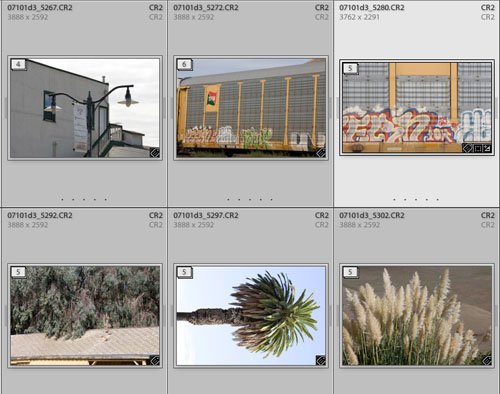
Actually each stack represents a single final photo. Either from the best single shot or combining the images for HDR and/or Super-Resolution.
Note: The top shot of each stack is by default the first shot in the timeline. We set our bracketing to 0, -, +. This means taking photos in the following order:
- 1. Middle exposure shot,
- 2. underexposed shot(s)
- 3. overexposed shot(s)
If the automatic exposure of the camera works fine the first shot shot should be most often quite usable. If you would shoot in -, 0, + order all the dark shots would be on top and they are not often the best possible shot in the sequence. Makes a bad browsing experience.
Working with Stacks
We always try first to find the single best exposure in the stack and arrange this exposure to stay on top. As you will see this is quite easy in Lightroom. We start with a collapsed stack:
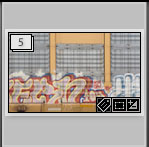
Collapsed Stack
If we click on the stack icon (shows a 5 here) the stack expands:
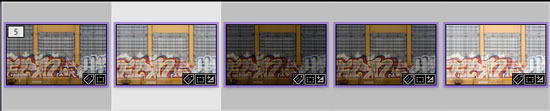
Expanded Stack
Now we check the images for the single best exposure. What to watch for?
- No clipped highlights (or they should be fully recovered)
- Not too much underexposure
- Is the photo critical sharp
Once we singled out the best exposure we want it to become the top of the stack:
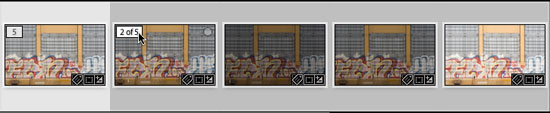
Selecting the best exposure
Click on the stack icon of the best exposure shot and it will become the top image in the stack. Now we are done and can collapse the stack again.

Collapsing the Stack
Just click on the stack icon (here showing "1 of 5") of the top image and the stack will collapse.
Final Collapsed Stack
Drag & Drop Stacks
If it makes sense to combine the different exposures (e.g. in Photomatix, Photoshop or PhotoAcute) it is often possible to drag & drop the full stack (it has to be expanded though) onto the other applications.
Conclusion
We find stacks the ideal tool to work with multiple exposure brackets and Lightroom does exactly what we need. All sounds so obvious now but it took some time to get all the fine details lined up. |