Photomatix 3.0 introduced a new improved Exposure Blending method called "Highlights & Shadows - Adjust". We covered this technique here.
For some of our images we had issues to get good highlights. It is too easy to clip them. Here is a modified technique that works for us very well.
A Lightroom/Photomatix Workflow
We most of the time create first 16-bit TIFFs from Lightroom. The idea is to shift the exposures to the left and also to keep the shadows soft to avoid clipping. Here is what we modified in our Lightroom settings (we saved it as a preset):
Basic Tab
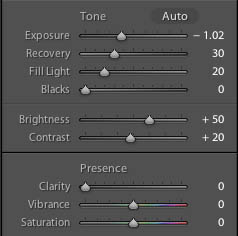
- Exposure: -1
- Recovery: 30
- Fill Light: 20 (more can produce artifacts)
- Contrast: 20
- Others: default
Tone Curve
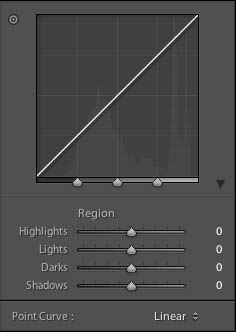
- Point Curve: Linear
- Other: default
CA (Chromatic Aberrations)
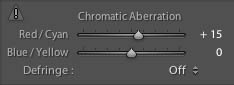
These settings depend on the image and your camera/lens combination.
The we export from Lightroom to 16-bit TIFFs. The images are then exposure merged (Adjust) in Photomatix 3.0 (read the details here).
Later we use EasyD Detail Resolver and some CS3 curves to fine tune the image.
The Highlights
In the past we struggled sometimes getting optimal highlights. Now we get excellent results:
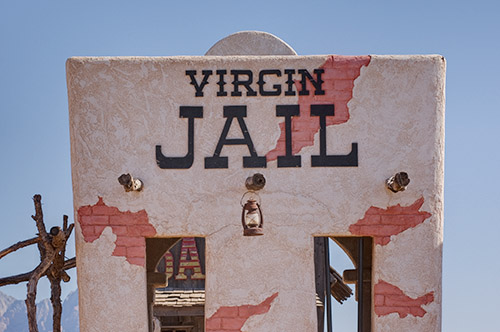
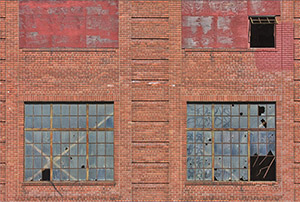
Canon 1D3 from 3 exposures
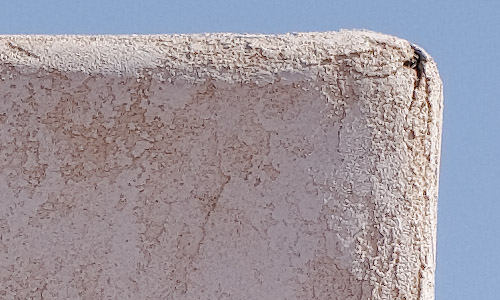
This was shot in full strong sunlight (about 12pm). You can see how the sun brightens the wall edges. Before using our new technique we had to work hard to get good smooth highlights. Now it is very easy.
The Shadows
Exposure Merge is a great technique to reduce shadow noise and here it shines.
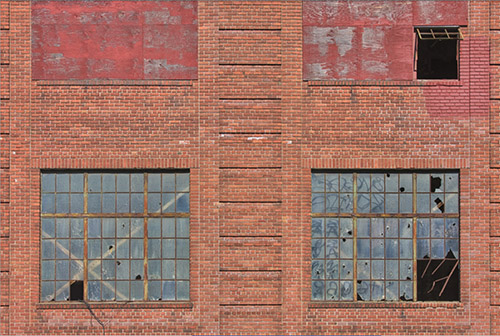
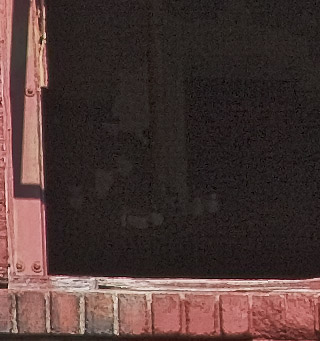
Canon 1Ds3 final result (after merging and perspective corrections)
This wall was even in the shade. As always the noise is in the shadows.
We compared the Photomatix version (from 3 exposures) with a conversion of the middle exposure in Lightroom.
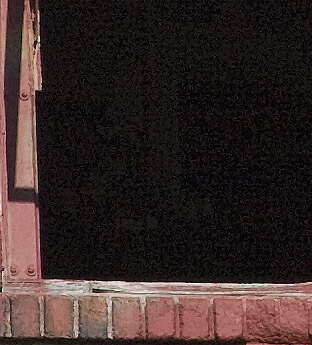 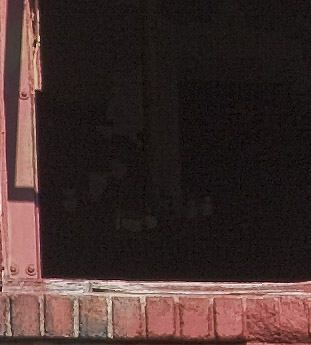
Middle Exposure left and Merged version right
In this small crop it may not seem to be much of a difference. But assume you wanted to open up the shadows some more. Then you will see this:
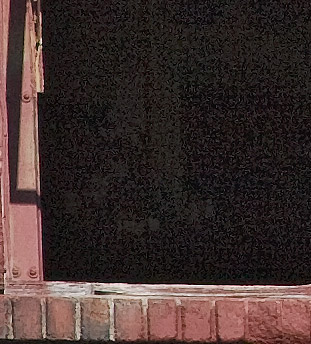 
Middle Exposure left and Merged version right (Brightened with CS3 Shadow/Highlight)
This noise can show in a larger print. In this case removing the noise in the dark is trivial but having more real shadow detail is always a plus.
Exposure Merging or HDR?
With this new technique we more often use now Exposure Merge instead of HDR. And if we want this extra painterly look of the Photomatix Details Enhancer we can run it later on top of the merged image.
Conclusion
The new Exposure Merge "Highlights & Shadows - Adjust" is now a standard part of our workflow. We just love it.
We plan to talk about our way of stitching soon. You may not be surprised that we started to use our High Speed Bracketing now also for stitching and of course we even use it freehand :-). Stay tuned.
Final note: Before we write any of these articles we work on many images to understand the implications of new tools. We can cover all of this in more detail in our workshops and you can ask your own personal questions. |