Since over two years we bracket nearly all our photos (read our last article on this subject). Last Thursday we took some photos at the Hollister Rodeo Parade (view our Smugmug gallery here). At these events you have no control over the light and have to live with what you get. Hollister is in California and this means the light is most of the time harsh sunlight. Most of the bracketed shots involved moving objects. This means for these photos we can only benefit by selecting the best exposure out of 3 different shots. But when the scene is static we always have the option of using HDR.
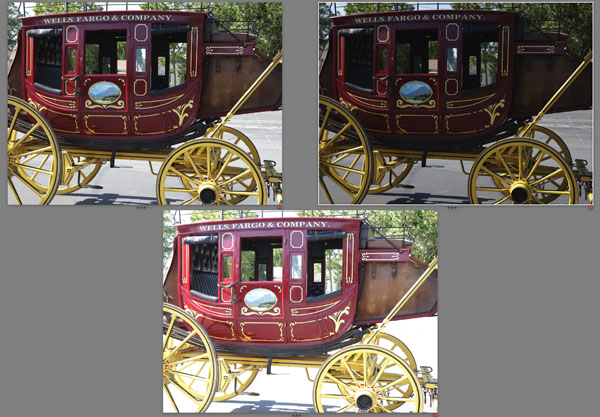
Wells Fargo Coach
The middle exposure showed strong clipping which could hardly be rescued using Highlight Recovery (learn more about Highlight Recovery here). This means our option was using the underexposed photo or to create a combined HDR image.
The result from the underexposed photo could be made decent but we prefer the HDR version. Here are some comparison screen shots:
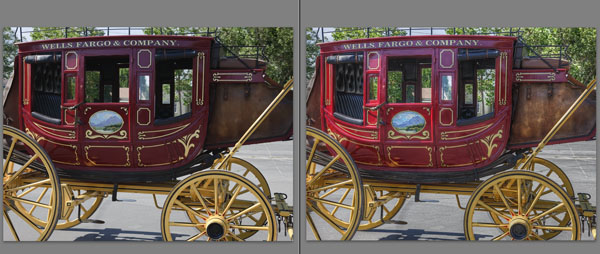
Left from underexposed shot and right HDR/Tonemapped result
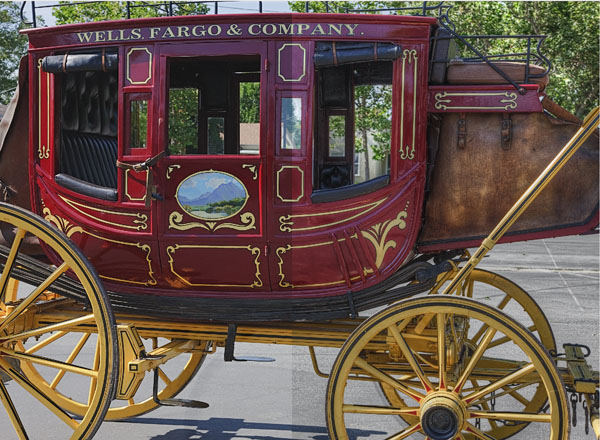
The HDR version clearly show more shadow and highlight detail. Here is the final result we used:
HDR/Tonemapped result
Our general workflow in these cases is:
- Correct CA in Lightroom
- Select all three photos in Lightroom
- Create HDR in Photomatix via the Photomatix Lightroom plugin
- Tonemap in Photomatix
- Save as 16 bit TIFF and open into Photoshop
- Add contrast with DOP Contrast Plus
- Detail and Sharpening with DOP Easy DS
Note: Because the branches in the background moved there maybe some artifacts in these areas using HDR. But the main subject was steady and the background would not bother us too much for this kind of photo.
Conclusion
It paid off that we used our bracketing technique. The middle exposure had too much highlight clipping. This means we could choose between the underexposed photo or the HDR version. We clearly prefer the HDR result. The only downside we see with our technique is the larger amount of images we take and this means getting rid of all the useless exposures takes extra time.
|