05/19/2010 Updated version DOP Contrast Plus V2
The new version is a clear improvement:
- Lower tendency to produce possible halos
- The opacity default for color is now 50%
We consider DOP Contrast Plus one of our top tools and use it on nearly every image we process:
- Adds contrast without damaging highlights and shadows
- Allows to tune the color effect and contrast effect easily
All new customers will receive now V2. Previous customers can upgrade to V2 at a reduced price.
Give the demo version a try.
DOP Contrast Plus V2
DOP Contrast Plus is a Photoshop CS3/CS4/CS5 script that implements a simple yet very effective contrast improvement workflow.
Motivation
Contrast brings your images to life. But the contrast should not result in clipped highlights and/or blocked shadows. DOP Contrast Plus is a new script to gain optimal contrast. We spend a lot of time to create new simple methods to improve contrast. DOP Contrast Plus V2 is the latest result of our work.
Installation
The DOP Contrast Plus V2.0 comes as a Javascript file for Photoshop CS3/CS4 (we only support CS3/CS4/CS5).
- Full version is named: DOP_ContrastPlus_V2.jsx
- Demo version is named: DOP_ContrastPlus _V2_Demo.jsx
Installing the script
The script needs to be copied to the Photoshop CS3/CS4/CS5 folder and here to Presets/Scripts (or to the equivalent locations for other languages). After restarting CS3/CS4/CS5 you should find the script under File->Scripts. If you do not find it there you did not put the script into the proper location.
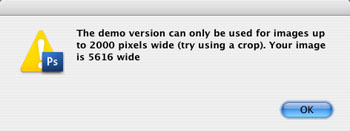
Note: The free demo version can only handle images up to 2000 pixels wide. The commercial version does not have this restriction. You will get this warning message if you use larger images with the demo version:
Using the DOP Contrast Plus V2
Using the script
Using the script is simple. Run the script from File->Scripts
- DOP_ContrastPlus_V2 (or the Demo version)
The DOP Contrast Plus V2 script does not have a user interface in the script. All control is performed in CS3/CS4/CS5 using the created layers:
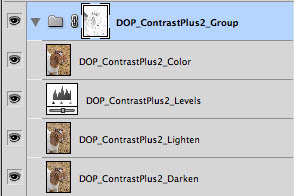
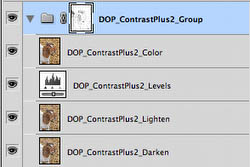
The script creates a Photoshop Layer Group “DOP_ContrastPlus_Group” with 4 layers .
- DOP_ContrastPlus2_Color: Allows to control the color amount of color shift. Depending on the image this can be very minor or stronger.
- DOP_ContrastPlus2_Levels: See later in our workflow sample.
- DOP_ContrastPlus2_Lighten: Allows to control the lighten effect. Depending on the image this can be very minor or stronger.
- DOP_ContrastPlus2_Darken:Allows to control the lighten effect. Depending on the image this can be very minor or stronger.
You can also fine tune:
- Opacity of the Layer Group for lowering the overall effect
- Diasble or brighten the layer mask to lower the highlight and shadows protection.
Helper script: DOP_MergedLayers.jsx
If you have found your preferred settings you may want to merge the Layer Group to save disk space. Because using “Merge Group” in CS3/CS4 can show a different result than what you are seeing using the Layer Group we provide a helper script that creates a new layer with the merged result.
- Make sure the Layer Group is the top layer
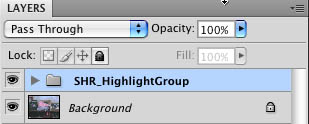
- Run the DOP_MergedLayers script and it creates a new merged layer with the same effect as the original Layer Group.
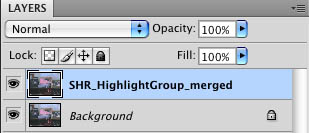
You still can lower the effect by tuning down the opacity of this layer.
Sample Workflow (with V1 but is the same workflow with V2)
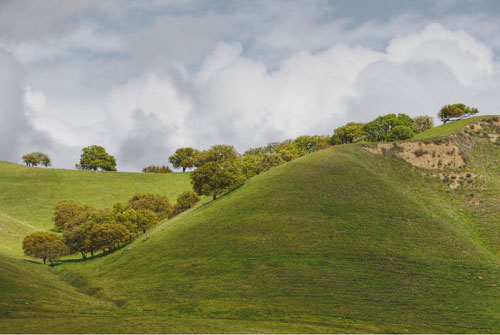
Start Image
The image should be close to final with reasonable contrast. DOP Contrast Plus provides the final snap.
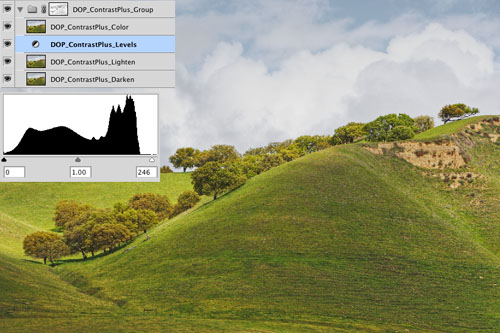
Make sure you select the top layer. If this layer is a layer group it should be collapsed. Run the script and you will get this layer stack:
In this case the default result maybe good enough. In general we recommend to tune the DOP_ContrastPlus_Levels adjustment Layer first. While working on the Levels best you check the highlights/shadows using our free Threshold script.
Highlights
Highlight Tuning (right slider)
Because of the midtone mask that DOP Contrast Plus created there is not too much danger to clip highlights or block shadows.
Shadows
Shadow Tuning (left slider)
Gamma
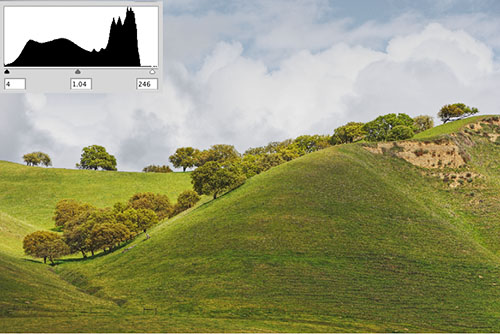
Control the Gamma/Brightness (middle slider)
Then we also tune the opacity of the other three layers (in this case not much need either).
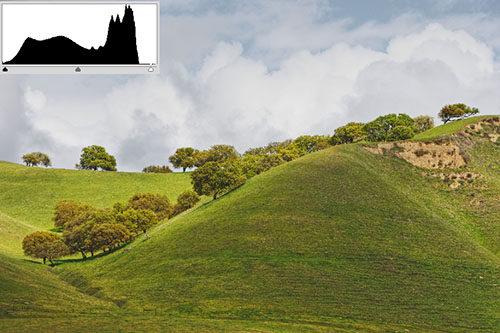
Here is the resulting final image:
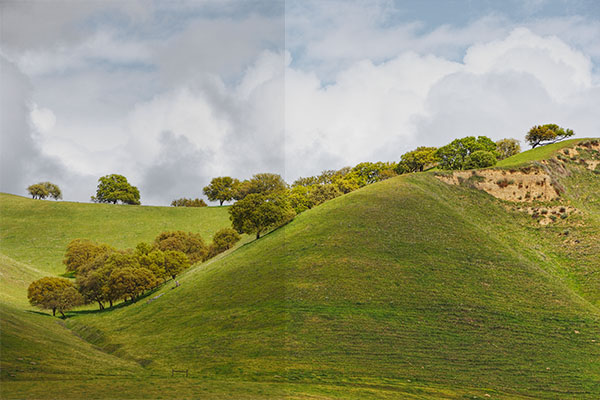
Before and after
With these little images the contrast improvements don't show that well. Best you get the demo version and work on your own images.
Note: If you print on matte fine art papers you often can have the contrast even stronger than on glossy fiber papers.
|