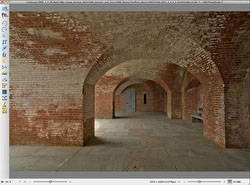
Unified Color's HDR PhotoStudio was available about one year for PC only. Now in it's version 2 it also supports the Mac platform.
HDR PhotoStudio is in some way a new kind of HDR tool. While most HDR tools work this way:
- Merge to HDR into 32 bit images
- Tonemap to 16 bit images (using mainly one dialog with sometimes more complex settings)
HDR PhotoStudio is a HDR Editor:
- Merge to HDR into 32 bit images
- Edit and stay on 32 bit (using different dedicated tools with simple settings)
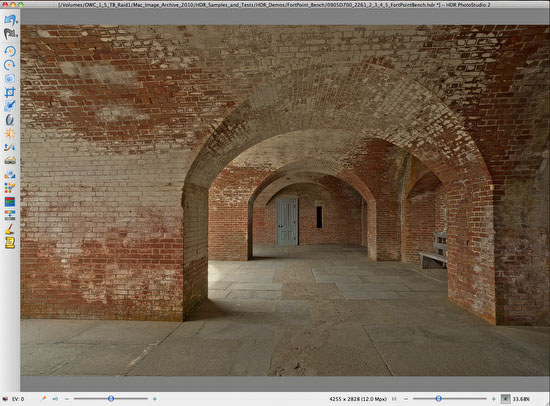
As always it is best to learn a new tool by showing a sample session. Working with HDR PhotoStudio is quite systematic.
Note: At first it irritates that all dialogs are modal. But in the end this is mainly because any operation can be performed as often as you like. Because you edit in 32 bit there is little degradation to the image by performing tools multiple times.
Sample Workflow
Veiling Glare
A HDR image does not have a black or white point (for most practical use you can consider it storing an infinite range of light values). The Veiling Glare tool allows you to define the black point in your image:

You click with the Eye Dropper on a point that defines you black point and dial in a negative amount.
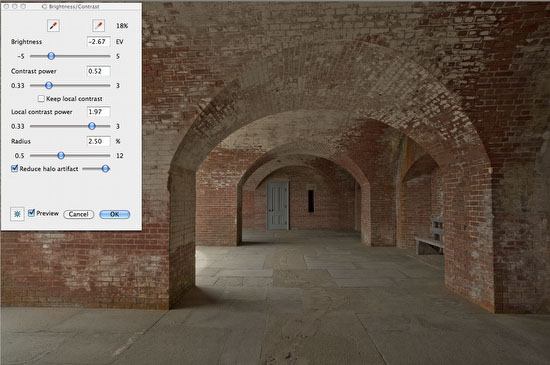
Brightness/Contrast
This is the core tool to perform the actual tonemapping. It is a tonemapping like in other HDR tools but everything is kept in 32 bit.
Step 1
As a first step we adjust the brightness (-3.33 EV here) so that the image highlights show the desired details (e.g. no bad highlight clipping).
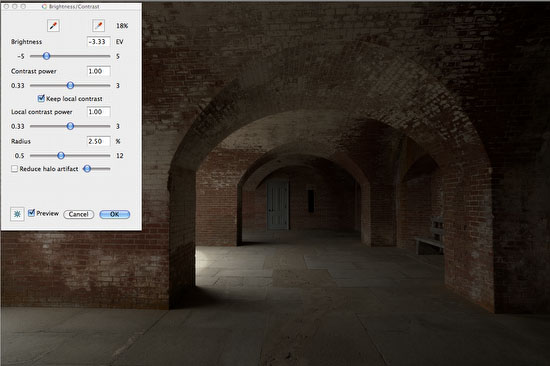
As you can see the highlights are now fine but the image is way to dark.
Step 2
We compensate for this lack in brightness by lowering the contrast (called Contrast Power):
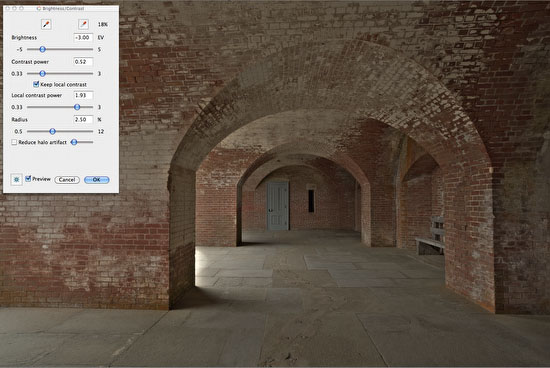
Here something interesting happens. If you pull down the Contrast slider the Local Contrast slider goes up. This compensates for the flatness we get by lowering the contrast. Here is a sample that shows how the image would look like if the Local Contrast would stay at 1.0 (the standard midpoint).

The image looks hopelessly diffused and flat. Now we have a new problem: There are some bad halos in the highlights.
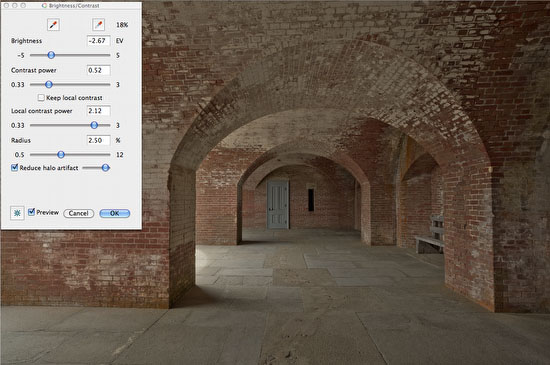
Step 3
Sometimes a change in Radius can fix this problem or we activate "Reduce halo artifacts" (which we used in it's strongest setting).
As you can see the halos are gone now.
Note: If you activate "Reduce halo artifacts" the processing is quite a bit slower but worth the short wait.
Step 4
We added a bit stronger Local Contrast (at 2.12):
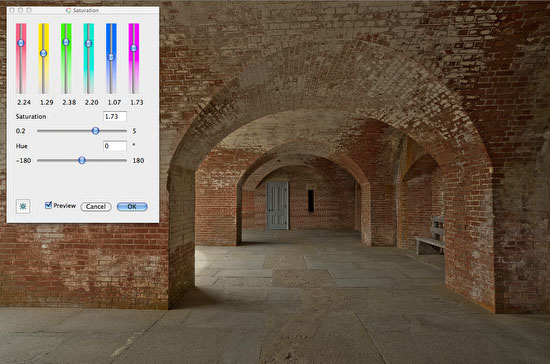
Saturation
The saturation tool is very helpful as it allows some selective saturation editing:
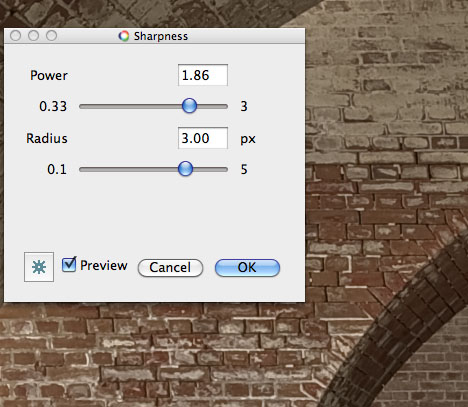
Sharpening
Also some sharpening can be applied next.
More Tools
There are even more tools that we won't cover in this initial article:
- Rotate
- Crop
- Resize
- Shadow/Highlight
- White Balance
- Selective Color Tuning
- Tint
- Noise Removal
Saving the Result
We save the result as BEF file (a proprietary file format by Unified Color):
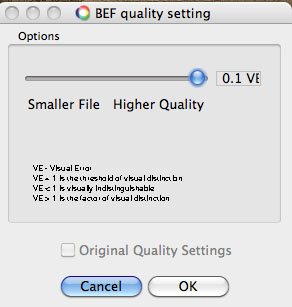
We always use the highest quality settings although it may not really be needed.
Note: Of course you can also save as 16 bit TIFFs and JPEGs. Saving as BEFs keeps the image in 32 bit for further tuning.
Post processing
As always we do our final processing in Photoshop CS4. Because HDR PhotoStudio 2 comes with a BEF file format plugin for Photoshop the BEF file can be directly opened into Photoshop. Here are our final steps in this case:
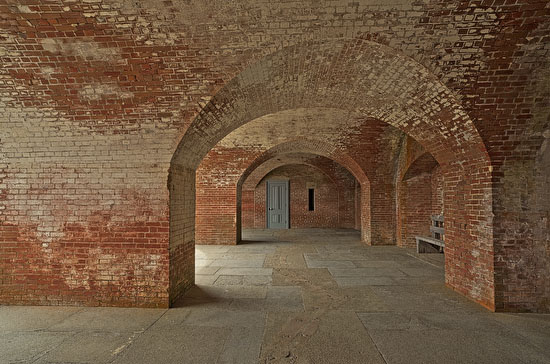
Here is our final result
More Features
EV for preview
Like in Photoshop you can change the EV values for preview. This allows you to find the darkest or brightest areas in your image by using -/+ EV shifts.
Fit and 100% Pixel View
You can view the image fit into the application window or at other magnifications (e.g. 100%).
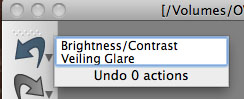
Multiple Undo
Recipes
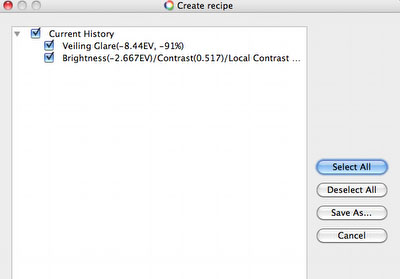
Presets can be stored as recipes and later applied to other images. You can also only save some of the operations as part of your recipe.
BEF File Format
If you store in the Unified Color's own BEF HDR format also the recipe of the steps involved in the creation of the file are stored. This is very helpful if you want to apply settings from an old BEF file to a new image.
Lightroom Plugin
HDR PhotoStudio comes with a Lightroom plugin.
Open Issues
There are some things we like to be fixed and/or improved:
- Histogram to show how the clipping would looks like after converting to 16 bit
- Open into Photoshop option in the "Save As" dialog
- Merge to HDR from TIFFs shows unwanted artifacts
- Lightroom plugin should allow to use TIFF files (because we want to use the LR conversion and CA removal)
Conclusion
We find HDR PhotoStudio an important addition to our HDR tool set. In our experience there is no HDR tool out there that does all we need all the time. We use Photomatix, Photoshop CS4 and now HDR PhotoStudio for our HDR work. Check out the HDR PhotoStudio Demo and experience it yourself. |