It is a common situation that there are third party applications that are not available as Photoshop plugins. Yet we want to use them from inside Photoshop in a new layer.
One of these applications is LightZone. We find the LightZone Relight tool so good that we wanted to use it on new layers inside Photoshop. You may ask why we don't use LightZone for our complete editing? We miss some functions in LightZone like Perspective Crop and also lens corrections.
Open a file that got edited in LightZone (our review) as a new layer is not complicated:
- Duplicate file
- flatten
- save to TIFF
- Edit in LightZone
- Open edited file in CS3
- Copy as a new layer on to of your original file
Ok this is not complicated but way to tedious to be fun. That is why we created two new scripts DOP_LayerHelpers that make it quite a bit less of a hassle.
Note: You should better have enough memory to run CS3 and LightZone at the same time
Here is our workflow using these two scripts.
- You have a file open in CS3
Start file in CS3
Note: What did I do before this step?
- Open in ACR (from Lightroom via drag&drop)
- Lens correction
- Perspective Crop
- Some Detail Extractor tuning
- light Sharpening in EasyS Plus (not much need after Detail Extractor)
- Flattened image
You may find this too much marketing. Right, but is exactly what I do :-) and some may want to know.
- Call the DOP_LayerHelper_Write_V1 script
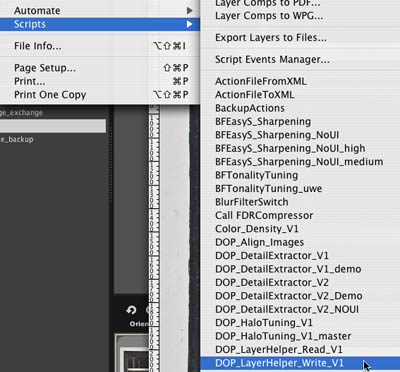
To make our life even easier we launch the script via a function key shortcut (read about this in more detail)
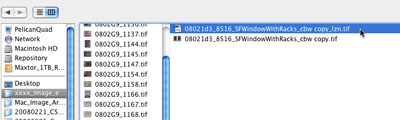
The script will open a file dialog:
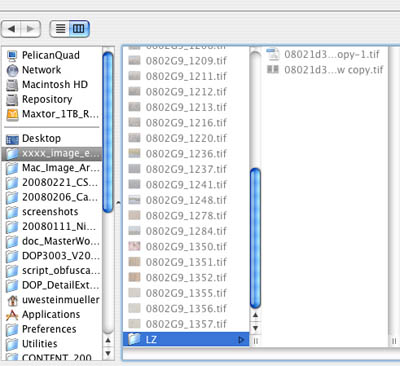
You then save the file into a folder that you designate for this type of file exchange (we have a folder called "xxx_image_exchange".
Note: The Write script remembers the last used folder (best to use the same folder for all exchanges). All images in this folder are only used for transfer and can later be deleted (e.g. from inside the LightZone browser).
- Have the LightZone open and the browser watching the "xxx_image_exchange" folder (or your equivalent)
LZ Browser
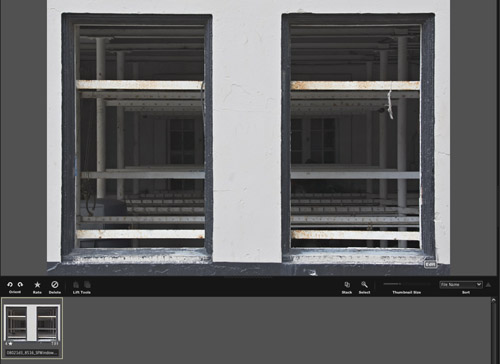
The saved TIFF shows up in the browser.
Note: We recommend the full version of LightZone because of the browser and the very useful "Apply Style" functionality.
- Next open the file in LightZone's edit mode
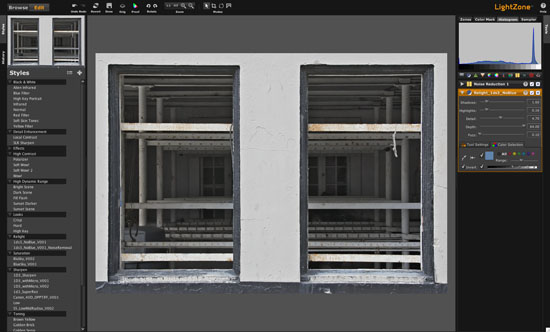
LightZone Edit mode
- Add a Relight layer (we havea few Styles for this purpose defined in LightZone)
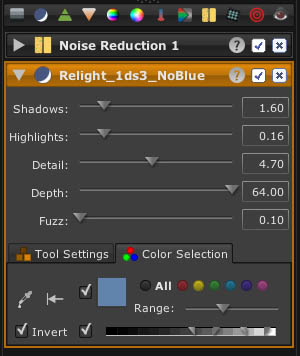
Relight with our standard settings
We think LightZone's Relight is the finest Shadow/Highlight tool we know. Don't forget that you also can use all the other powerful LightZone functions like:
- Noise removal (we use it on noisy images)
- Selective editing
- ZoneMapper
- Selective White Balance (with Regions)
- Do not crop or rotate!
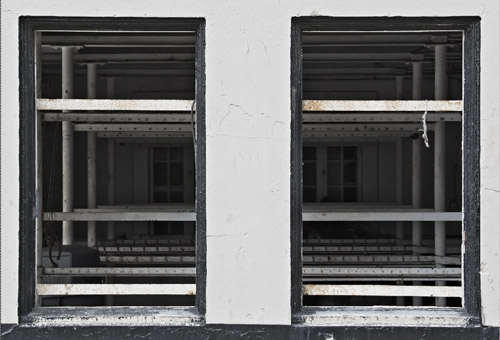
- If you like what you see hit "Done" and save the result. Then the browser shows the original and the saved file
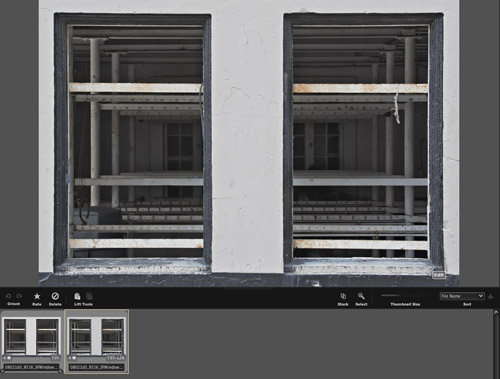
LZ Browser
- Switch back to CS3
- Run the "DOP_LayerHelper_Read_V1" script (again we just use a function key combination)
Note: you are still in the same file in CS3 and did not change anything

The script opens again a file dialog (normally it should already point to the right folder (last used). Otherwise you navigate to the folder you used for write.
- Select the file you just saved in LightZone (not the original) and click "Open"
- The script will open the file and put it as a new layer on top of your image stack
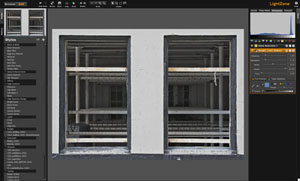
New image layer
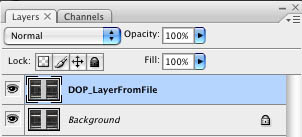
Layer Stack
This all sounds a lot more complicated that it is. Yes, it is not as simple as using native CS3 plugins but it does the job. We also find that LightZone's Relight is easily worth it.We use now LZ Relight all the time.
We also find that native plugins crash our CS3 quite frequently when we use large files (e.g. Canon 1Ds Mark III 22MP).
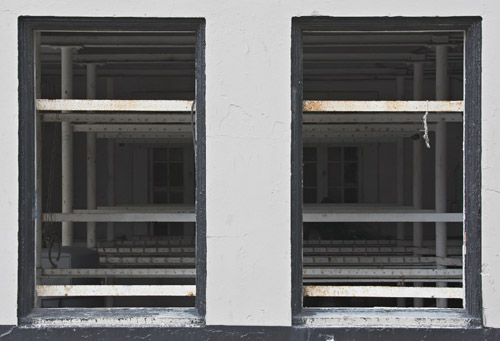
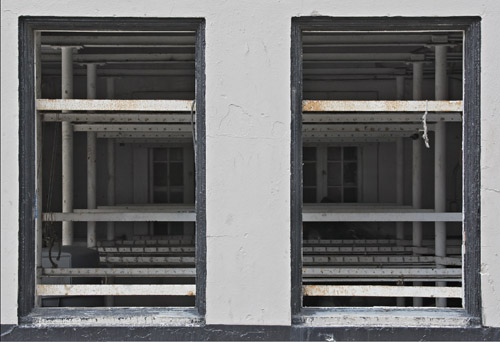
- we then do some final tuning to the image
Final Image
Use with other applications
We also used these scripts with:
- Photomatix tonemapping
- TrueGrain B&W conversion and grain simulation
Installation
The DOP LayerHelper V1.0 comes as two Javascript files for Photoshop CS3 (we only support CS3 right now but chances are it works also on CS2).
- DOP_LayerHelper_Read_V1.jsx (demo version is named: DOP_LayerHelper_Read_V1_Demo.jsx)
- DOP_LayerHelper_Write_V1.jsx (demo version is named: DOP_LayerHelper_Write_V1_Demo.jsx)
The script needs to be copied to the Photoshop CS3 folder and here to Presets/Scripts. After restarting CS3 you should find the script under File->Scripts. If you do not find it there you did not put the script into the proper location.
Note: The free demo version can only handle images up to 2000 pixels wide. The commercial version does not have this restriction.
How to order or get a Demo
You can order DOP LayerHelper 1.0 or get a free demo version from here.
|