12/20/2009 Viveza 2 released
Nik Software announces a new version of Viveza.
- Add "Structure" contrast to the control points (this is a major feature in our view)
- Global Curve
- Undo inside the plugin
- Grouping of control points
Read our review of version 1.0 below to understand why this a very powerful plugin.
You can save 10% and support DOP here:

Nik Software Viveza is a new plugin for Photoshop (we use it with CS3). Viveza brings Nik Software U Point Technology to Photoshop. Before it was implemented as part of Nikon Capture NX (read out review). We cover Viveza showing a real world workflow in CS3 using Viveza. The old review also showed a different example.
Viveza
Best to use Viveza as a CS3 Smart Filter on a Photoshop Smart Object layer (learn more about Smart Filters here). Using Smart Filters allows to keep all settings for Viveza for further future tuning.
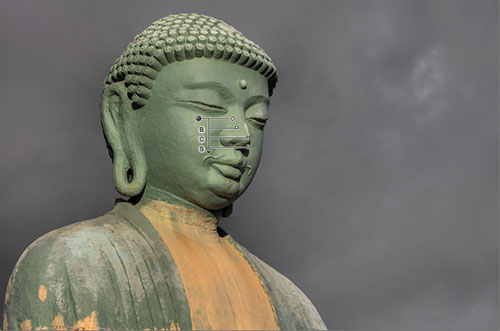
We start with the following image:
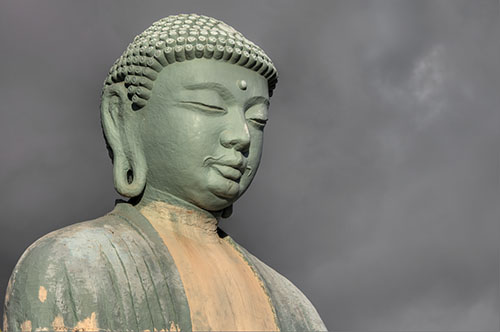
Start Image
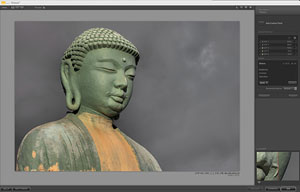
We create a new layer, convert it to a Smart Object and run the Viveza filter plugin:

Viveza user interface (shows the final version)
Like other modern plugins Viveza can use the full screen for editing.
Step 1: Darken the green of the Buddha
U Point #1
Each U Point is defined by the following basic properties:
- Location: Where the U Point is placed
- Hue, Saturation & Brightness: Defined by the location of the U Point. The more other pixels differ in these properties the less they get influenced by this U Point.
- Radius: Defines the main reach of the U Point. In principle each U Point influences the whole image. But the further a pixel in the image is away the lower is the influence of any U Point.
- Brightness: We darkened it a bit
- Contrast: Was unchanged
- Saturation: We boosted it a bit
- Advanced Properties: You can also change some more advanced properties like Hue, Red, Green, Blue and Warmth. We don't use any of them in this sample.
You can see that this U Point also made the sky darker and this is not what we wanted. Here we have to learn how to use U Points. Rather than to change our settings we place a second U Point on the sky (with default setting, means nothing changed).
Step 2: Protect the sky from changes

U Point #2
Best you think of U Points in a way that they are kind of competing which each other. If there would be only U Point #1 it would dominate the whole image. Now the two U Points compete. Point #1 is more in control for greenish tones and #2 more for all sorts of bluish-grays.
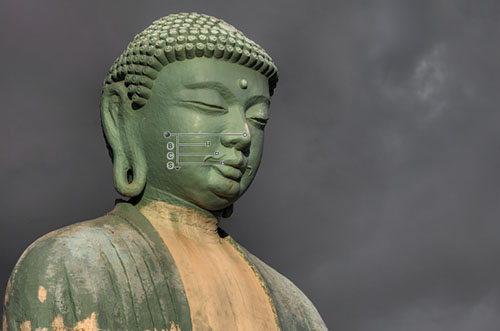
Step 3: Change the saturation of the yellow/orange buddha elements

U Point #3
U Point #3 darkens the yellow/orange and also boosts a bit the saturation. Viveza allows you to visualize the control reach of an U Point by showing a mask like this:
Note: Actually Viveza is not generating any masks. But still the masks help to visualize how the effect of a U Point can influence the image.
Step 4: Darken the brighter greens of the buddha

U Point #4
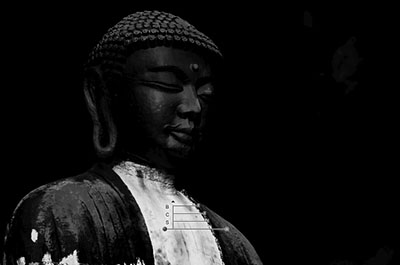
Step 5: Tone down the bright highlights
U Point #5 (watch the mask)
This last U Point actually did an amazing job to nearly heal all the specular reflections on the buddha (hard to see in these small samples).
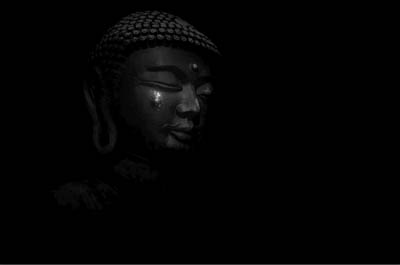
And here we are with our final image:

Final image
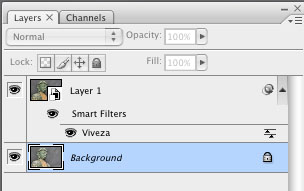
CS3 layer stack with SO and Viveza as Smart Filter
We use currently Viveza as our last fine tuning step. Because it acts as a Smart Filter we can continue fine tuning the image with Viveza later at any time.
Conclusion
Viveza is now part of our standard toolset and we don't want to miss it. It is by far the most visual editing tool we have ever used for improving tonality and colors.
Highly recommended
You can find more info on the Viveza 1.0 product page (see also discount offer below)
|