7/29/2010 Recent sample "Wine and Oak"
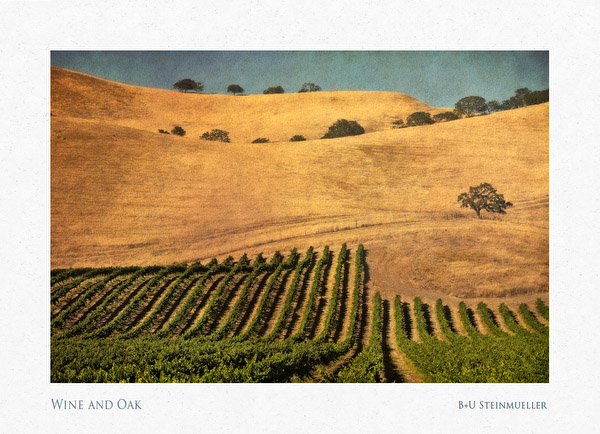
We used the technique described below to clean the grass of the oak hill. The Texture Blending adds to the effect.
Initial Article
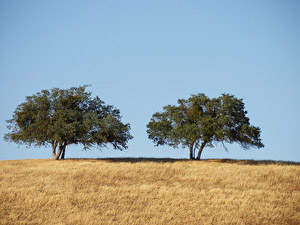
You work on your images and find this photo:
Start
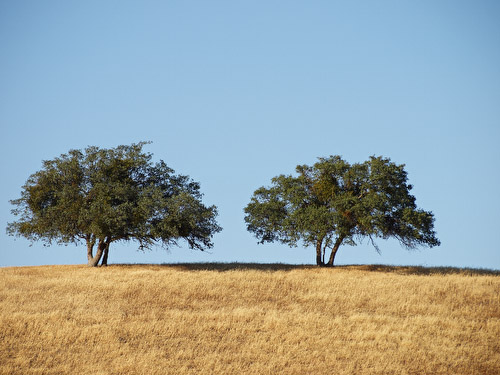
At first glance it looks like a very nice scene. Too bad that mother nature is not always perfect. Lets inspect the photo a bit closer:
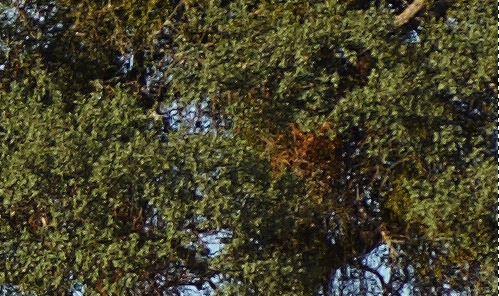
Some of the brown leaves start to spoil the image (unless you convert it to B&W). Lets help mother nature a bit. We clone over some more green parts of the tree.
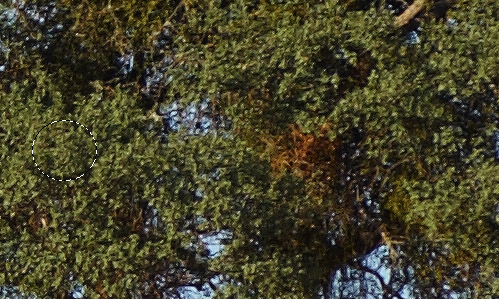
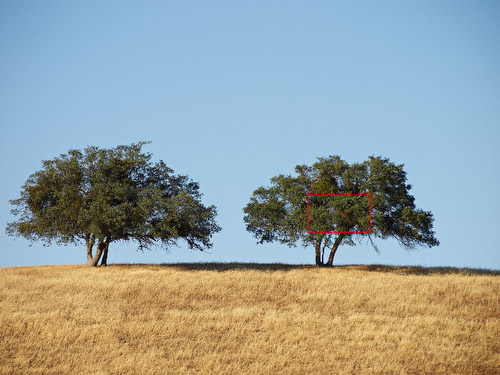
Selection shows about the clone source area
We duplicate the layer and clone some green areas to the brown branches on the top layer.
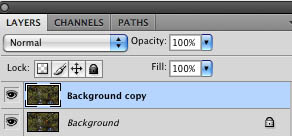
Here is how the cloned result looks like:
Normal cloning
This does not look really pretty. Now we change the layer Blending Mode to "Color":
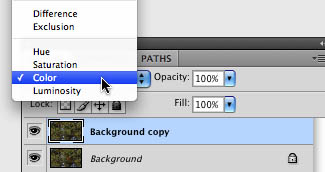
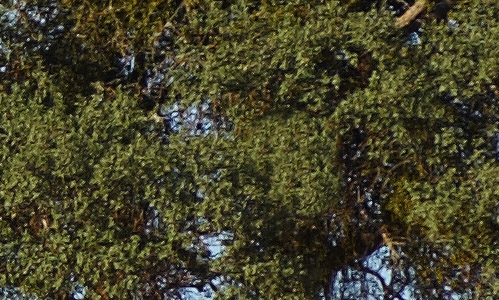
and here we are:

Layer in Color Blending mode
Note: The Luminosity (detail, brightness) is defined by the original image. This means Color Cloning does not allow to clone darker source colors over a brighter target (or the other way around).
In this case we also tune down the layer opacity to get a more natural looking result (60 to 80%).
Here is our final image:

Final result
Conclusion
We find Color Cloning a helpful technique at times. For this photo it saved our day. We did not read about this technique before. But likely it is well known by some graphic experts because the Photoshop universe is so huge.
For all the people that don't like to manipulate photos we recommend to spray paint the tree :-).
Happy cloning.
|