2/3/2013 New improved version V3
We are pleased to release the new version V3 of OptimalSharp. The version V3 includes also the scripts from V2. Although OptimalSharp V2 did a good job we wanted to improve in two areas:
- Sharpening in dark areas
- Avoid sharpening of noise (in skies or smooth surfaces)
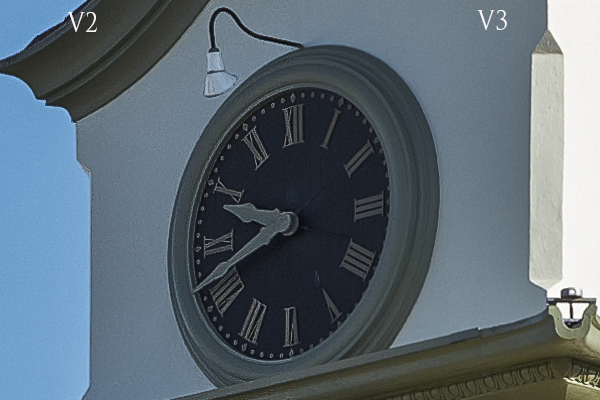
On the left we see the version V2 oversharpening and creating also some halos. The right version with V3 avoids this problem. The V3 rendered version look more natural. In general we prefer the results from V3 but still deliver also the V2 scripts.
Each script (v2 and V3) comes in a Standard and Plus version. The Plus version adds extra fine detail.
3/2/2010 Hidden Feature with Optimal Sharp
DOP Optimal Sharp uses a Noise Mask to avoid sharpening noise (especially in skies). We programmed it in a way that you can make the noise mask visible and tune if needed.
All you need to do is run DOP Optimal Sharp and undo the last step "Apply Layer Mask". Now the Layer Mask is visible and you can do the following for fine tuning:
- Disable the Layer Mask (this shows stronger sharpening but also shows eventually more noise)
- In CS4 and neweryou can lower the mask density to find a balance you like.
Give it a shot.
2/16/2010 New minor tuned version released
We tweaked the script to avoid sharpening noise in skies even more. If you bought the script at 2/15/2010 or earlier just download the script again to get the latest's release. All new customers get the new version and also the Demo script got updated.
Motivation
In the ideal world we would just run a single sharpening tool and it does the "right thing" without any complex settings to apply. During our work we developed this new "DOP_OptimalSharp" script and find it comes very close to this ideal.
Think of DOP OptimalSharp more as a Capture sharpening tool but without much need to do any further sharpening later in the process. DOP OptimalSharp does not create any nasty halos.
Workflow tips:
- No sharpening in the raw processing step needed (avoid to create any even minor halos)
- Best remove all noise before running the script
- Then use the script as your first step. We don't see any artifacts that later processing steps may make worse.
Note: DOP OptimalSharp also improves the local contrast in your images. All the sharpening is based on our Detail Extraction techniques.
Note: This script is based on our Detail Extractor script. With lower settings you can get close to these results using that script.
Installation
The DOP Optimal Sharp comes as Javascript files for Photoshop CS3-CS6 .
- Full version is named: DOP_OptimalSharp.jsx, DOP_OptimalSharp V3.jsx
- Demo version is named: DOP_OptimalSharp_Demo.jsx, DOP_OptimalSharp_V3_Demo.jsx
Installing the script
The scripts need to be copied to the Photoshop CS3/CS4 folder and here to Presets/Scripts (or to the equivalent locations for other languages). After restarting CS3/CS4 you should find the script under File->Scripts. If you do not find it there you did not put the script into the proper location.
If you don't know where your scrips folder is (you even have more than one) consult our tip from here.
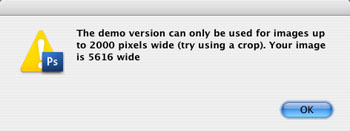
Note: The free demo version can only handle images up to 2000 pixels wide. The commercial version does not have this restriction. You will get this warning message if you use larger images with the demo version:
Using DOP Optimal Sharp
Using the script
Note: We normally do a minor sharpening of our Raw files in Lightroom/ACR before we use Optimal Sharp at about 80, 0.5, 0, 0.
Using the script is simple. Best you have the top layer selected. Run the script from File->Scripts. There is no user interface. The script just does the "right" thing.
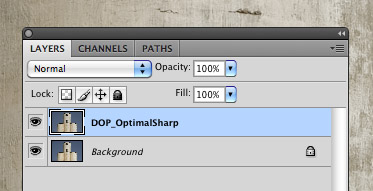
The script creates a new layer called "DOP_OptimalSharp" on top of the layer stack
If the effect is too strong you can do the following:
- Lower the opacity of this layer
If it is not strong enough (this should happen rarely)
- Run the filter again and again control via opacity
Samples
We used Lightroom 2.6 with sharpening set to zero for all these samples.
Sample #1 (Nikon D3s)
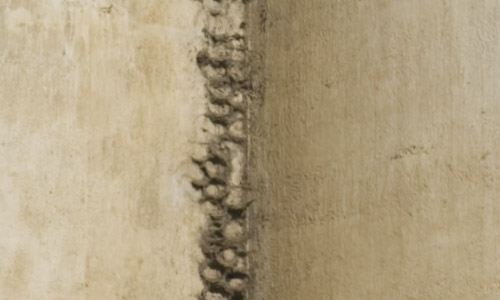
before
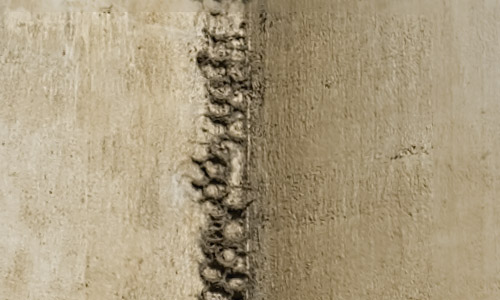
after: Look at the wall texture
Sample #2 (Canon 5D Mark II)


before
after
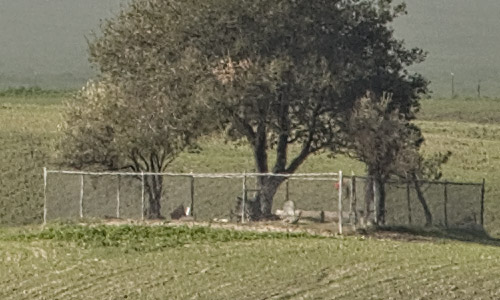
Sample #3 (Panasonic G1 + 7-14mm)

before
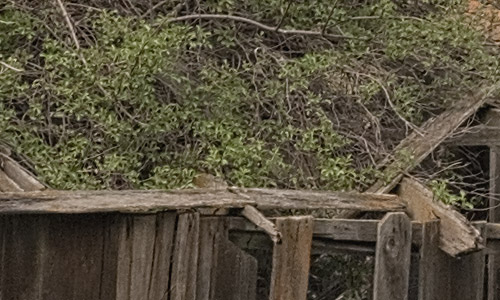
After: Lots of detail
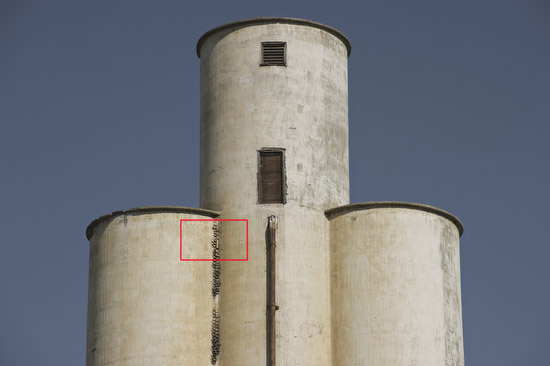
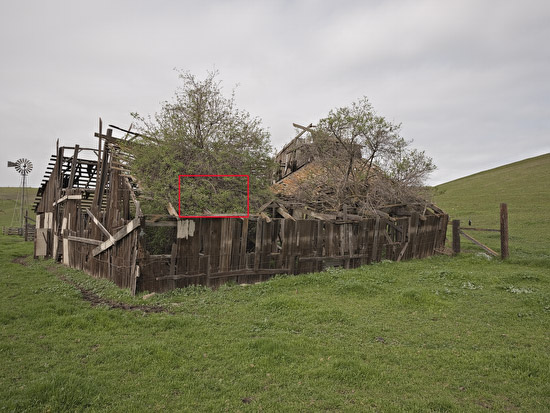
Sample #4 (Panasonic G1 + 7-14mm)
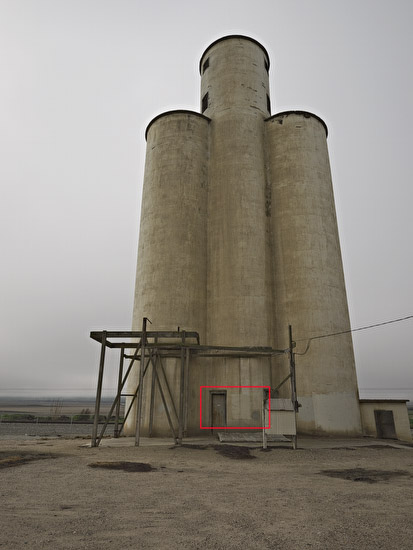
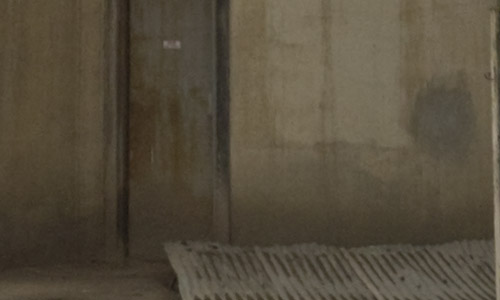
original
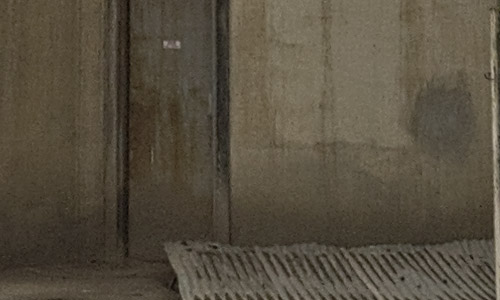
after: Watch the shadow region
Conclusion
We are very pleased with this new script and hope you find it useful too. Overall it simplifies our workflow a lot.
As always try before you buy. |


