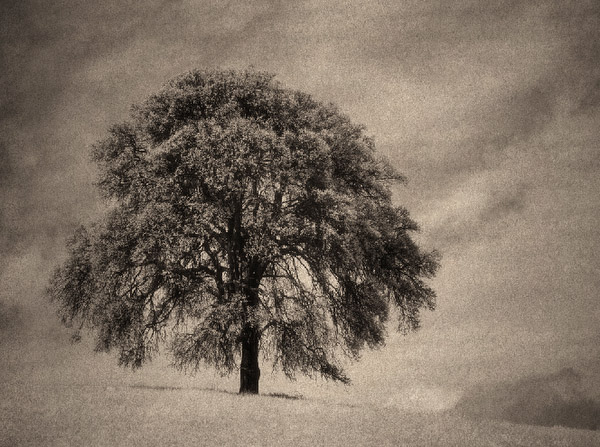
We work recently often with tree photos shot with one of our Infrared cameras (Canon 5D and Panasonic GF1). Adding grain and some tint seems to enhance the images. We perform these tasks using our Texture Blending scripts. Best we show an example.
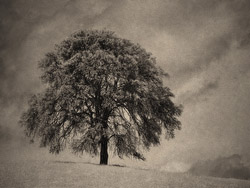
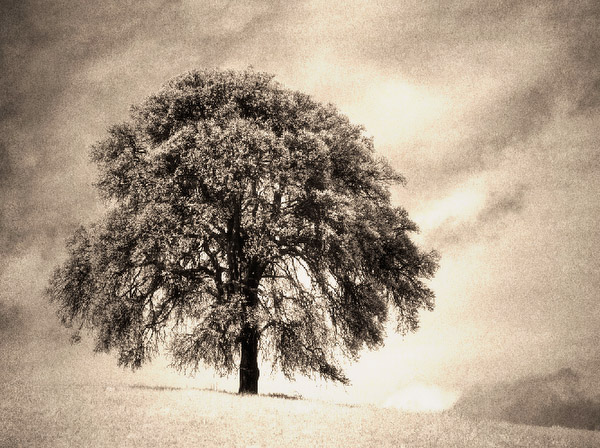
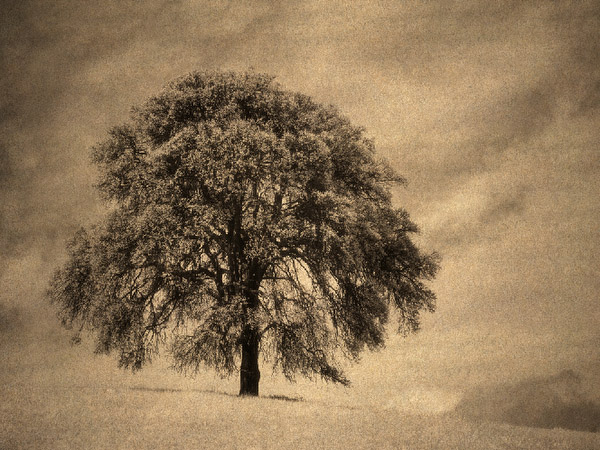
Starting Image
We find this one of our top images from 2010. So why change it? In the end we like the blended version even better.
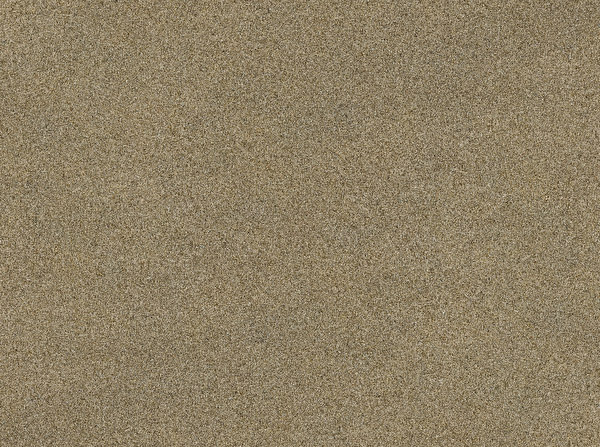
Texture Used
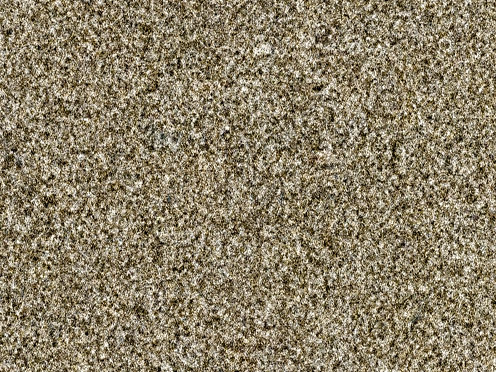
100% pixel crop
This texture evolved over time and is in original 9000 pixels wide.
Note: "Evolved" means that this is based on an original photo but we worked on it over time. E.g. the original resolution was much lower.
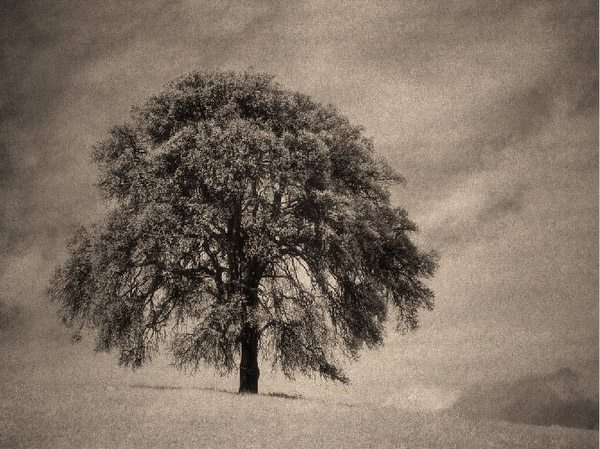
Blending with DOP Texture Blending Script
After using our Texture Blending script we get this layer stack:
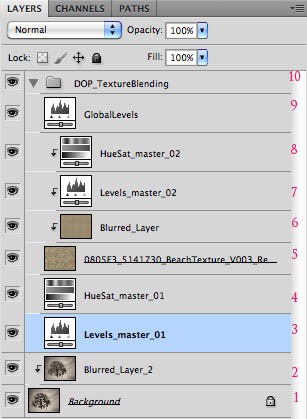
Our Layer Stack
We numbered the layers to refer to them in the following description of our operations.
Note: The layer (2) was created using our Texture Blending Tuning Kit and won't be used in this tutorial. Layer (2) allows to control the blur of for the main background image.
Step 1: Change of Blending Mode
The original script sets layer (5) to the blending mode "Multiply". We now nearly always use "Overlay". Means we change the blending mode of layer (5) to "Overlay".
Step 2: Control the Highlights
Using the "Overlay Blending mode we nearly always get too bright highlights.
We fix this by using the Levels in layer (3):
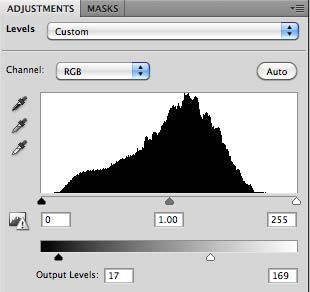
The highlights get tuned down by lowering the "Output Levels" white point slider (here 169). We also my fine tune the shadow Output Layer level (here 17) to avoid blocked shadows.
Step 3: Blur Layer Opacity
Layer (6) blurs the the texture and is set normally to 50% opacity to allow changes for more or less blur. Here we show the picture with no texture blur:

For our taste way to harsh in the grain structure. 50% is most of the time a good starting value. We change the opacity of layer (6) till we like the result.
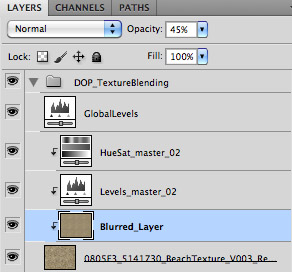
Here we settled with 45%.
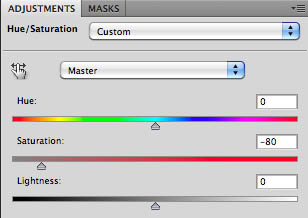
Step 4: Controlling the Tint
The texture blending adds a tint to the image depending on the colors of the texture used.
The Hue Saturation layer (8) allows us to control the tint. Here is the image with the layer (8) default settings:
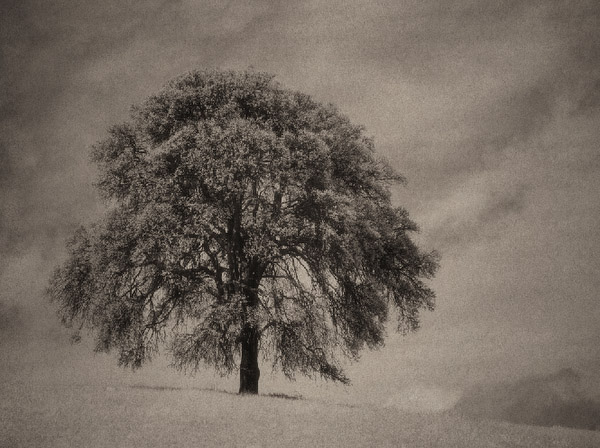
We find the tint too warm and changed the tint via layer (8):

Tinting is of course very subjective and you may settle with other settings.
Step 5: Global Levels
The Levels layer (9) allows to fine tune the overall contrast and gamma. Here is the image with layer (9) disabled:
Here are our settings in layer (9):
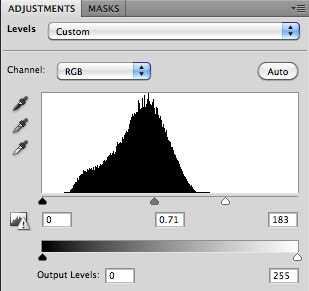
and the resulting image:
Step 6: Layer Group opacity
Finally we can tune the whole effect of the Texture Blending layer group to the image:
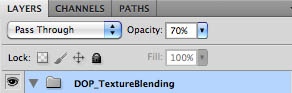
We finally used an opacity of 70%.
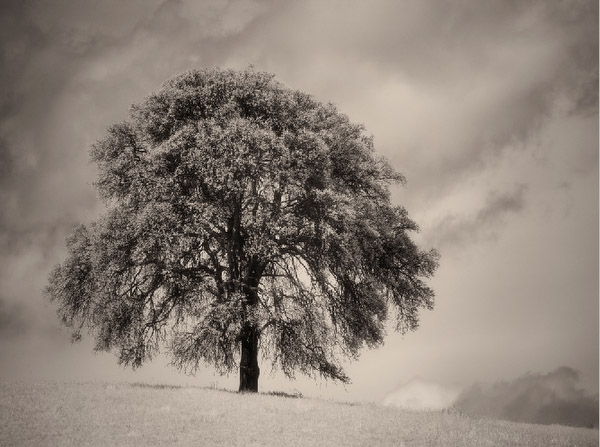
The Final Image

Conclusion
We find that our Texture Blending managed to improve on a very nice image to begin with.
Outlook
We have many tree images and often want to apply the same settings to other photos. In a future article we will discuss how to create and use Texture Blending Templates. The enabling tools are all in our Texture Blending Tuning Toolkit available.
Note: If you are new to our texture blending scripts (means you do not own DOPF017) the we recommend buying the DOPF086 bundle to save some money. |