Motivation
We get often asked how we make our dark or bright frames. This got us working on a simple yet very flexible solution.
Installation
The DOP Simple Frames come as a set of Javascript files for Photoshop CS3/CS4/CS5 (we only support CS3/CS4/CS5).
- Full version is named: DOP_AddFrameDark.jsx and DOP_AddFrameLight.jsx
- Demo version is named:DOP_AddFrameDark_Demo (comes only in one variant)
Installing the scripts
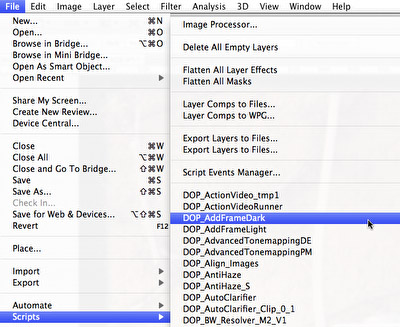
The scripts need to be copied to the Photoshop CS3/CS4/CS5 folder and here to Presets/Scripts (or to the equivalent locations for other languages). After restarting CS3/CS4/CS5 you should find the script under File->Scripts. If you do not find it there you did not put the script into the proper location.
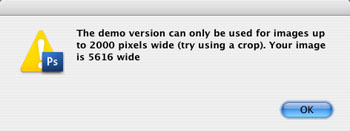
Note: The free demo version can only handle images up to 2000 pixels wide. The commercial version does not have this restriction. You will get this warning message if you use larger images with the demo version:
Using DOP Simple Frames
Frame Templates
The DOP Simple Frame script is based on using frame templates. The idea is that you will create your personal frames templates but we provide a started kit.
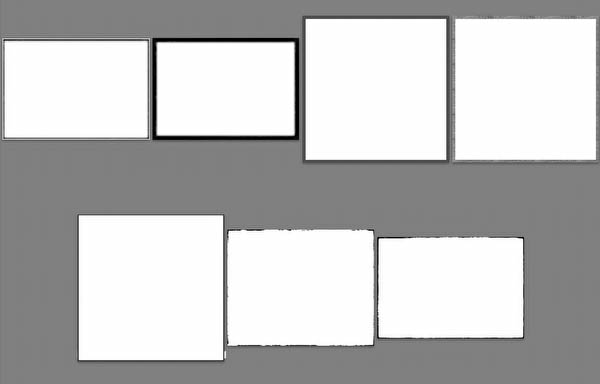
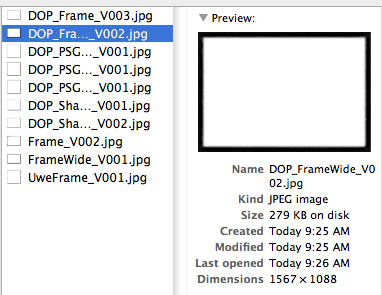
A frame template is just a B&W image that shows the frame (JPEG is in most cases just fine).
Best you create a frame at a good resolution (4000 - 6000 pixels wide, square works fine. The script will then resize the frame to the correct size for your image. The frame will cover all areas where the frame content is darker than the original image (for the AddFrameDark script). The AddFrameLight does the oposite. It first inverts the frame and the covers all parts where the frame is brighter (remember all white parts will be black).
Adding a Frame
We provide two scripts that can add dark or bright frames. They both use the same templates as the bright version just inverts the frame template. Lets first use the "AddFrameDark" script.
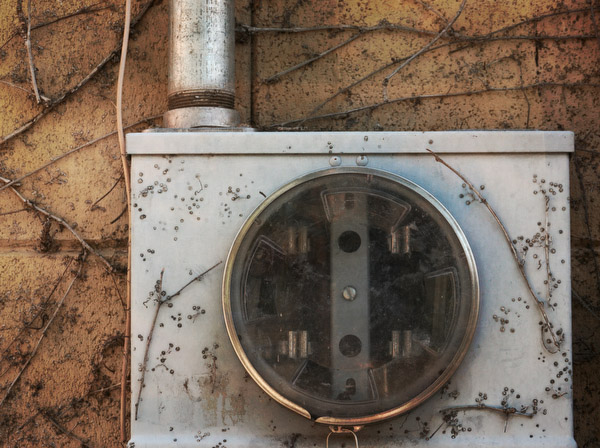
Our start image
Select the top layer (top layer group collapsed) and run the script from File->Scripts:
Run the script (
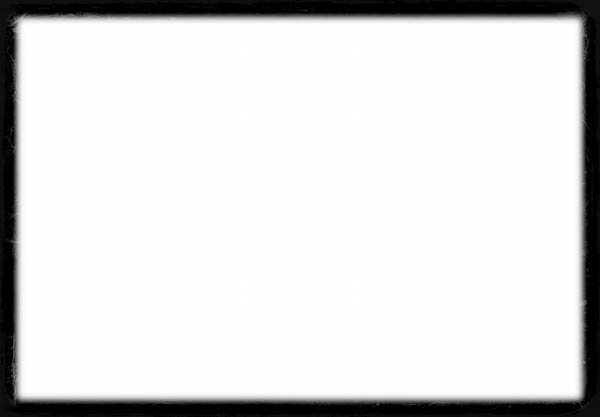
The script opens a file browser and you select one of your frame templates:
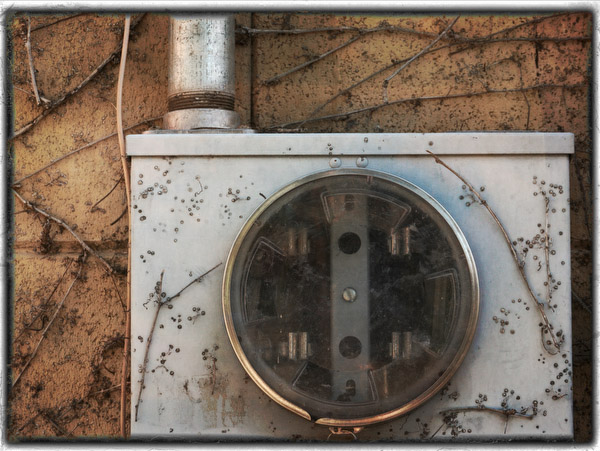
The script then resizes the frame and adds a new layer on top of your layer stack. This layer includes the image with the frame.

Layer with frame
We used a quite wide frame for better demonstration. The density of the frame can be controlled using the Opacity slider of this layer.
But now we can also create an additional lighter frame (script DOP_AddFrameLight) and get this effect:
Adding a lighter frame on top
Again by using the Opacity slider we can tune now the opacity of the lighter frame:

As you can see the whole process is very simple.
Conclusion
The DOP Simple Frame script allows you to easily add nice frames. To have frames in your personal style you can create your own custom frame templates. Happy framing!
As always try before you buy. |


