Lightroom 1.0:
Develop
We cover the develop module only
with the features we find most interesting.
Basic
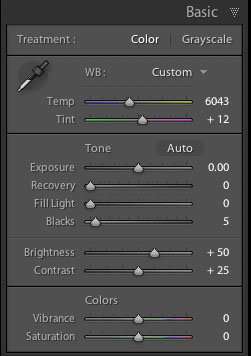
Panel for basic corrections
Most of the controls are classic
Camera Raw tools. New and very useful are:
- Recovery: Recover highlights
- Fill Light: Opening shadows
- Vibrance: More intelligent saturation tool (like the tool
in RawShooter)
Histogram 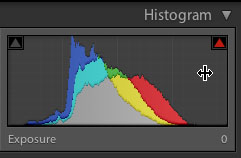
The histogram has evolved to be a powerful analysis
and even adjustment tool.
Analysis
- Clipping in highlights and Shadows
- Channel data
Adjustments
- Exposure
- Recovery
- Fill Light
- Blacks
We currently stick with using the sliders.
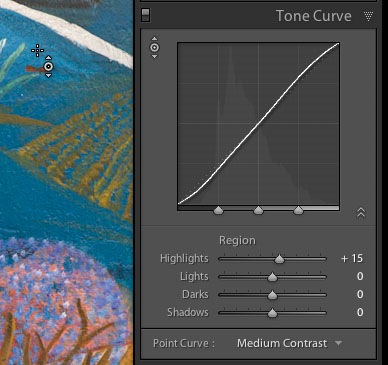
Tone Curve 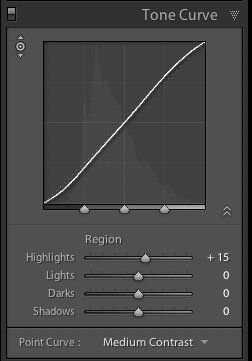
These tone curves get controlled
via 4 sliders and 3 dividers that control the range for these
sliders.
The Tone Curve can also be controlled
by the so called new TAT (Targeted Adjustment Tools). We cover
their principle next.
Targeted Adjustment Tools (TAT)
The principles are simple and
yet brilliant. Here is what you do.
First enable TAT by clicking on
the following icon:

TAT off/on
Now position the TAT cursor (top
left in the above image)on an image area you want to correct.
In the case of the Tone Curve where you want to tune the tonality.
Now you have to options to brighten/darken the image close to
the range of tonality that is shown underneath the cursor.
- Mouse down and up/down will brighten or darken the tonal
range
- Same can be achieved using the up/down arrow keys
We will show later examples where TAT makes a world of difference.
Really great design!
Color Corrections
At first the many sliders of the
HSL tools look frightening:
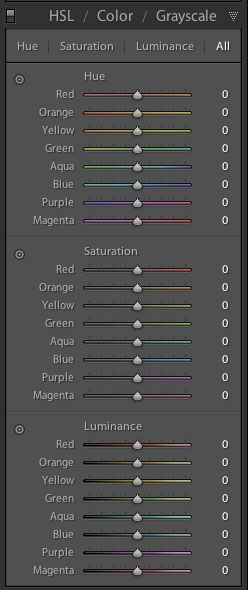
24 sliders are a lot
Fortunately you don't need to
worry about these sliders too much. Use the TAT tool and your
life is so much easier:
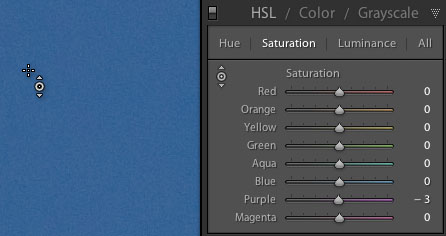
Typical CA blue sky :-)
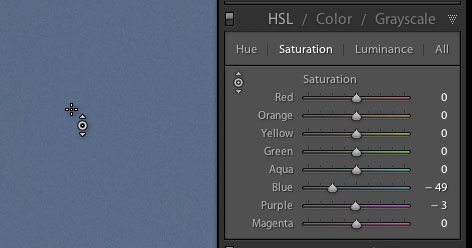
We like that blue now much better
Enable the TAT cursor. Point the
cursor to the color you want to correct. Control the color:
- Hue
- Saturation
- Brightness
by moving cursor up/down or using the up/down arrow keys. Interesting
how the TAT tool can make a 24 slider control so much more
useful. Wish list for HSL tool
- Allow the corrections for selective image areas
Grayscale
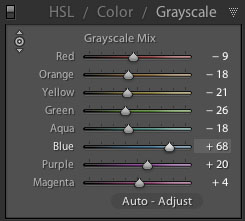
Again the eight sliders let the
Grayscale tool seem too complex. This time Lightroom helps with
two features to master the situation:
- Auto-Adjust: delivers often a very good starting point
- TAT at rescue
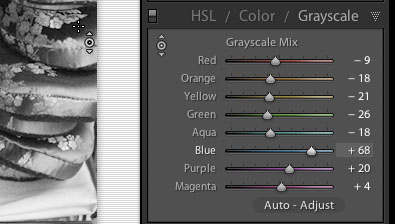
This time the help of TAT is even much greater
because you don's see (and actually don't want to see) the colors
underneath the cursor. Both Auto-Adjust and TAT make this the
best Grayscale Mixer we have seen.
Split Toning
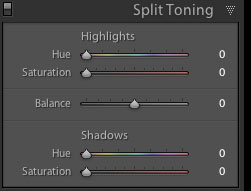
Some self critique is needed here.
We first did not like the idea to use Split Toning for B&W on
the RGB image because it does not have any influence once you
use the printers in Advanced B&W mode. Since recently we changed
our strategy and do split toning on RGB Grayscale image and print
them in color mode (at least with the HP Z3100, but we also hear
great results on the Epson 3800).
Clearly we now consider this tool
very useful and hope people will share good split toning recipes.
Detail
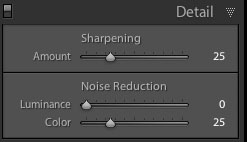
These are the classic Camera Raw
sharpening and noise removal tools.
Wish list
- There seems to be room for improvement
Lens Corrections
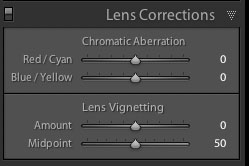
Also the classic ACR controls.
Wish list
- Lens corrections (like the PS Lens Distortion tool)
- Perspective corrections (like the PS Lens Distortion tool)
Camera calibration
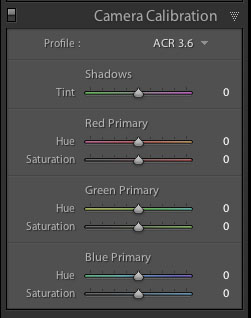
Classic tool from ACR
Wish List
- For studio photography the support for ICC profiles could
be useful. On the other side the creation of ICC camera profiles
is quite error prone.
Snapshots / History
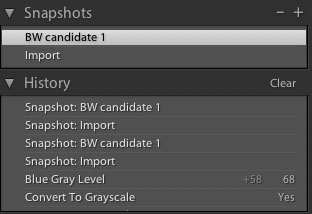
Mark Hamburg (the core architect
of Lightroom) introduced in Photoshop 5.0 one of the finest undo
mechanism we know in any application. Good he did not forget
to also enhance Lightroom with an excellent history and snapshot
mechanism. Try to combine Snapshots with virtual copies and you
can have a Stack of different versions from the same RAW file.
Great feature and great implementation!
Wish List
- Allow the snapshots to be seen in Bridge and ACR 4.0
Other Develop Tools
Spot Cloning and Healing

The new clone and healing tool
is one of our new favorites.
We had recently a really nasty
dust spot on our Canon 5D sensor:
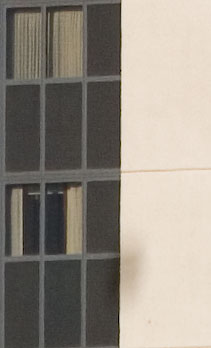
Dust spot
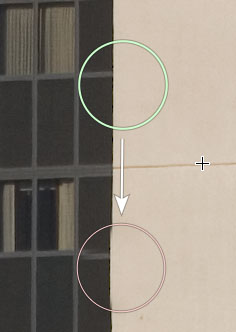 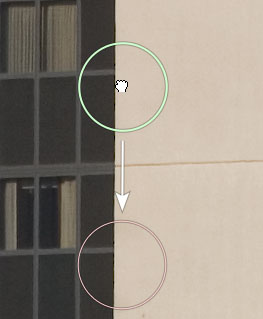
left: slighly misaligned source/target right:
better alignment
The two images show a real time
view from the new "Remove Spots" tool. The key is that I have
a real time preview and can move the source and the target independently.
This way we were able to easily find a good alignment. Quite
a bit more work in Photoshop.
Very nice tool.
Crop and Straighten
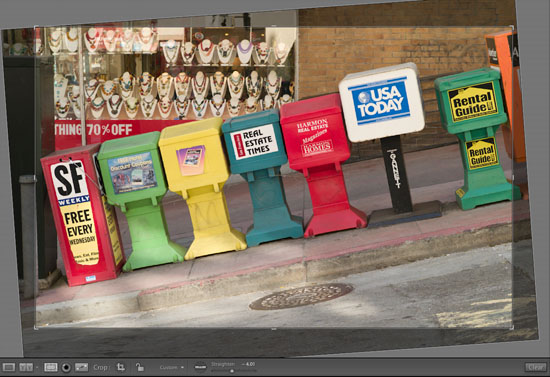
Also the Crop and Straighten tools
just work fine.
Wish list
- as mentioned before: Lens distortion and perspective correction
tools.
Solo Mode
We were never very excited about
the long scrolling list of controls and wished to see more traditional
tabs. But once we discovered the Solo Mode:
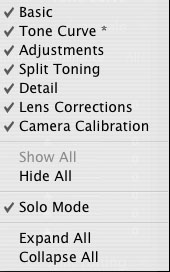
all is fine for us. The Solo Mode
only opens one tool at a time and closes all other tools. Now
we don't see a need for tabs anymore.
Wish list
- The header of the different tools could be less tall.
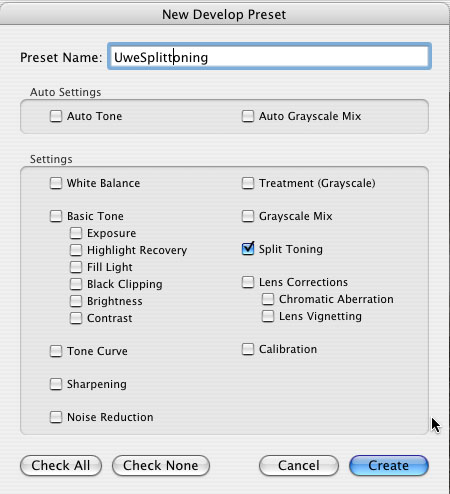
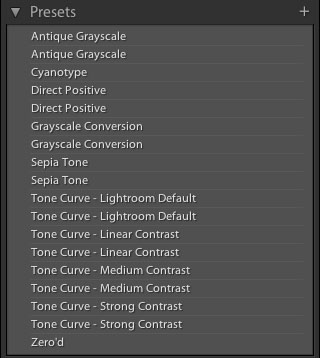
Presets
The Presets Manager is a class
act:
Read
about the other parts of Lightroom
Part 1: Intro
Part 2: Library
Part 3: Develop Module (this
page)
Part 4: Other
Features
Part 5: Lightroom
1.0 FAQ
|