|
 |
|  |

|
 |
| Digital Outback Photo Contest #008
Contest June 2003: B&W Conversion |
|
Sponsored
by |
|
1. Prize: Capture One DSLR Pro version (Windows or Mac) 2. Prize: One of our E-booklets of choice |
|
Congratulations to our winners: 1. Prize (Capture One DSLR Pro): David Kieltyka and Nicolas Eertmans 2. Prize (Outback E-Booklet): Jonathan Wienke and Orin Bassoff |
|
See also our other contests |
|
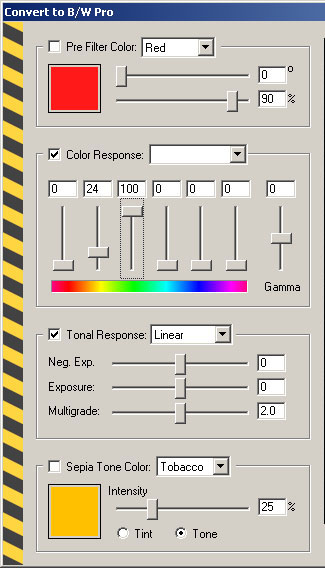
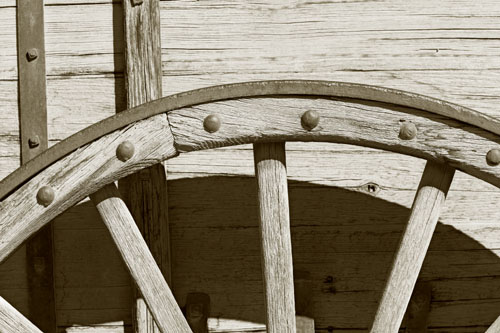
To share experience it is not enough just to show the results. We need precise step-by-step descriptions of all image editing operations that had been performed. That is why we need to limit the used tools to the ones that are available at Digital Outback Photo (and they have to be available for PC or Mac):
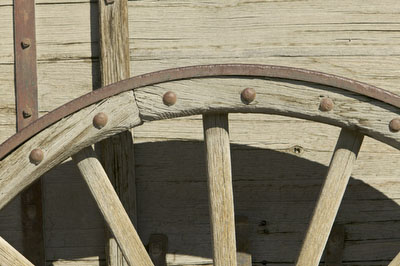
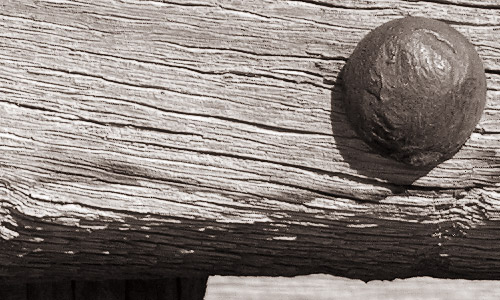
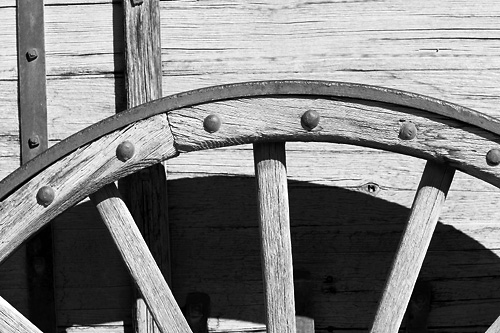
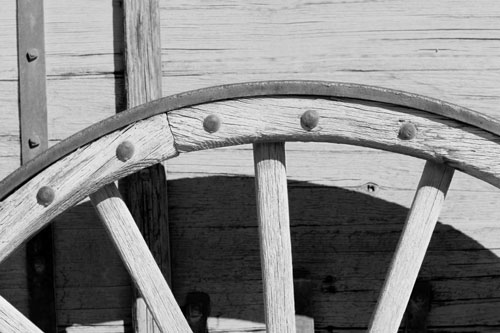
This photo was taken with the Canon 1Ds and the 70-200mm f/2.8 lens.
Rules:
From now on we plan to have exactly one contest per month. The contests will be limited to 8 entries and every week we will publish two (that means 8 after 4 weeks) entries we like the best. This means you can take your time as we do not publish on first come first served basis. |
|
| Note: As all photos should be in the AdobeRGB color space it is recommended to download interesting samples and view them in Photoshop on a profiled monitor. | |
| Sample Entry (by Uwe Steinmueller) | |
|
|
|
|
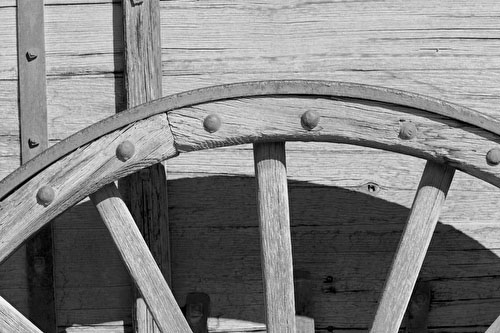
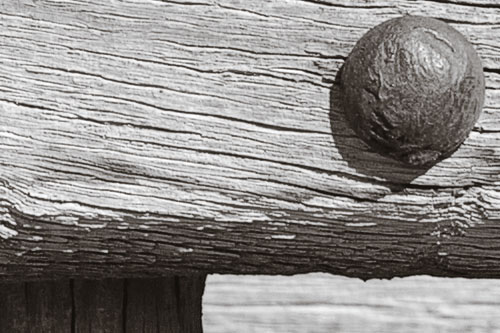
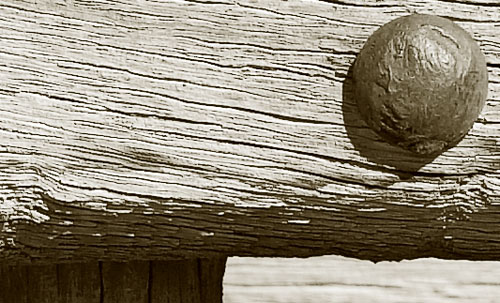
| #1 David Kieltyka | |
|
|
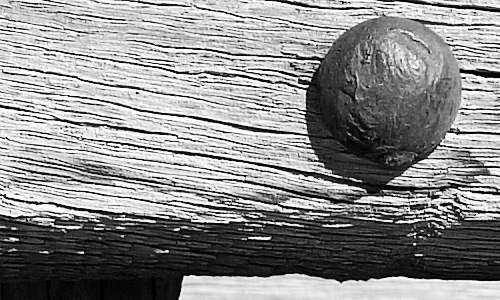
| 1) Use Adobe Camera RAW via Photoshop 7.01 for RAW conversion: -- White Balance: As Shot -- Exposure: +0.60 -- Shadows: 4 -- Brightness: 45 -- Contrast: +30 -- Saturation: 0 -- Sharpness: 0 -- Smoothness: 0 -- Moiré Filter: unchecked 2) Levels: 22 -- 1.00 -- 245 3) Channel Mixer: -- Red: 0% -- Green: +25% -- Blue: +75% -- Monochrome: checked 4) Levels: 0 -- 0.89 -- 245 5) Convert to 8-bit Grayscale mode. 6) Convert to Duotone mode using my WarmGreyQuad quadtone profile. 7) Convert to 16-bit RGB mode. 8) Levels: 4 -- 0.97 -- 255 9) USM using Midtone Sharpening action. 10) Additional USM using Fred Miranda's Intellisharpen 2.2 action, Intensity 1 (lowest setting). This enhances contrast in the wood grain. |
|
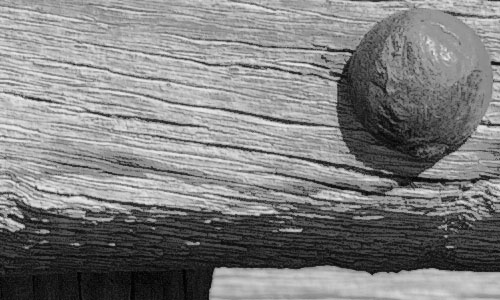
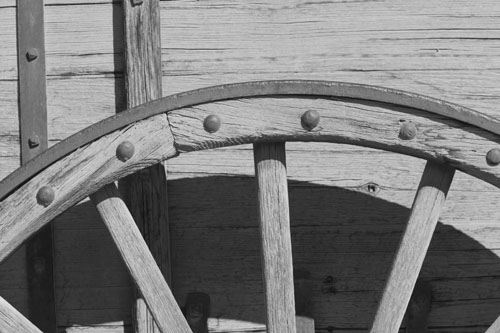
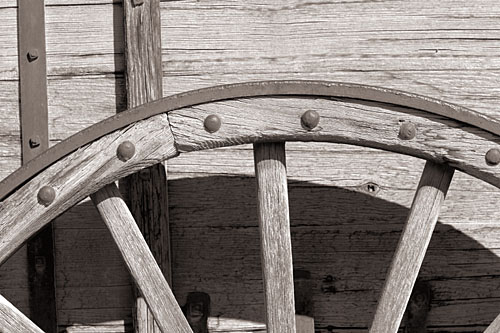
| #2 Jonathan Wienke | |
|
|
1. Open RAW with Adobe Camera RAW, white balance
as shot, brightness 50, contrast +88, saturation +23, smoothness 4,
all other values 0, upsized to 6144x4088, 16 bit Adobe RGB.
|
|
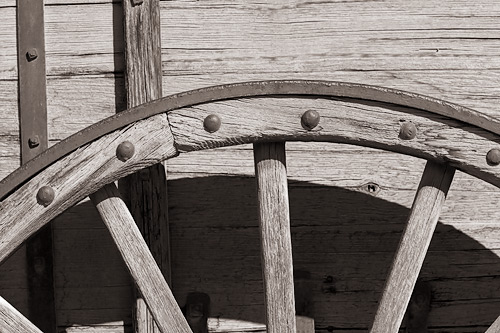
| #3 Gary Yelland | |
|
|
|
|
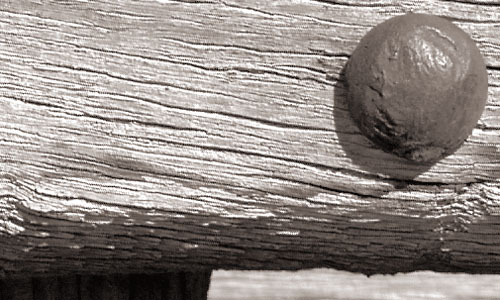
| #4 Tomaz Levstek | |
|
|
I used Canon ZoomBrowser EX to convert to TIFF and
then used Photoshop with this steps:
|
|
| #5 Lars-Erik Mollerstrom | |
|
|
|
|
| #6 Nicolas Eertmans | |
|
|
|
|
| #7 Jon Dokken | |
|
|
|
|
| #8 Orin Bassoff | |
|
|
|
|


| For Comments post in our News Group |