At this years Summit
2006 in Page, AZ we photographed in the Upper Antelope
Canyon. The contrast between the dark and the bright parts are
very high. This means that it is a perfect chance to use HDR techniques
(in our case Photomatix).
We used 5 bracketed shots: 5, 1, 2, 13, 30 seconds.
Note: Too bad that
the automatic bracketing on the Canon 1Ds2 did not extend beyond
30 seconds. 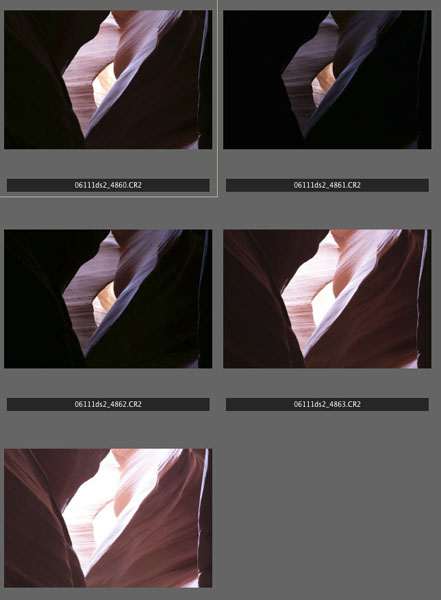
5 bracketed shots in the LightZone 2.0 browser
We created a HDR file directly from
RAW in Photomatix and used their Tonmapping (Detail Enhancer) to
create the following photo.
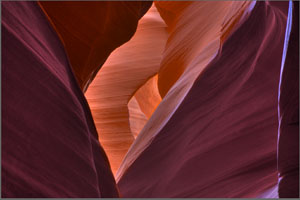
Tonemapped image
The picture does not look bad but
we wanted to improve it a bit in LightZone 2.0 (we worked directly
on the TIFF file that we saved from Photomatix). Here are all the
steps we did in LightZone.

Changed the foreground white balance to "cooler"
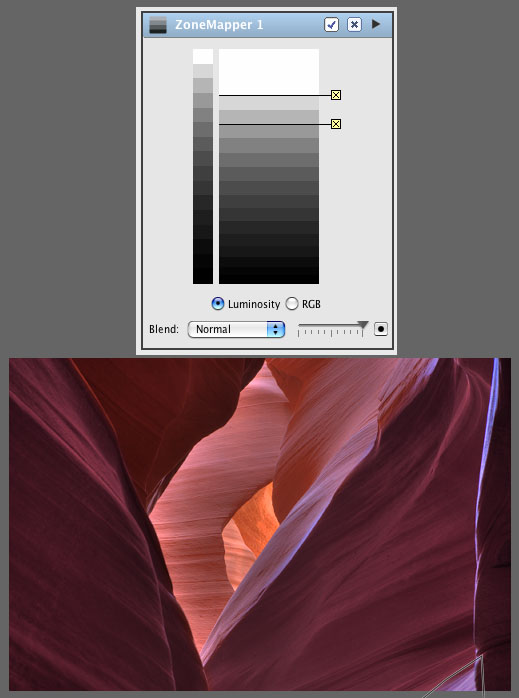
Darkened the small corner a bit (watch the small region)
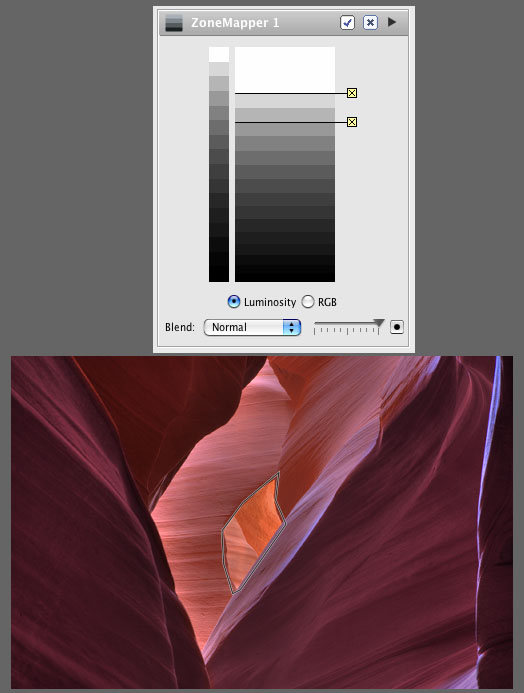
Slightly darkened the center (we found it a bit too aggressive)
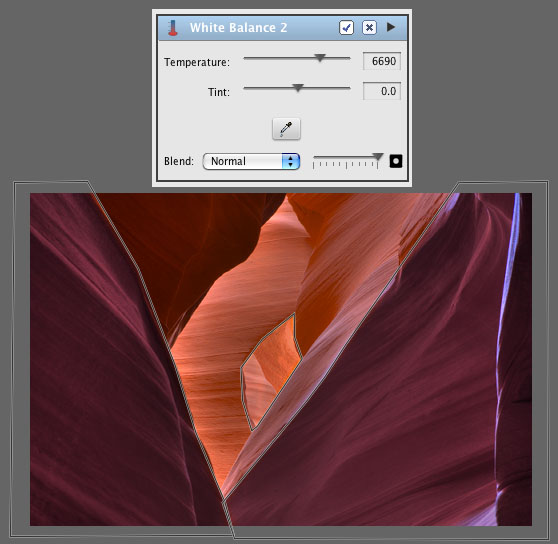
Slightly warmer WB for some parts (we excluded the foreground and
the center)
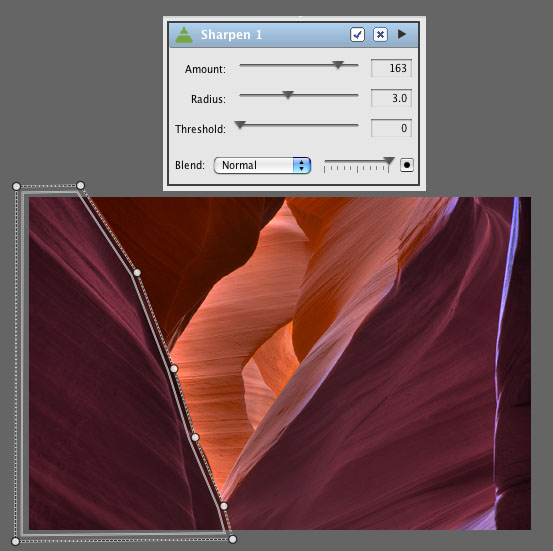
Some extra sharpening for the left out of focus area
The interesting part about this workflow
is that you can use different white balance settings for different
regions in your image. Hardly any image is only lit by a single
light source. Selective white balance is a great help to work if
your scene is lit by different light (be careful to watch neutral
areas).
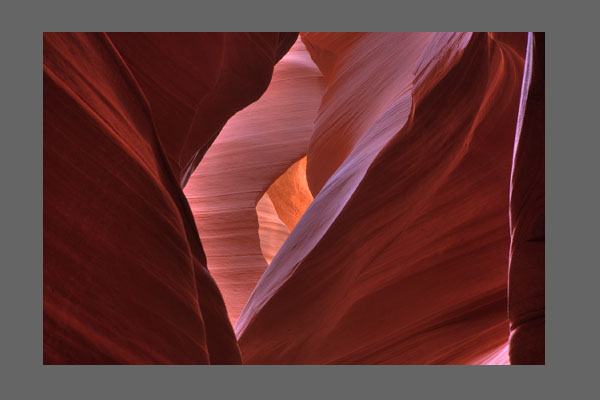
Before and after comparison
Image at start
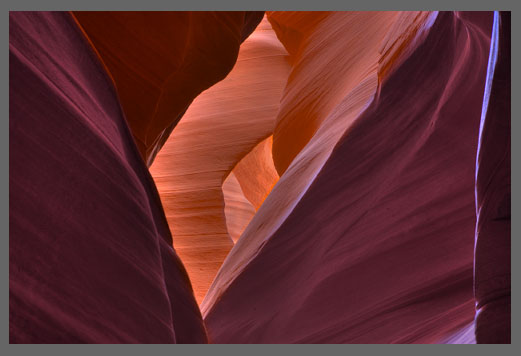
Final result
Both Photomatix and
LightZone 2.0 have proven many times to help creating the images
we envisioned. |