6/16/2008 Initial Review
We plan to write this review in diary form because there is likely a lot to learn and discuss in the future.
In many ways the aspect ratio of all sensors are a limiting factor. Why should this be the best way to portray a scene (be it 2:3, 3:4, 4:5, 1:1, ....). Yes, you can of course crop. This often means losing valuable resolution. Even with cameras like the Canon 1Ds Mk. III (about 21MP) you don't want to cut the resolution down to 50%. The alternative solution is stitching together multiple images. As most of our readers know we photograph quite often freehand. That is why we try to create stitched photos while still shooting mostly freehand.
The last time we used stitching software was at least about 3 years ago (only from tripod and using tilt/shift lenses). That is a lot of time for software technology to improve. Because stitching is very popular there are quite a few products available in the market (and many of them seem to be quite good). We heard quite a few recommendations for Autopano Pro and this is why we give it a shot.
Autopano Pro (APP)
Very often tools with "Auto" in its name are either not very "auto" or lack control and/or quality. Actually from a stitching tool you demand quite a few things to be automatic and still very good:
- Automatic and excellent alignment
- Color blending to produce a smooth color transitions
- Automatic lens corrections
- Good projections
Let's see how well APP does in all these disciplines. We show a simple sample project.
Step 1: Loading images
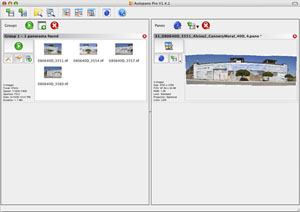
Select your source images in your image browser (we start always with 16-bit TIFF files created from Lightroom/ACR) and drop the files onto the APP Groups pane:
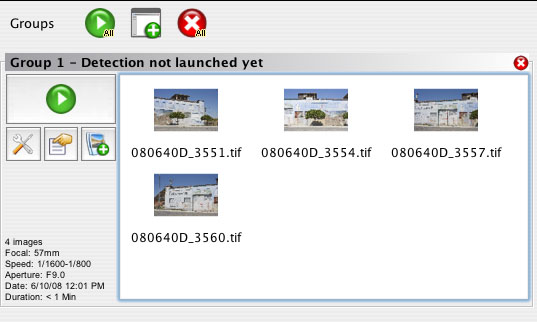
Click the green Button and APP does the initial alignment (using the excellent SIFT control point algorithm). This takes about 10-20 seconds even for larger files (e.g. 1DS3).
Step 2: Setting Stitching options
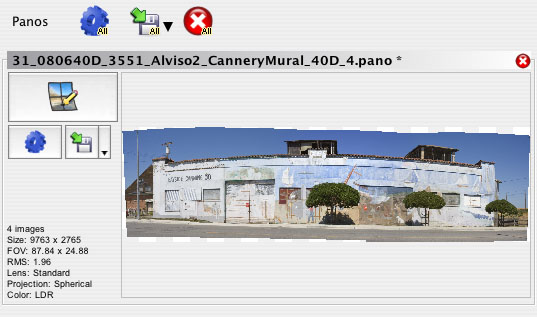
We would be nearly ready to render if APP would not select Spherical projection as its default (and you cannot change this default). The user interface is not intuitive at this step as there is no direct menu to select a different projection. In the end it is not a problem once you learned that double clicking the preview opens the Panorama Editor.
Step 3: Setting the Planar projection
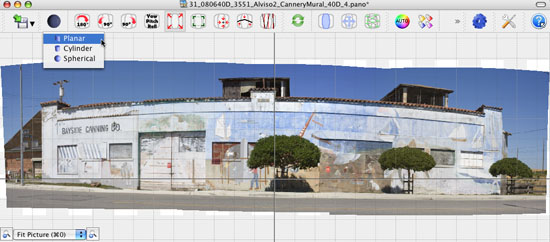
In the Panorama Editor (with many other useful functions that we most often don't bother about. Why? Because Autopano Pro automatically works so well. So far we did not stress any limits.) it is easy to switch to the Planar projection.
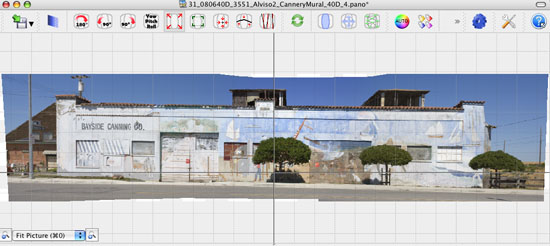
We don't care much about the perspective here because we correct perspective later in Photoshop. This means after switching to Planar we can close the editor.
Step 4: Render
We hit the render button and let APP do its work. The Batch Renderer shows the progress:
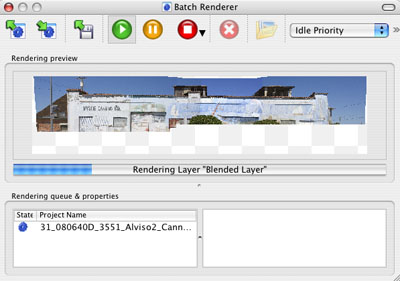
Rendering takes a while. We set the process priority to a very low level to keep our machine as responsive as possible. As the name says the Batch Renderer allows to batch process multiple prepared panoramas. We save as 16bit TIFF files.
Step 5: Final work in Photoshop
Our version does not keep the color profiles from the source images. This means we assign (not convert!!) the profile back when we open the rendered image in CS3:
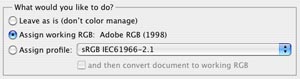
Note: Make sure that you assign the exact same color space back that were used in the source TIFF images.
Next we correct the perspective using this technique.
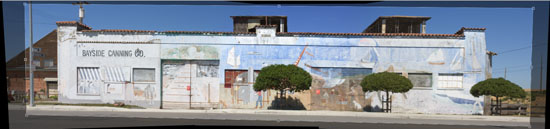
The panorama looks now like this:
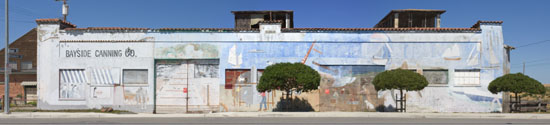
After perspective correction
Some detail extraction (EasyD), minor sharpening and a few Curves corrections produces a first result. We also stretched the height a bit :-)) because we did not like the extreme aspect ratio.
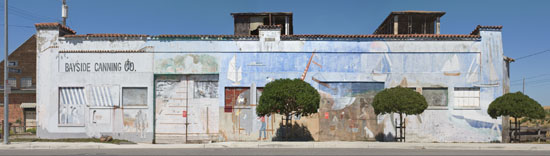
Final Image
We find this was easy (best you try a demo with your own images). This clearly qualifies for "automatic" while delivering excellent image quality.
Note: These images were shot with aperture priority. This is actually not a good idea. You should keep for all images the following parameters constant:
- Aperture
- Shutter speed (make sure the brightest segment is not overexposed)
- Focus (best use manual focus)
- White Balance (can be corrected later in Lightroom)
Still Autopano did a nice job blending the images together (even using aperture priority). We won't do that again :-) as in some cases it may not work as well.
Why is stitching important to us?
Most of the time we actually use stitching for images that are not typical panoramas. Here is an example:
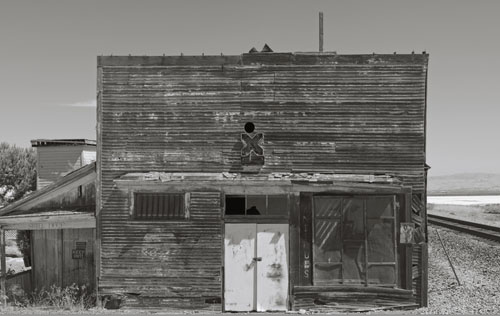
You may say: what's the deal? Use a normal lens and go further away. First the perspective changes and even more importantly in this scene you would not even see the bottom of the door (not all terrain is flat :-)). The other option would be a very wide angle lens and then we would need to crop. Also extreme wide angle lenses are more often than not soft in the corners.
Conclusion
We are very excited to use Autopano Pro for future projects. Most of this is related to the best way to shoot freehand panoramas:
- Which lenses (we used so far 35mm and 50mm primes or Olympus zooms)?
- What to look for (todos and not todos)?
- Framing (previsualization)
APP itself is easy and fun to use. Job well done. This is a real "Auto"pano tool.
For all the readers that like it more complicated we want to mention that APP also masters multi row stitching. Some very competent photographers reported also excellent results here.
We plan a new article on combining Exposure Blending and stitching in APP soon.
For more information on Autopano Pro visit their web site.
|