DOP Shadow Optimizer
DOP Shadow Optimizer is a Photoshop CS3/CS4 script that can bring shadows in images to life.
Motivation
Overcast is good light because there are no harsh shadows. Then there are also many situations where the main subject is in the shade. The problem with this light is that the shadows look often dull in terms of contrast and colors. Just cranking up the contrast does not always work. We looked for a good solution for a long time and finally found a way that we think works very well. We are very pleased to be able to present it now to our readers.
Installation
The DOP Shadow Optimizer come as Javascript files for Photoshop CS3/CS4 (we only support CS3/CS4).
- Full version is named: DOP_ShadowOptimizer.jsx
- Demo version is named: DOP_ShadowOptimizer_Demo.jsx
Installing the script
The script needs to be copied to the Photoshop CS3/CS4 folder and here to Presets/Scripts (or to the equivalent locations for other languages). After restarting CS3/CS4 you should find the script under File->Scripts. If you do not find it there you did not put the script into the proper location.
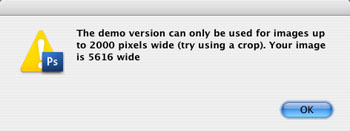
Note: The free demo version can only handle images up to 2000 pixels wide. The commercial version does not have this restriction. You will get this warning message if you use larger images with the demo version:
Using DOP Shadow Optimizer
Using the script
Using the script is simple. Run the script from File->Scripts
- DOP_ShadowOptimizer (or the Demo version)
The DOP Shadow Optimizer script does not have a user interface in the script. All control is performed in CS3/CS4 using the created layers:
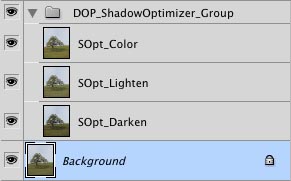
The script creates a Photoshop Layer Group “DOP_ShadowOptimizer” with 3 layers .
- SOpt_Color: You can control the color strength via the opacity of this layer
- SOpt_Lighten: At 100% opacity this layer hides the SOpt_Darken layer. If the image is too bright lowering the opacity of this layer will darken the image by showing more of the SOpt_Darken layer.
- SOpt_Darken: Allows to control the darken effect.
You can also fine tune:
- Opacity of the Layer Group for lowering the overall effect
- Change the opacity of the layers to control the darken/lighten effects.
- Add layer masks to the group and/or layers
As our samples show this filter works very well together with our DOP Contrast Plus script.
The most important control is the opacity of the SOpt_Lighten layer. By lowering its opacity you add more darkening depth to the image.
Note: Of course you can add more contrast by adjusting the black point higher. Unfortunately this results in blocked shadows.
Samples
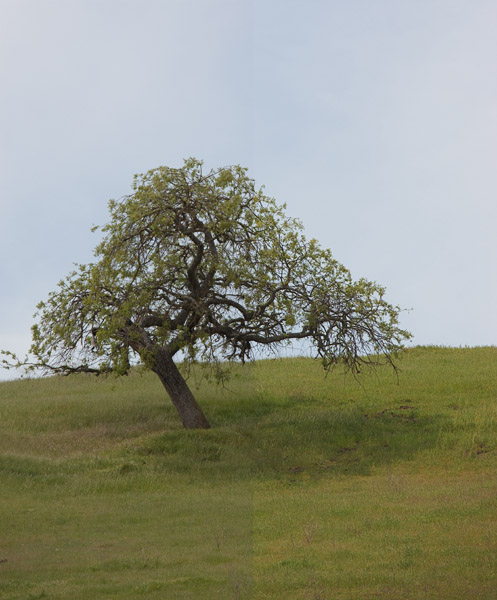
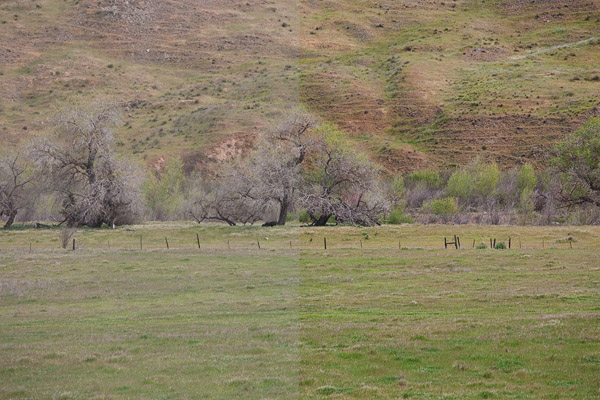
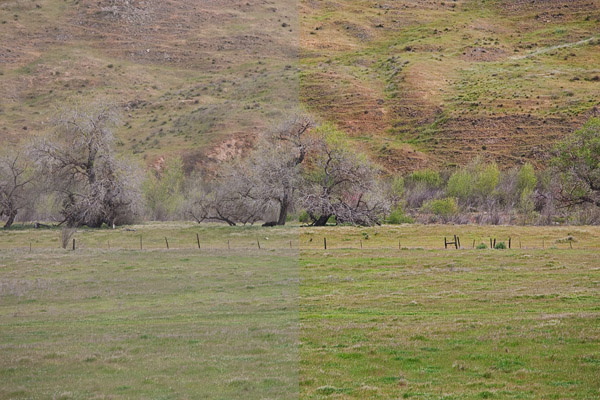
Before/after DOP Shadow Optimizer
Before/after DOP Shadow Optimizer + DOP Contrast Plus
This of course begs the question whether DOP Contrast Plus would do the trick alone. It does not. The DOP Shadow Optimizer does just the optimal preparation.
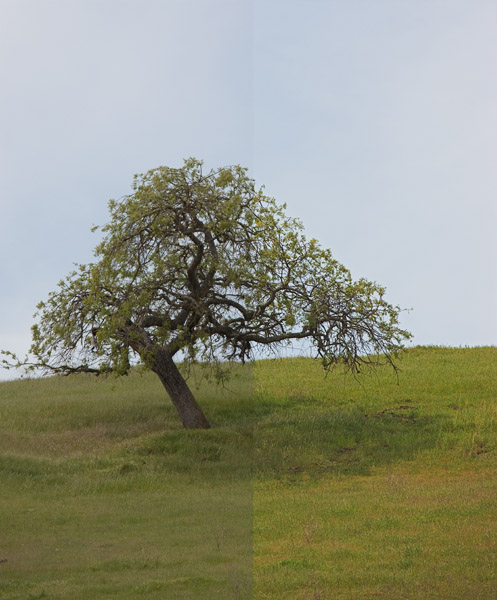
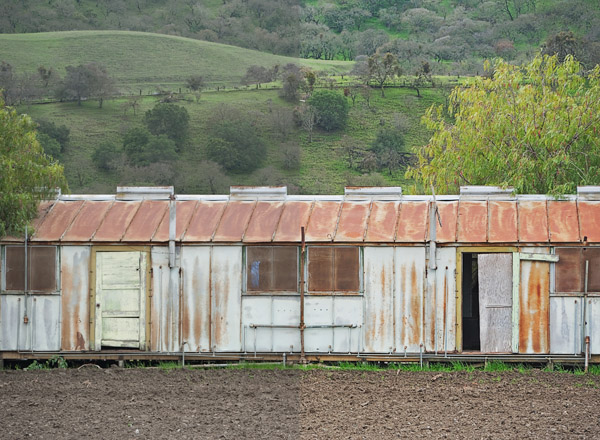
Before/after DOP Shadow Optimizer
Before/after DOP Shadow Optimizer + DOP Contrast Plus
As you can see this is a lovely scene but the original image looks way too flat. It is also important that you can control the color. If you just use Photoshop's Shadow/Highlight you will brighten the shadows but lose color.

Before/after DOP Shadow Optimizer
Before/after DOP Shadow Optimizer + DOP Contrast Plus
Conclusion
As always it is best to try first the free demo version and work on your own images. |


