There are many discussions on the internet about the so called HDR look. Some love and some hate it. To be clear HDR does not have a look! Not convinced?
Convert an Ansel Adams photo to 32 bit and it will be a HDR file and looks identical to the photo before the conversion.
So what is about HDR that some people don't like? The images can get a certain (sometimes painterly) look during Tonemapping. Images that get tonemapped from a higher dynamic scene can get a different look by:
- Shadows are often very open
- Show strong local contrast
- May show halos
This means that some photographers like the concept of HDR but want a more traditional photo look. Calling this look "natural" is off because it would imply that other photos look "natural". Why do we get the impression that other photos look "natural"? Simply, we know most of the world only via video and photos and we are just that much used to it that we find it to be "natural". Open your eyes and you find that no photo looks "natural".
Still the question remains: How can we create from our bracketed exposures more traditional looking images. We waited for some time that Photomatix would add a new Tonemapper that could create these kind of photos. Recently we realized that actually the Photomatix Fusion algorithm does just that. Strictly speaking Fusion is no HDR Tonemapper at all. Fusion is not based on any intermediate HDR file but a certain Exposure Merge algorithm instead. In the end we (as photographers) don't really want HDR but a final image that best (for our taste and style) represents the scene.
We show now our Fusion workflow and some of our sample results.
Fusion Workflow
We start from Lightroom:
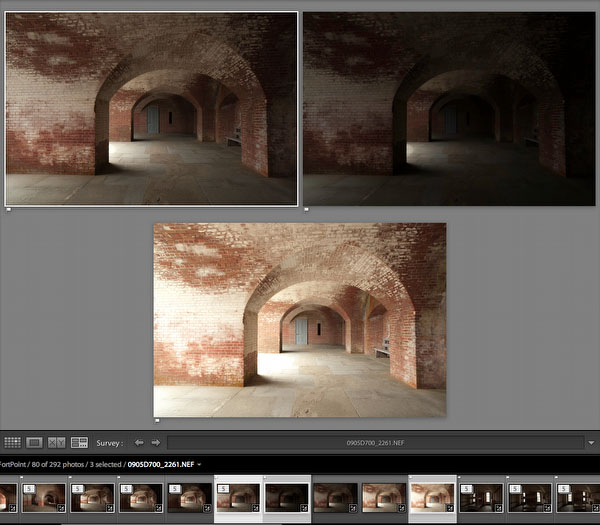
3 Exposures selected in Lightroom
There is not much to do in Lightroom:
- Check that the most underexposed image does no show any clipping in the highlights
- Reduce CA (Chromatic Aberrations)
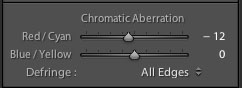
Sample CA settings in Lightroom
- Export using the Photomatix Lightroom plugin
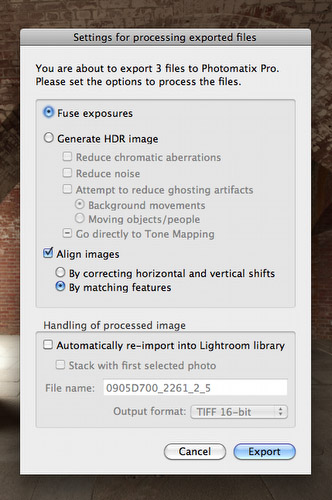
Export to Photomatix Fusion
This is a simple one step process (as said no HDR file will be created).
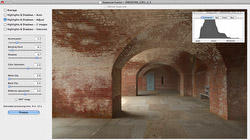
Photomatix shows this dialog:

Photomatix Fusion: Highlight & Shadows: Adjust
There are multiple methods available but we only use Highlight & Shadows: Adjust. We adjust the sliders in a way that:
- The image looks pleasing
- There is as little clipping in the highlights and shadows as possible
Any clipping in the highlights will ruin the image and blocked shadows don't look that nice in many cases.
Once the settings are ok we hit "Process".
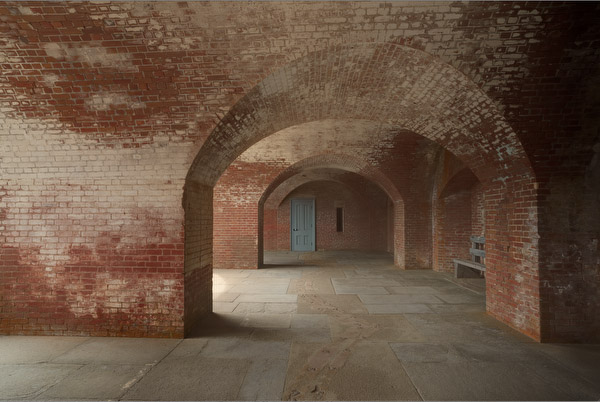
Image processed in Photomatix
For us the image processed in Photomatix is rarely the final result. We open the file into Photoshop and perform or final tuning. This involved in this case:
Here is our final result:
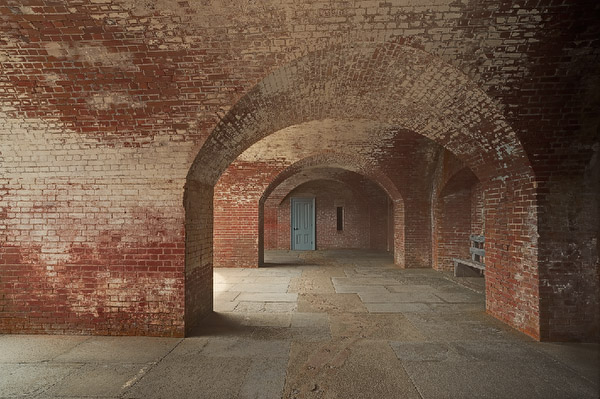
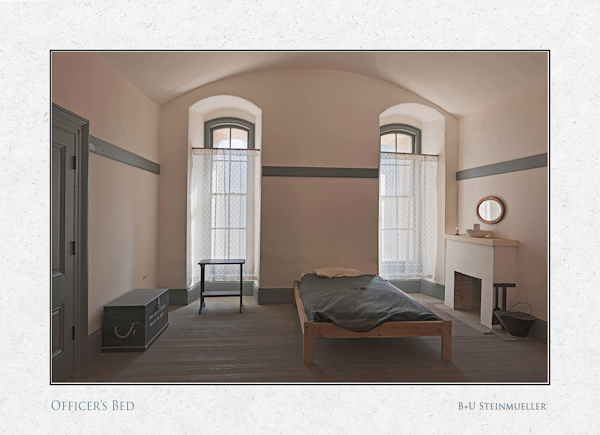
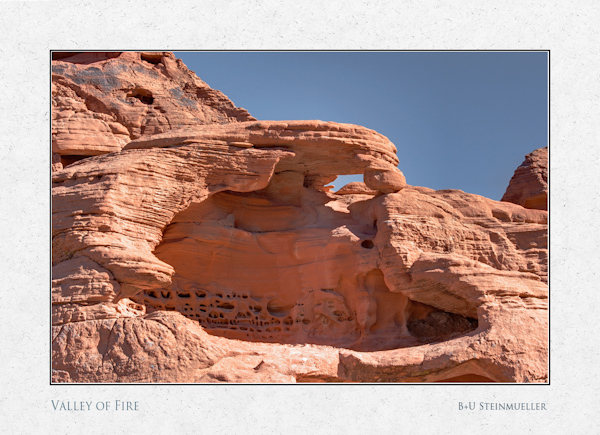
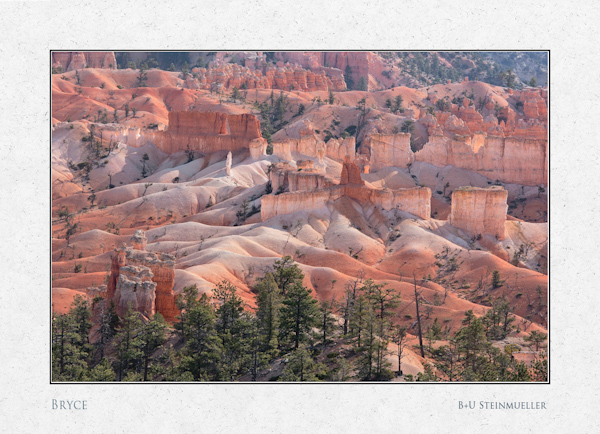
We worked on a few of our classic portfolio images and got a hang on using Fusion.
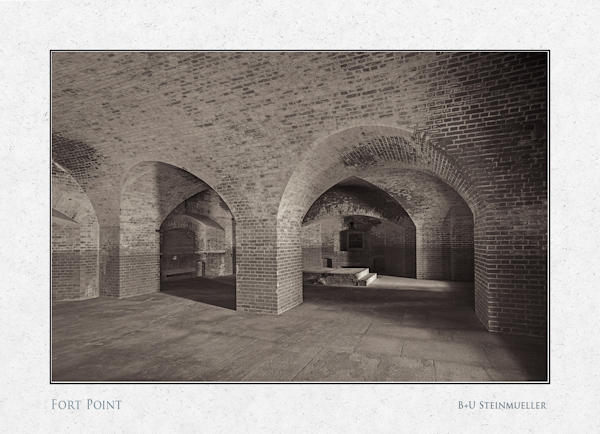
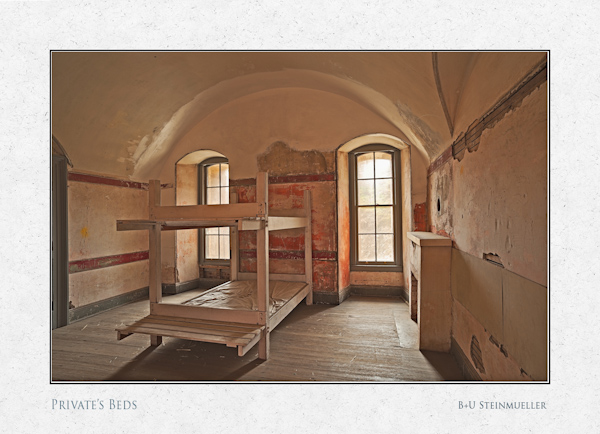
Sample images
Conclusion
Photomatix Fusion is a valid alternative to other tonemapping algorithms and also often shows fewer artifacts.
There is some room to improve Fusion in Photomatix:
- Larger preview
- Allow to save and use Presets
Best you try Fusion yourself.
Note: We did not check with very extreme dynamic range images because we hardly create such images. |