Somehow cropping sounds like a very trivial task. But then the final crop defines your frame on paper or on the web as a result of your personal vision.
If you just work in Lightroom then the crop is non destructive by default. For fine art photographers there is always some work left to do in Photoshop and here we also want the same flexibility. We want to be able to revisit or crop and tune/change it any time. If you crop in Lightroom then you would need to get back to square one if you decide to change the crop. Why not crop "right" in the first place? The answer is very simple: There is no such thing as the right crop.
- The crop is the result of your own personal vision
- Your vision changes over time and also depends on your mood (vision evolves)
- A crop can depend of other factors
- Image has to fit into a portfolio. If all images are 3:1 aspect ratio a 4:3 ration may not blend in that well (again of course depending on your vision)
- May need to fit into a fixed matte size
- May need to eliminate parts for legal or personal reasons
R. Mac Holbert (our partner for our "Photo Optimization Master Class") and John Paul Caponigro looked for a solution that has these properties:
- Non Destructive (the original image does not get changes in size)
- You can see that the image is cropped easily
- You can change or fine tune the crop any time easily
How does it work?
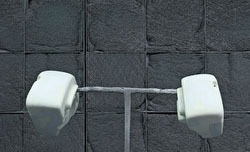
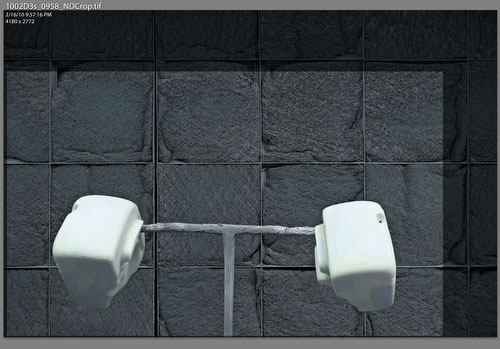
We don't perform any crop in Lightroom and likely not even any sort of alignment. Here is our start image:
Start Image
Step 1
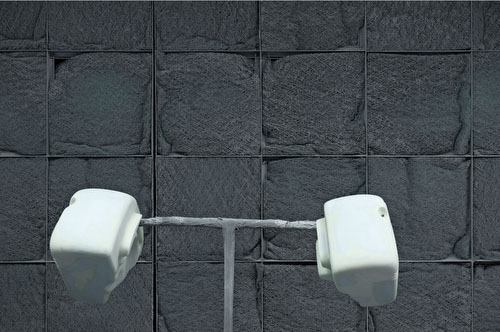
We create an initial Marquee selection:
Marquee selection
There is no need that this marquee selection is final. Why not? Because the whole point is that our non destructive crop is never final and can be changed easily.
Step 2
We now create a Solid Color Adjustment layer:
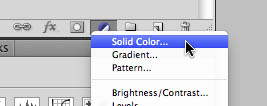
In the Layers Palette
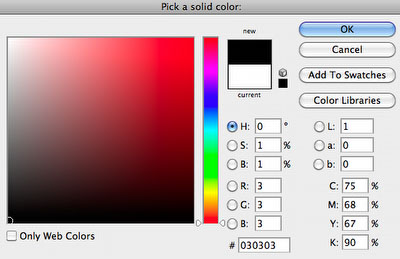
Select a color (here nearly black)
The color does not matter but black is not a bad option. Select the Layer Mask and invert the Selection (Cmd+I).
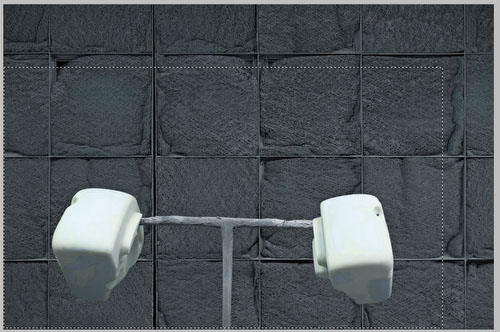
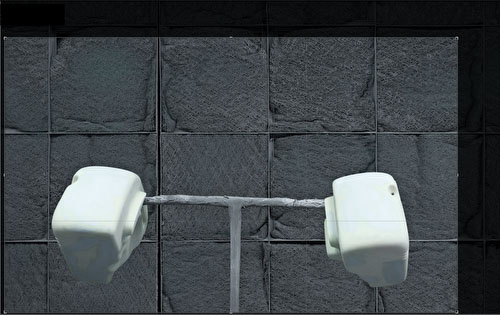
Here is the resulting image:
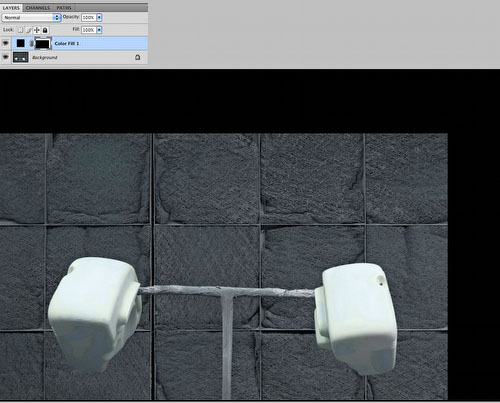
Image with non destructive crop
That this crop is non destructive can be seen if you make the Solid Color layer invisible.
You can even let the background shine through so that you know what image parts are hidden. All we need to do is changing the opacity of this layer (here at 50%).
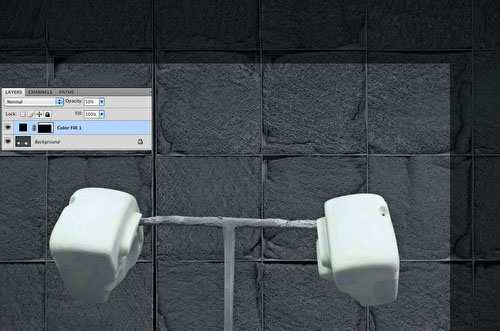
Here at 50% opacity
Tuning your Crop
So far so good. How to change the crop? Select the Layer Mask of the Solid Color Adjustment layer and hit Cmd+T (or the Windows equivalent). This activates Free Transform:
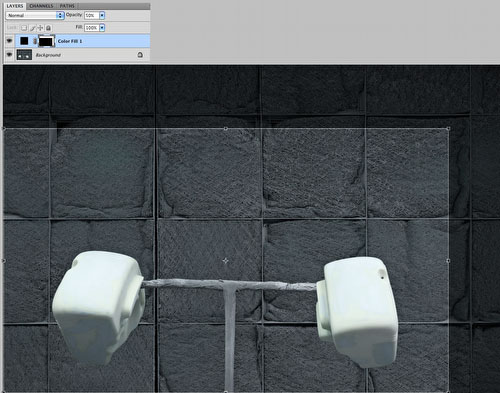
Free Transform activated
Free Transform allows all the changes you like:
- Move by dragging the selection
- Move one of the handle to resize
- If you have the Shift key active while you move the corner handles the aspect ratio stays constant.
- The selection can be changed in very precise steps by using the Arrow Keys (Select a handle and use the Arrow Keys).
- For extreme precise work you can hide the selection and handles (Cmd+H). The handles are still active though.
If you are done just hit "return".
Note: It is crucial that this layer is all the time on top and never interferes with image optimization steps.
Working with Images that feature the Non Destructive Crop
- Best you disable the crop if you perform any changes to your image (e.g. masks, painting and more). Otherwise areas outside the crop may be unprocessed. This means you cannot change easily the crop area.
- If you want to print from Photoshop you need to get rid of the area that is not part of the crop:
- Make a copy (we don't want to ruin the original)
- Apply the Layer Mask as a selection to the image
- Invert the selection (Cmd+Shift+I)
- Crop
- Print
Alternative Process in Lightroom
We often want to make images for our web galleries. Here the above process would require to create extra copies of our images (requires extra space, time and adds image clutter in Lightroom). Here is what we do. Import the TIFF/PSD into Lightroom:
Imported into Lightroom
As you can see this image would print the black borders or show in web galleries.
We create a Virtual Copy in Lightroom and crop this version in Lightroom:
Crop in Lightroom
Unfortunately we do not find a way to use the Layer Mask from Photoshop for our crop and the cropping in Lightroom is also not that ultra precise as in Photoshop.
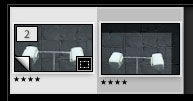
The Virtual Copy is part of a stack and we make the and we make it the top element of the stack.
Here is our "final" crop:

Of course it is not "final" but instead open to future changes any time.
Notes: If you change the Non Destructive Crop in Photoshop all you need to do and also change the crop on the virtual copy. Virtual Copies are very lightweight and hardly take any space on disk.
Conclusion
If you consider the importance of getting a crop that fits your exact vision the Non Destructive Crop presented by Holbert/Caponigro is part of of a very much improved workflow. Paying attention to these important details qualifies master printers like them.
We plan to implement it on all of our future images. Thanks to Mac and John Paul for sharing this very useful technique.
|