Introductory Note
We often get asked how we improve our photos. This new series shows how we work. This is our personal workflow and there are of course many ways to skin the cat. We use our own commercial scripts because that is why we created them in the first place.
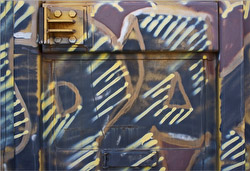
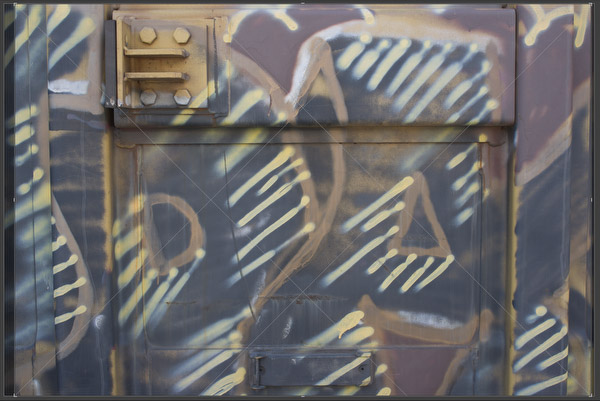
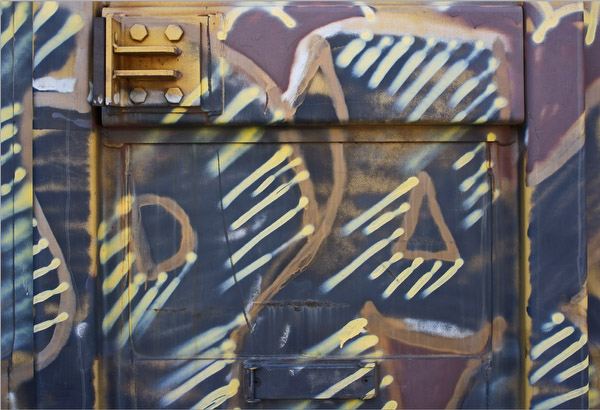
The image we use in this article was shot with the Ricoh GXR and the A12 50mm module.
Steps in Lightroom
Lightroom is essential for our work as it is our image organizer and raw converter. On the other side the main optimization steps are performed in Photoshop CS5.
We start with a soft image in Lightroom.
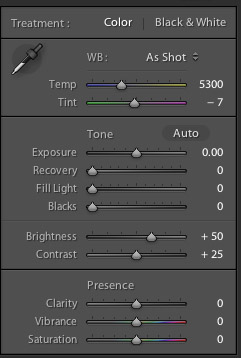 
- White Balance is a classic job for any RC. Here the auto WB of the camera worked for us fine
- Create a soft tonality with no clipping in the highlights (here often helps if the RAW converter implements highlight recovery) and the shadows as open as we like. We keep the image soft because a harsh image can hardly be fixed in Photoshop but soft images can be improved most of the time. Think like this: If a tonal gradient in your image is gone (destroyed) you cannot get it back again.
- Very low sharpening to avoid any halos or even latent halos that could get amplified later in the process.
- CA (Chromatic Aberration) removal (here the Lightroom 3.x and Camera Raw Lens Corrections do a good job). Not much done here.
- Lens corrections if possible (e.g. Lightroom 3.x). We sometimes perform also minor perspective corrections in Lightroom 3.x.
- Some basic color corrections: none in this case
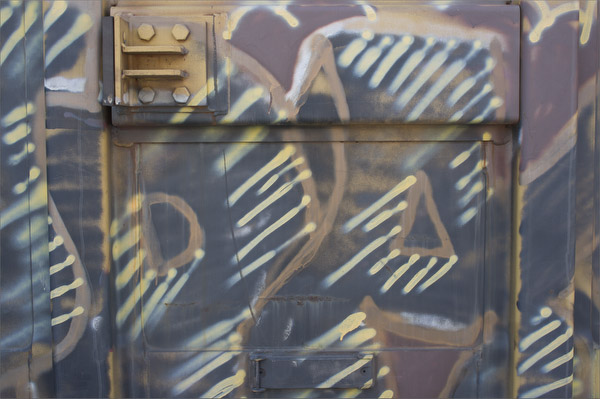
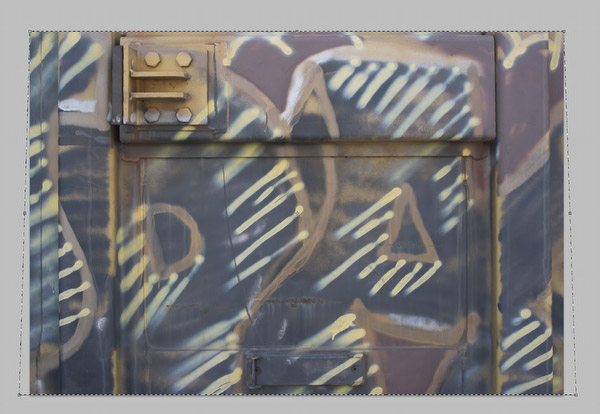
We did some minor cropping in Lighroom:
Minor Crop
Steps in Photoshop CS5
From Lightroom we export the photo into Photoshop CS5 as 16 bit a TIFF image.
Remove some Skew
We very often use the Photoshop Skew tool to fix the perspective a bit.
Skew correction in CS5
Minor Retouching
In the top right corner we found a spot we find slightly annoying.
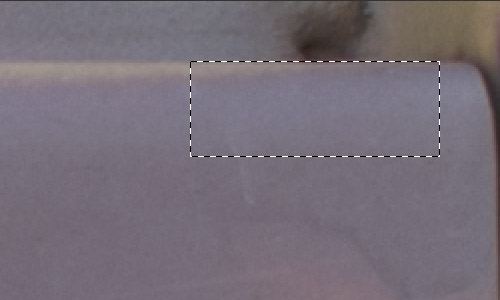
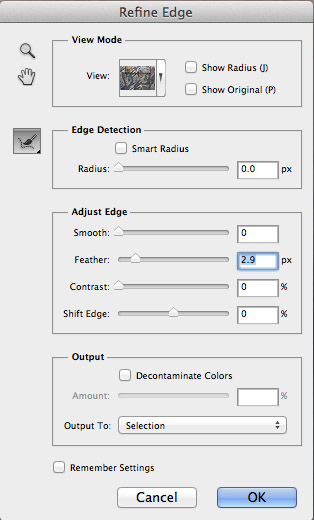
We select the area shown to protect it during cloning. The selection gets a bit of feather for a softer blending during the cloning operation.
Because the cloning will only be applied on the selected area we have to invert the selection. This way the cloning will act on the whole image but not on the selection we made. With the Clone Stamp the spot can then be removed.
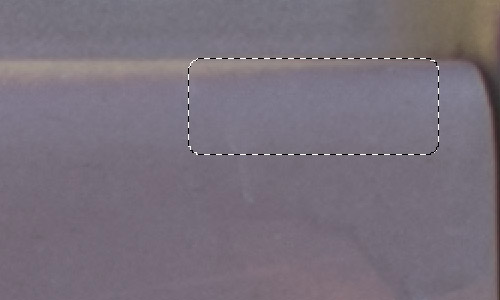
Fixed area
Improving Global and Local Contrast
Our DOP Tonality Master script is our way to improve global and local contrast. We even add some more saturation to our picture.
Here is the result just after running the script.
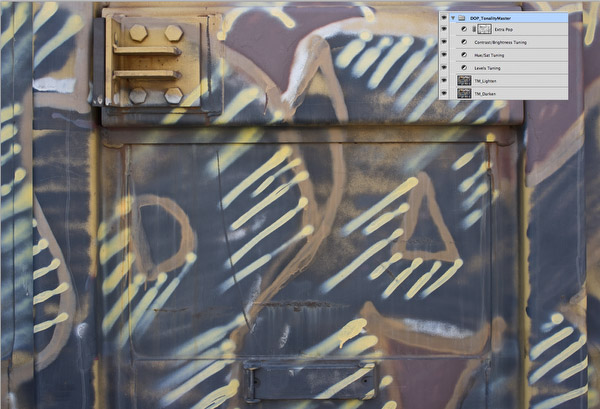
Default result from Tonality Master
We want a stronger pop of the graffiti colors This is what the Extra Pop control is for.
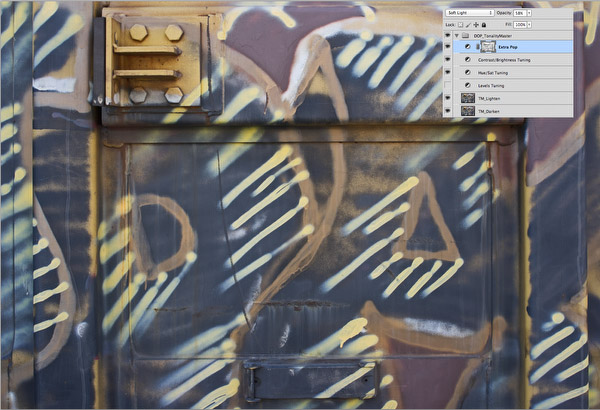
Adding pop
The Extra Pop opacity is at zero (means off) by default. For this image we set it to about 50%.
Next we check the Levels layer and fine tune a bit:
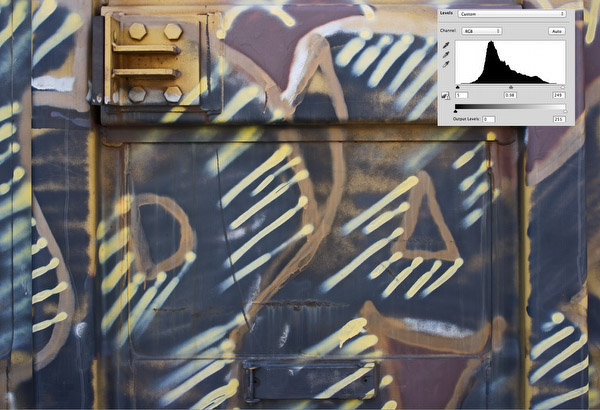
Levels Layer
In this case the corrections were minor but still important.
We longed still for some more saturation and changed also the Saturation layer:

Adding even more saturation
Sharpening
We sharpen with DOP Optimal Sharp (the Tonality Master Layer Group needs to be collapsed). Because the DOP Tonality Master has already added some local contrast we can lower the opacity of the Sharpening layer. Here is a 100% pixel crop before and after sharpening applied.

Before
After
Final Result
This was not to complicated and we are happy with the result.
You can try this workflow with our free demo scripts. |