DOP Photo Intensifier
Motivation
Often if we work with color images we were looking for intensive colors (of course subtle colors have their place too). In some cases we (mis)used HDR tools to get a more intensive look. This does not only effect the colors but also some local contrast. With the new Photo Intensifier we finally found a solution we like.
Installation
The DOP Photo Intensifier comes as a Javascript file for Photoshop CS3/CS4/CS5 (we only support CS3/CS4/CS5).
- Full version is named: DOP_PhotoIntensifier.jsx
- Demo version is named: DOP_PhotoIntensifier_Demo.jsx
Installing the script
The script needs to be copied to the Photoshop CS3/CS4/CS5 folder and here to Presets/Scripts (or to the equivalent locations for other languages). After restarting CS3/CS4/CS5 you should find the script under File->Scripts. If you do not find it there you did not put the script into the proper location.
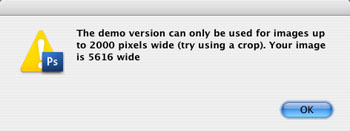
Note: The free demo version can only handle images up to 2000 pixels wide. The commercial version does not have this restriction. You will get this warning message if you use larger images with the demo version:
Using the DOP Photo Intensifier
Using the script
Using the script is simple. Run the script in Photoshop from File->Scripts (the top most Layer Group should be collapsed).
- DOP_PhotoIntensifier (or the Demo version)
The DOP Tonality Master script does not have any user interface in the script. All control is performed in CS3/CS4/CS5 using the created layers (as part of a single Layer Group):
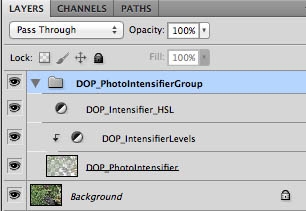
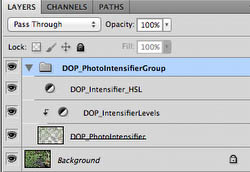
The script creates a Photoshop Layer Group “DOP_PhotoIntensifierGroup” with 3 layers.
- DOP_PhotoIntensifier: This layer is in blending mode Vivid Light and does not need to be touched in most cases.
- Levels Tuning: This is a key layer as it controls the intensifying process
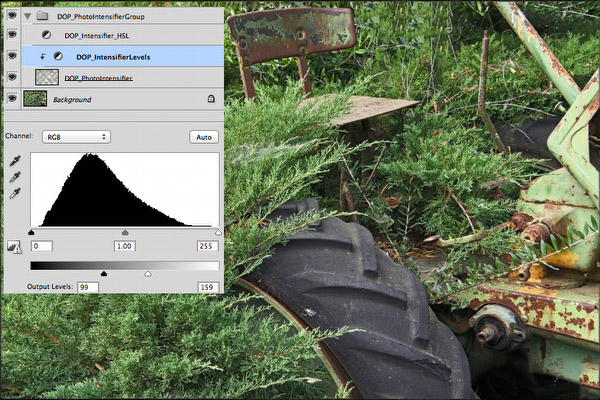
Most of the time we only use the black and white sliders of the Output Levels. The sliders are placed at a start position and you need to fine tune them for your image. The black slider controls the shadows: the further left the more the shadows get blocked and the more right the shadows open. The white slider controls the highlights: the more it is to the right the more some highlights may get clipped and the more to the left the more the highlights get toned down.
We have a free script that can help you to monitor the highlight and shadow clipping.
- Hue/Sat Tuning: This layer does nothing by default. It can be used to fine tune the saturation level globally or for selected color ranges.
You can further fine tune:
- Opacity of the Layer Group for lowering the overall effect
- Add layer masks to the group
Note: The script should be only run once per image. Otherwise better to flatten the image before a second call.
Sample Workflow
We use the DOP Photo Intensifier as the final step in our workflow. The new script is not considered to replace any of our other scripts. It is meant to be used as a final optimization step. This means you can also treat images you considered final.

This image looks fine and ready to go. But here is what the Photo Intensifier can do.
Stack and Levels settings used
and here is the final result:
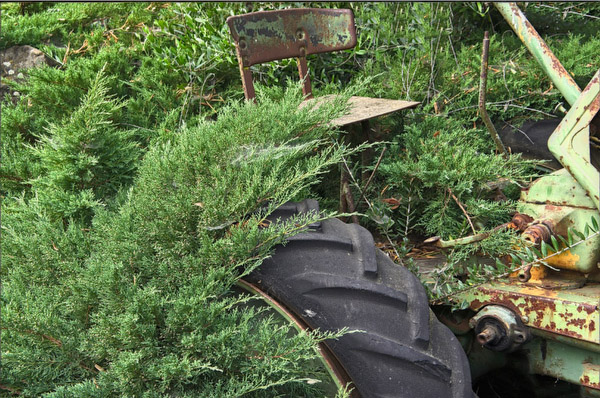
The result looks more expressive. If you want to tone down the greens a bit then you can use the Hue/Sat layer to perform this task. The process does not only intensify hte colors but also improves the overall contrast of the image.
Conclusion
We are confident that the new DOP Photo Intensifier can help to improve your images. Best you try it yourself using the free demo version. |