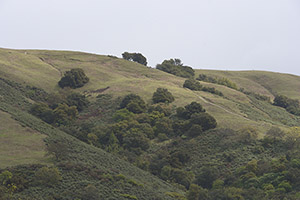
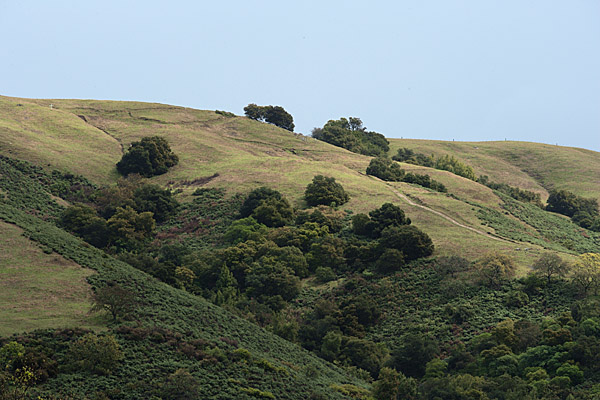
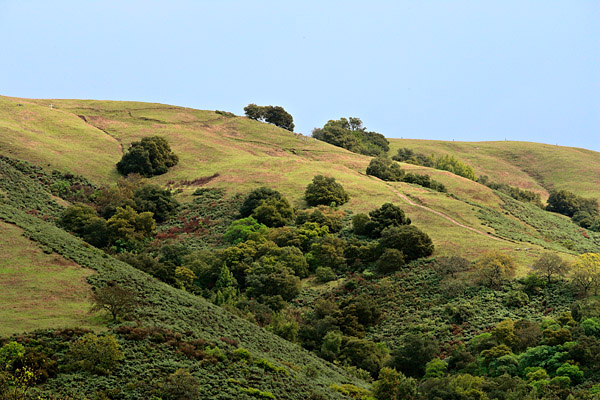
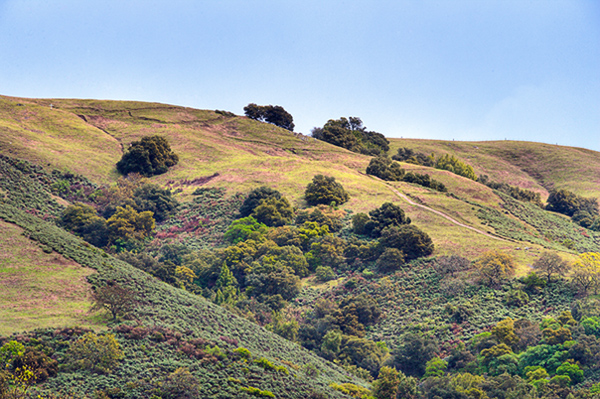
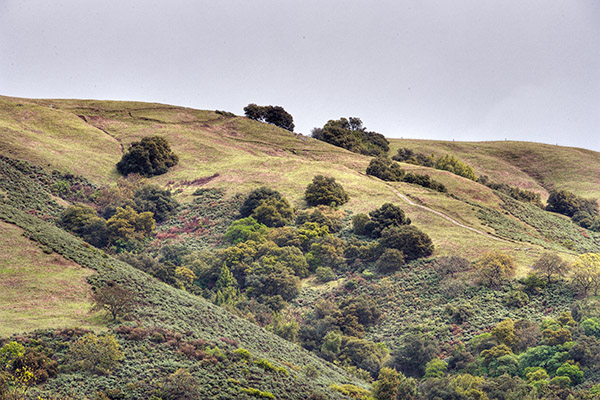
#01 Dan Desimoni
Levels (Set Black and White)
Saturation (Increased by 15)
Shadow/Highlight (Opened up the Shadows)
Curves (3 percent S Curve)
Selective Color (Pop the Sky)
High Pass Sharpening (High Pass at 7)
#02 Erik Kaffehr
Picture Window Pro 3.5
1) Brightness curve
2) Color Correct (Selective Color Correction)
3) Advanced sharpen (Speck removal size 1x1 remove light, threshold
96%, sharpen luminiousity radius 0.81 amount 118.
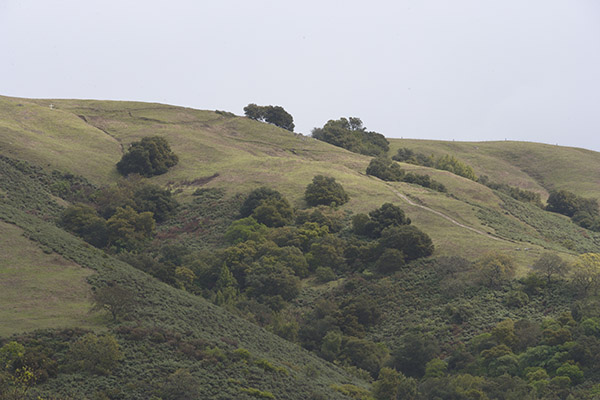
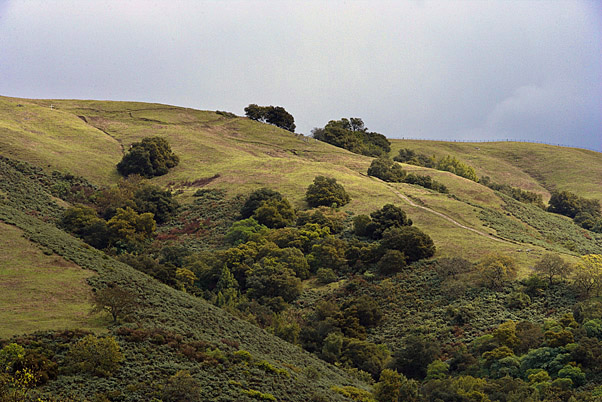
#03 Robert Tobler
1.
Add local contrast to the image:
Create a slection that excludes very dark tones and bright tones:
- use "Color Range" to select everything near black with
a Fuzzyness
of 80
- store this selection under "shadows"
- use "Color Range" to select everything near white with
a Fuzzyness of 160
- store this selection under "highlights"
- set the selection by "Image->Calculations" with: source "shadows" inverted,
source "highlights" inverted,
multiply
Use the resulting selection to create a duplicate layer called "
contrast" on top of the original image with its mask set to "reveal
selection"
Use Unsharp Mask on the "contrast" layer with the following settings:
- Amount 50%, Radius 128, Threshod 0
Flatten the image.
2. Boost the colors: Image->Adjustments->Hue/Saturation
- Saturation + 33%
3. Make the sky more vibrant: Image->Adjustments->Selective Color
- Colors "Blues", Cyan + 100%, Magenta + 50%, Absolute
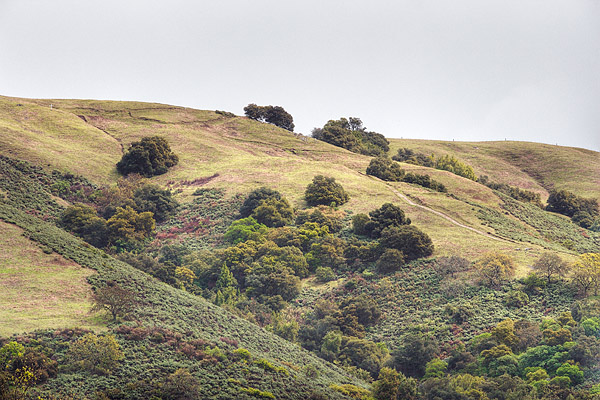
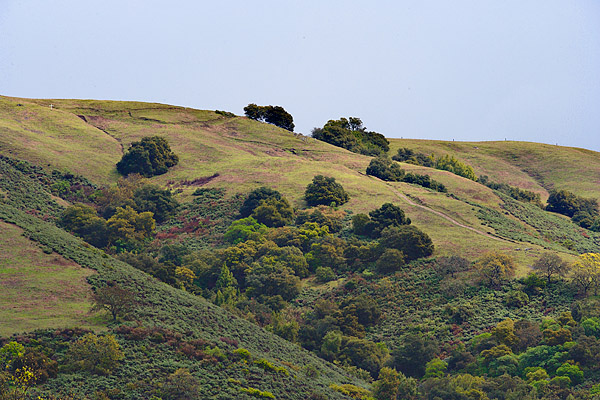
#04 Goran Stenberg
Photoshop CS2
Levels black and white point
Levels black and white point sky selected only
Clone stamp to retouch all sensor dust
Saturation +15
Velvia Vision filter from FM Software
High Pass sharpness at 5.0 and soft light 100%
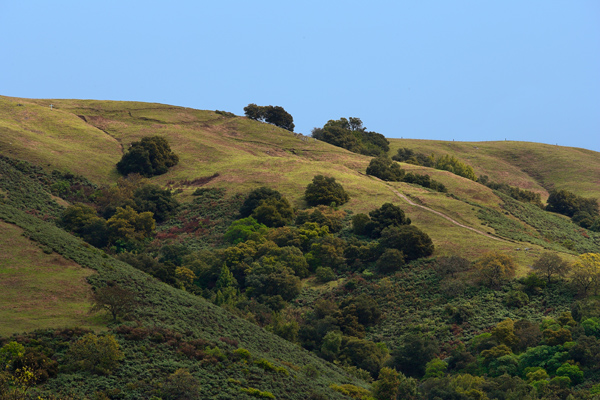
#05 Davide Barranca
1.
Convert to Lab
2. Curve S-shape-like in (L) darkening most of the three quarter tones
and shadows, almost linear but steep (a), same kind of curve in (b)
but steepening only the yellow side.
3. Curve in an adjustment layer (targeted to lights in blending options)
that adds blue and little magenta and darken the sky.
4. merged layers, duplicate background and apply the inverse of (a)
to (L) in overlay mode, with a gradient in alpha channel that hide
the effect on the upper side (sky and part of the grass), to make the
green more contrasted.
5. Inverse Unsharp Mask to (L), something around 15 amount, 50 radius;
dust and scratches in (a), to remove some color noise.
6. Flatten, convert to sRGB, resample and apply some smart sharpen.
#06 David Miller
- In Photoshop
- Photomatix Tone Mapping plugin (reduced amount
to 25)
- Convert to Lab
colorspace
- Levels (black to 40, white to 231, gamma to 1.21)
- Curves
(a channel set points at 20 in, 0 out; 50 in, 49 out; 80 in,
100 out)
(b channel set points at 20 in, 0 out; 53 in, 50 out; 80 in, 100
out)
- Flatten
- Duplicate layer, Soft light blending mode, 50%
opacity
- Flatten
- Convert to sRGB colorspace
- Duplicate layer
- Select sky
- Image>Selective Color, Blues - Cyan +80%,
Black +10%
- Photokit plugin,
Burn top half, 40% opacity
- Flatten
- downsize with WP Pro plugin
- sharpen with Photokit Output
Sharpener plugin (Medium Edge)
- Flatten
#07 Fabio Riccardi

#08 Herman Teeuwen
- Photomatix Tone Mapping
- Alien Skin Exposure Color Film Kodachrome 25
- Levels
- EasyS sharpening |