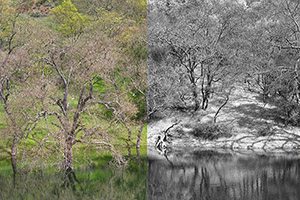
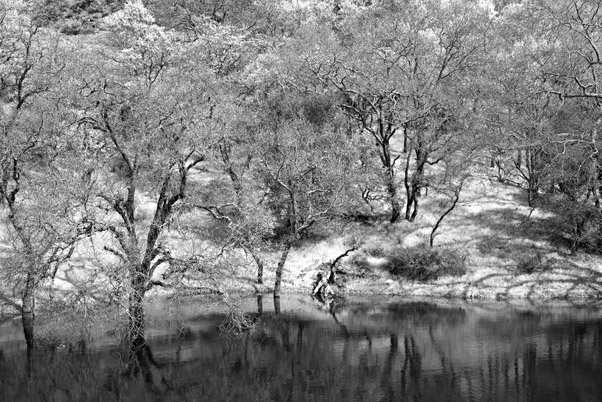
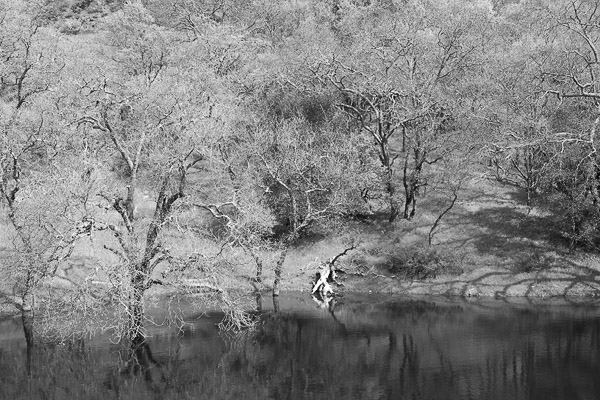
#01 Michael Stockhill
- Opened in CS
- Pixel Genius Capture sharpener: Mid resolution digital
capture; narrow edge sharpener
- Auto layers !
- Auto contrast !
- Auto color !
- Channel mixer: Red 16, Green 116, Blue -38, constant
4
- Brightness/contrast: contrast 12
- Pixel Genius creative sharpener:
Haze cutter @18-35% selectively on image.
- Burn tool: 8-15%, selectively
burning trees and "hot" felled
tree.
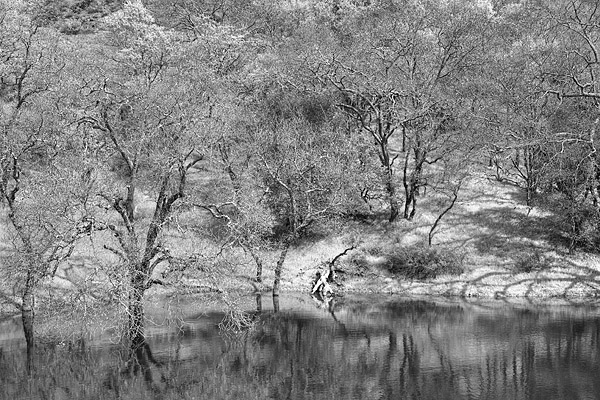
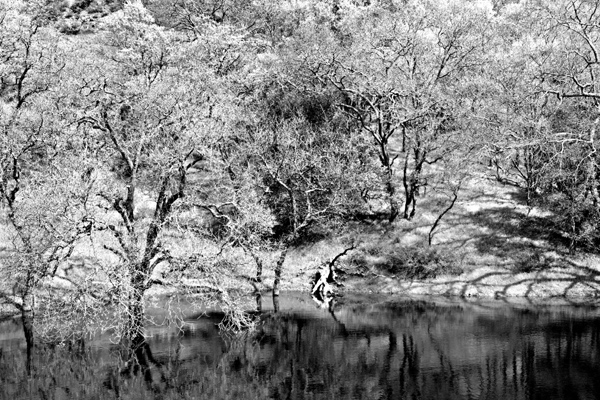
#02 Goran Stenberg
- Photoshop CS2
- Selecting the white overexposed branch in middleAdjustment, selective
color, white +100% two times only on branch
- Image, adjustment levels
black and white point
- Left side of image selected, feather 150%,
adjust curves, input 139 and output 116
- Channel Mixer, monochrome,
Red +40, Green +140, Blue -80
- Intellisharpen FM Software, level
12
- Image adjust curves again, input 57 and output 46
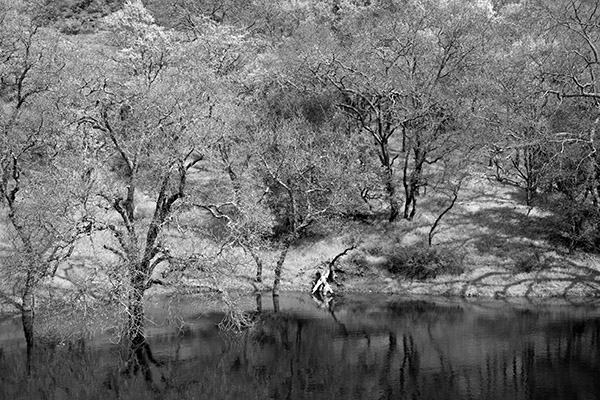
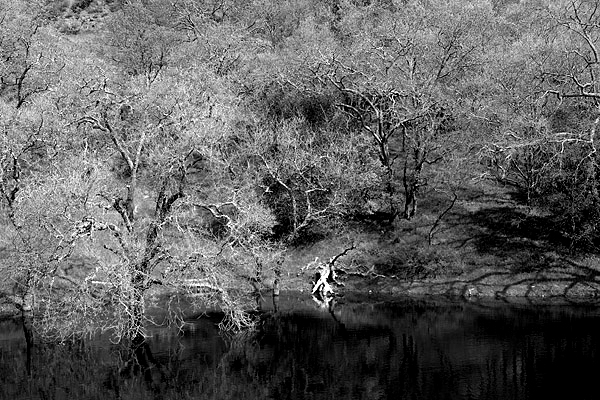
#03 Christian Zufferey
-image opened with photoshop 7.01
-contrast mask level 2 with PhotoKit plugin ( by Pixelgenius)
-photoshop unmask sharpening filter ( 20-50-0)
-select right part of image, curve-lightening
-select left part of image-curve-darkening
-levels : black set at 52; white set at 221
-channel mixer ( R140; G34;B -30; constant -24)
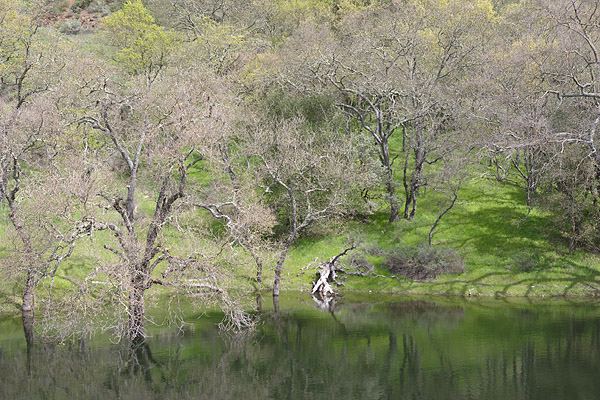
#04 John Marshall
-image
opened in Photoshop 5.0
-saturation -100
-brightness -18
-contrast +37
#05 Tim Gray 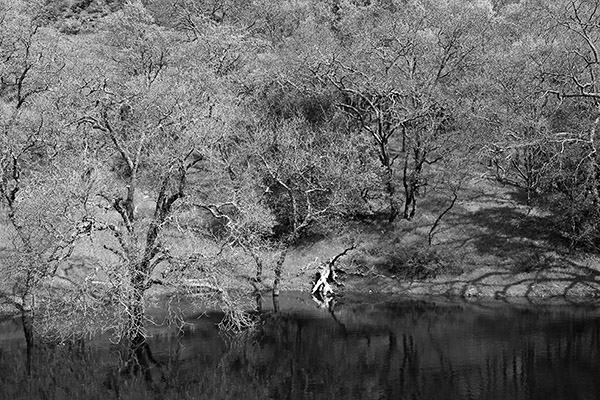
Initial sharpen with focus magic @ 1 pixel
New layer, 50% gray, blend mode=color
Curves
Shadow/Highlight – shadow 11, 32, 20 highlight - 0
Selective Photokit Creative sharpener
USM 20 60 0 50% opacity
#06 Lloyd Eldredge
- Processed in Lightroom (Beta 2)
- Applied increase of Black exposure
to 13 (In Basic)
- Gray Scale Mixer:
- Reds to -10
- Yellows to 77
- Greens to 98
- Cyans to 55
- Blues to 54
- Magentas to 103
- Then applied Lightroom Preset "Tone Curve
- Stong Contrast"
|