This is the first article of a whole new series that covers some not so well known details while working with HDR images.
During our Eastern Sierra trip we had the chance to photograph the Death Valley Railway Car at the Laws Railroad Museum.
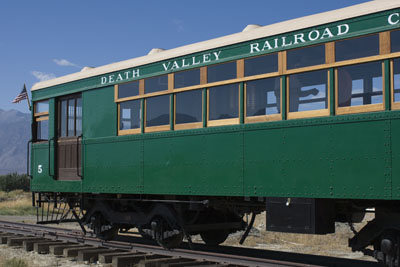
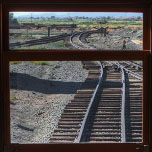
Restored Death Valley Car (1927)
Seven volunteers rebuild this car in 4 1/2 years of work. They started at a level of decay worse than shown in this picture:
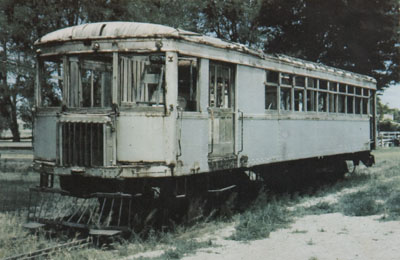
Almost a lost cause?
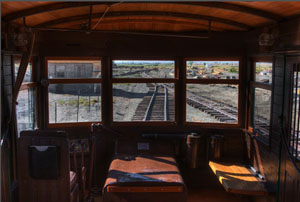
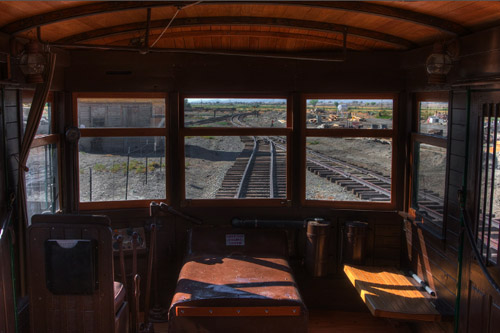
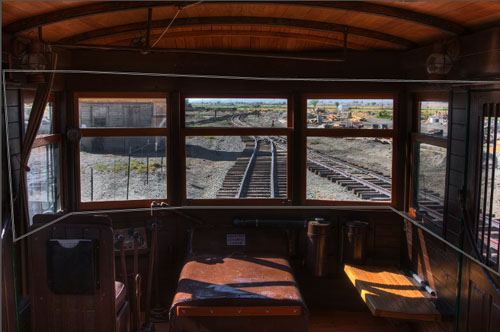
We had the unique chance to photograph the car from the inside (the car is not available to the public right now).
Photographing the interior while showing some outside detail is the prime domain of HDR photography. We shot 3 photos with the Canon 40D (high speed and handheld) at -2, 0, +2 EV.
Note: Using a tripod may not have helped because the motor was vibrating the car. Our longest exposure (+2 EV) was a 1/50 second at 24mm with an image stabilized lens.
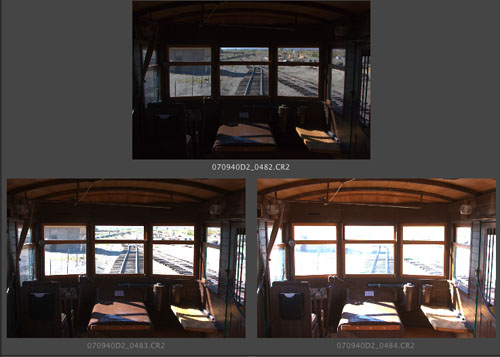
Original RAW files from the Canon 40D at ISO 800
ISO 800 looks very challenging. But you have to understand that the shadows are taken from the +2EV exposure and here the noise is much under control.
1. Raw Conversion
We had to face two major challenges. Both were solved in Camera Raw 4.2.
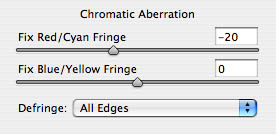
Our settings in ACR 4.2
We kept using ACR 4.2 the fringing and CA in check using the above settings
- Even the -2 EV exposure showed some clipping
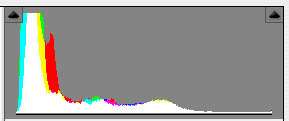
Slight clipping of the -2 EV exposure
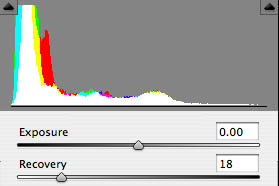
We use the Canon 40D in "Highlight Priority" mode which gives us about one f-stop more latitude in the highlights. To get rid of all clipping we used the following recovery settings in ACR 4.2.
2. HDR generation and Tonemapping
We converted all three RAW files to 16 bit TIFFs. They can be combined to HDR either in Photoshop CS3 or Photomatix. The tonemapping was done with Photomatix Detail Enhancer.
We covered this process in previous articles.
3. Final touches in LightZone 3.1
After the initial processing the image looked kind of ok:
After Tonemapping
To our eyes the outside view looked a bit too hazy:
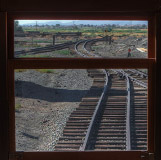
Look out of the front window
We opened the image in LightZone (our recent review of version 3.1) and created a LightZone region covering the windows for a ZoneMapper tool:
LightZone Region
The following ZoneMapper settings helped to clear up the view outside the windows:
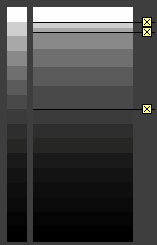
ZoneMapper settings
The bottom line prevents that the window frames (inside the Region) get brightened, the top line protects the extreme highlights and the middle line brightens the window content.
Window view before and after
These maybe subtle differences but they are important for us.

Final image in color
4. B&W version
We also wanted to have a B&W version. Converting to B&W in LightZone is powerful and easy:
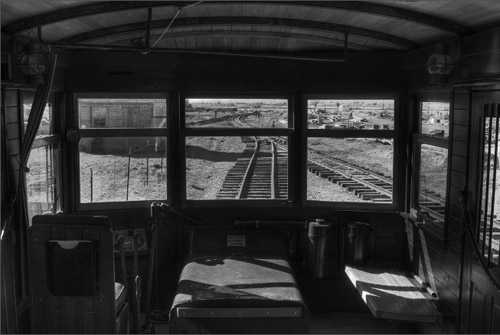
B&W version (from LightZone)
Note: We wrote this article during our Eastern Sierra trip and did only use our Macbook. When we are back we may need to do some final tuning of these images. This does not change anything about the processing principles we covered in this essay.
Conclusion
HDR is an important tool in many situations. Working with HDR images is quite a bit of work. We learn every day some new challenges and how to overcome them. |