We use our new technique "High Speed HDR" for over half a year. You may think we always only convert images to HDR. This is not at all the case. The truth is that we photograph and are HDR ready if needed. We call this "Mix & Match". Every image is different and we always try to get the easiest way first: use one single best exposure (remember we always have 3 to choose from).
The workflow session we show here explains our process and the little things to look for.
Mix & Match Sample Workflow
The following shot was taken with the new Canon 1Ds Mark III at ISO 1250. This is always a stretch.
Middle exposure at ISO 1250 f/8. 1/320 sec
Because both the middle exposure and the over exposed shot can be recovered (learn more about Highlight Recovery) we start analyzing both images in Lightroom.
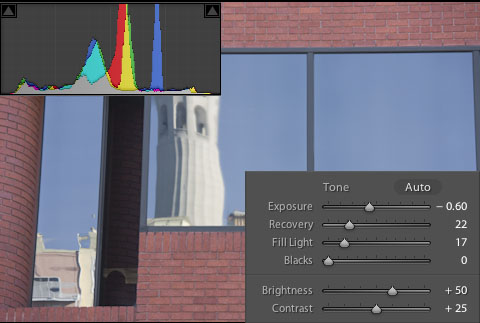
Middle Exposure (+1/3 EV, Highlight Priority)
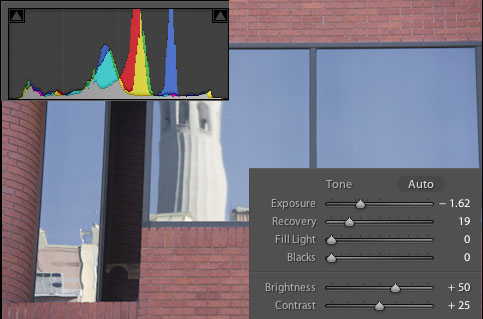
Overexposed (+1 2/3 EV, , Highlight Priority)
Both shots can be used. All things being equal the exposed to the right shot would win.
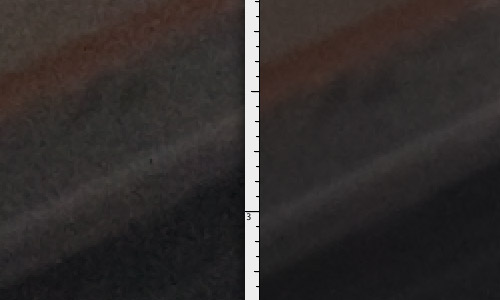
Noise in the shadows (middle exposure left)
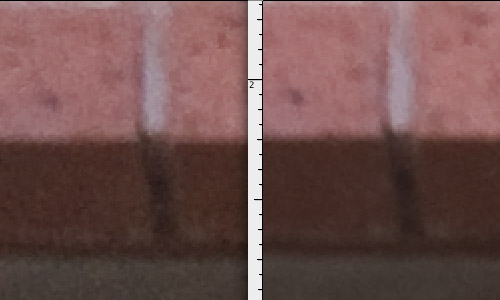
Detail (middle exposure left)
The middle exposure has more noise (no surprise at ISO 1250) but shows better detail. Likely the overexposed shot shows more motion blur (1/125 at 144 mm and the 21MP resolution of the camera shows any motion blur there is and this even with image stabilization on).
Note: To no surprise these images get at ISO 1250 slightly grainy. Remember that the crops are at 100% from a 21MP camera.
Does this mean we need to live with the middle exposure photo? We will show that we can have the best of both worlds.
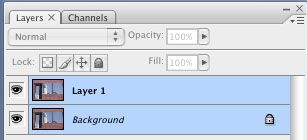
We open both files into Photoshop CS3 and arrange the overexposed image as a layer on top of the middle exposure.
Because we shoot freehand (also from the tripod) the layers are slightly out of alignment). In the past we have aligned them manually but today we use the very useful CS3 tool "Auto-Align Layers"
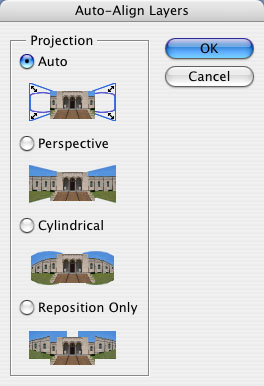
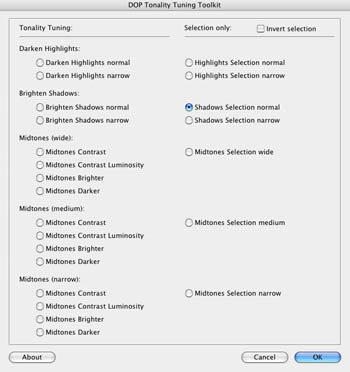
Auto-Align Layers does an amazing job to align our layers. Once aligned we only want to use the shadow part from the lower noise overexposed file. We use our own Tonality Tuning Kit and create the needed selection for our mask:
Creating a shadow mask
After this operation and applying the selection as a Layer Mask our layers look like this:
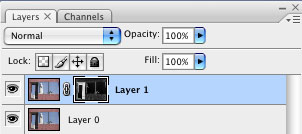
Layer with shadow mask
We only briefly mention the other steps we performed. Best shown with our final layer stack:
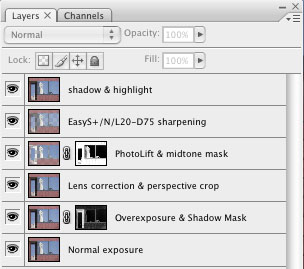
Final Layer Stack
- Layer 3: Lens distortion correction with LensFix or PTLens and correcting the perspective using a perspective crop (we teach some tricks here at our workshops).
- Layer 4: PhotoLift for improved local contrast. We used in the process 2 masks: Midtone mask and the inverse of the blue sky reflections
- Layer 5: EasyS Plus Sharpening layer
- Layer 6: Shadow/Highlight tuning in CS3
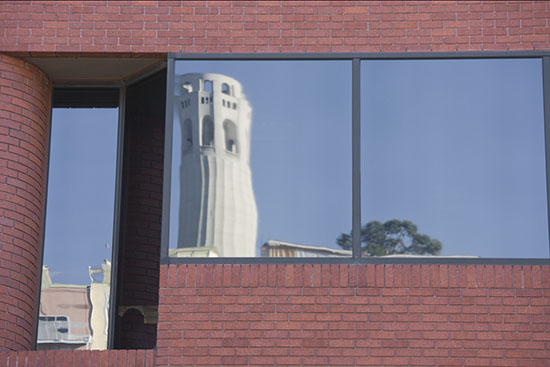
Here is the resulting image:
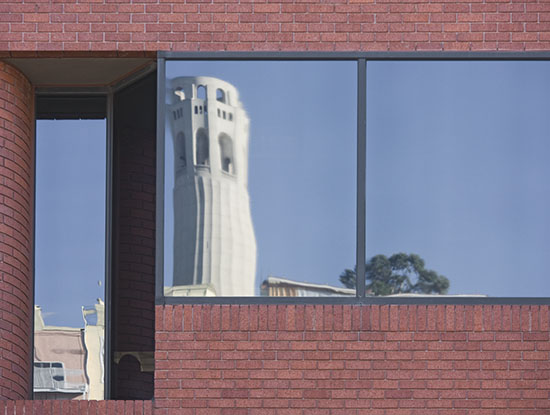
Final Version
Summary
Having only one of the two exposures would be clearly inferior than using both of them. We are very pleased with our freehand bracketing approach.
We teach this technique (and photographing philosophy) at our "Capture more Light" workshops. See you there.
|